Lose your photos due to deletion, erasing Mac hard drive or iPhoto crash? No matter what the cause it is, your lost photos can be recovered by specific macOS photo recovery solution. Before recovery your lost photos from your Mac, you’d better not put new files to the hard drive where you lose your photos in case that the new files would overwrite the disk space of the lost photos. Here are three effective solutions that can help you restore lost photos under macOS.
macOS Photo Recovery Solution 1: Recover Deleted Photos from Trash Bin
When you delete photos or move photos to trash bin, you can restore the deleted photos from trash bin if you have not emptied it. It is the easiest way to recover lost photos under macOS. You just need to open your Mac trash bin, select the photos you want to recover, then right-click the selected photos and click “Put Back”. After that, your deleted photos will be restored to the original place.
macOS Photo Recovery Solution 2: macOS Photo Recovery Software
If you have emptied the trash bin, how to get deleted photos back? Don’t worry. You can try macOS photo recovery software. macOS photo recovery software can help in recovering lost photos due to deletion, emptying trash bin, format, virus infection, OS upgrade, hard drive crash, etc. macOS photo recovery software is the most often selected solution for macOS photo recovery because it is time-saving, money-saving and safe. You don’t have to ask for professional data recovery service. Actually, the macOS photo recovery software is very simple to use.
First of all, download it and install it on your Mac. Then run it to scan the hard drive where you lose your photos. It can help you easily find deleted/lost photos after a quick scan or a deep scan. Here, you can follow these steps to get lost photos back from Mac hard drive or any storage media under macOS.
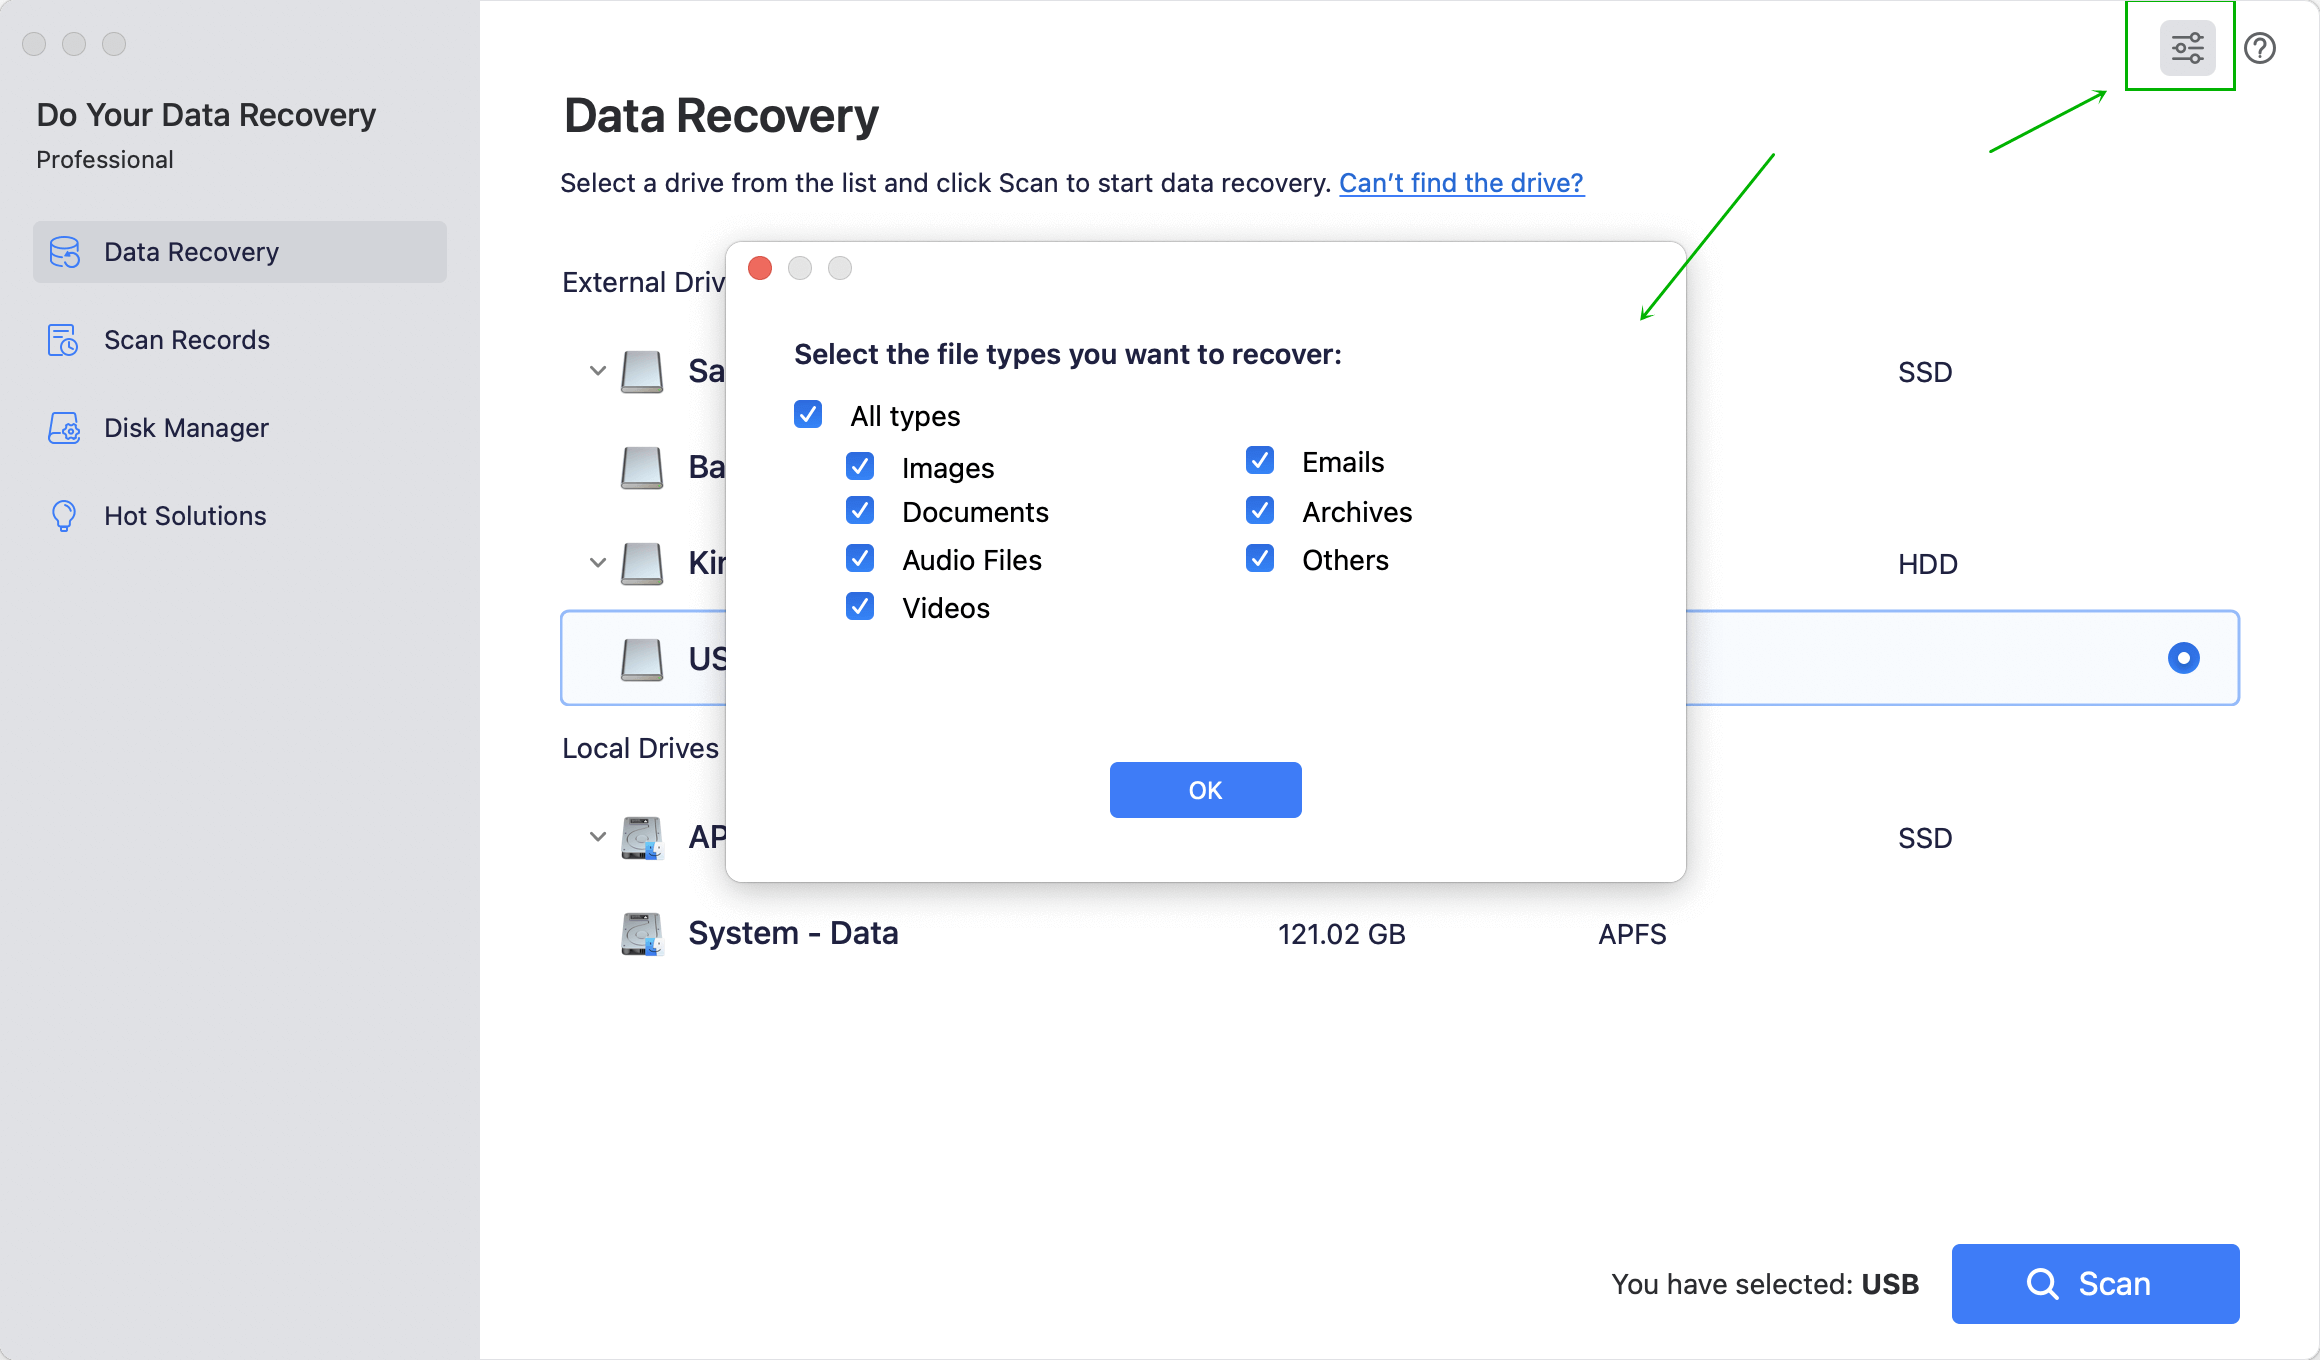
Step 1: Select file types you want to recover.
This macOS photo recovery software can recover any type of file on your Mac. If you only want to recover lost photos, you just need to select “Images”. Then click on “Next” to the second step.
Step 2: Select hard drive.
It allows you to recover lost photos from Mac hard drive and external storage media, just select the one you want to recover lost photos from. Then click on “Scan” button to scan the selected hard drive to find your lost photos.

Step 3: Preview and recover lost photos.
After scanning, this macOS photo recovery software will list all the recoverable photos, you can preview and recover them.

If you have not found all lost photos after quick scan, just click on “Advanced Recovery” button to deeply scan your hard drive again and find much more lost photos.
macOS Photo Recovery Solution 3: Data Recovery Service
If your Mac has been completely damaged, the two solutions above can’t bring your lost photos back. You have to send your Mac to a professional data recovery store. It will physically detect and repair your Mac and help you recover your lost photos.
Written & Updated by Justin Kenny
Justin Kenny is a writer & editor of DoYourData. He joined DoYourData in 2016 and focuses on writing articles about Windows data recovery, Mac data recovery, external device data recovery, hard drive clone, data erasure, Mac cleanup, computer issue fixes, etc. He is a super fan of Apple devices and is big on testing new digital device and system utility software.