Quick Navigation:
- Key Differences between NTFS and APFS
- How to Format NTFS to APFS on Mac?
- FAQs About How to Format NTFS to APFS
It is always the case that files stored on an external drive formatted with the NTFS file system cannot be accessed, edited, or transferred when a user switches from a Windows computer to an Apple computer.
NTFS drives with write support cannot be mounted in macOS. In other words, Macs can read discs formatted in Microsoft's NTFS file system but cannot create new files in this format.
As a result, you're probably thinking of switching from NTFS to APFS to eliminate the problem. This article will show you how to safely convert NTFS to APFS, allowing you to utilize the external drive with your Mac without any restrictions. Before attempting the conversion, did you fully understand the differences between NTFS and APFS? Did you know they have certain benefits?
You may find this information useful when deciding between the NTFS file system and the newer APFS file system.

Key Differences between NTFS and APFS
You probably already know that Macs utilize the APFS file system on their hard drives and that Windows uses the NTFS file system. Let's start with the fundamentals before diving into the specifics of changing an external hard drive from Mac to PC.
The New Technology File System (NTFS) was created in 1993 and is utilized by nearly all Windows distributions. It's a better file system and works with Linux and macOS (read-only).
Apple File System (APFS): The APFS file system is used solely for Mac hard drive formatting. It's a modern, superior file system that came out in 2017. As a result, APFS excels in the following areas when compared to NTFS:
- Encryption of Files
- De-duplication of disk
- Optimizing SSDs and Data
- Versioning of files
- Journaled file system
- Copy-on-write
How to Format NTFS to APFS on Mac?

Disk Utility is a built-in disk management tool and you can use it to format the NTFS drive to APFS drive. Before formatting the NTFS drive, you’d better make a full backup of the NTFS drive. Then follow the steps below to format NTFS to APFS:
Step 1. Go to Launchpad > Other > Disk Utility, open it. Connect the NTFS drive to your Mac.
Step 2. Find the NTFS drive and select it, choose Erase.
Step 3. Select APFS as the file system and click Erase again.

Step 4. Then it will securely erase the NTFS drive to APFS drive.
Please note that the formatting operation will erase data stored on the NTFS drive, if you don’t have a backup and lose important files after erasure, just use a data recovery application to unformat the hard drive. Check the steps below:
Step 1. Download and install Do Your Data Recovery for Mac, then open it.
Step 2. Select the formatted hard drive to start data recovery.

Step 3. Click on Scan button. Then it will deeply scan the formatted hard drive and find all recoverable files.
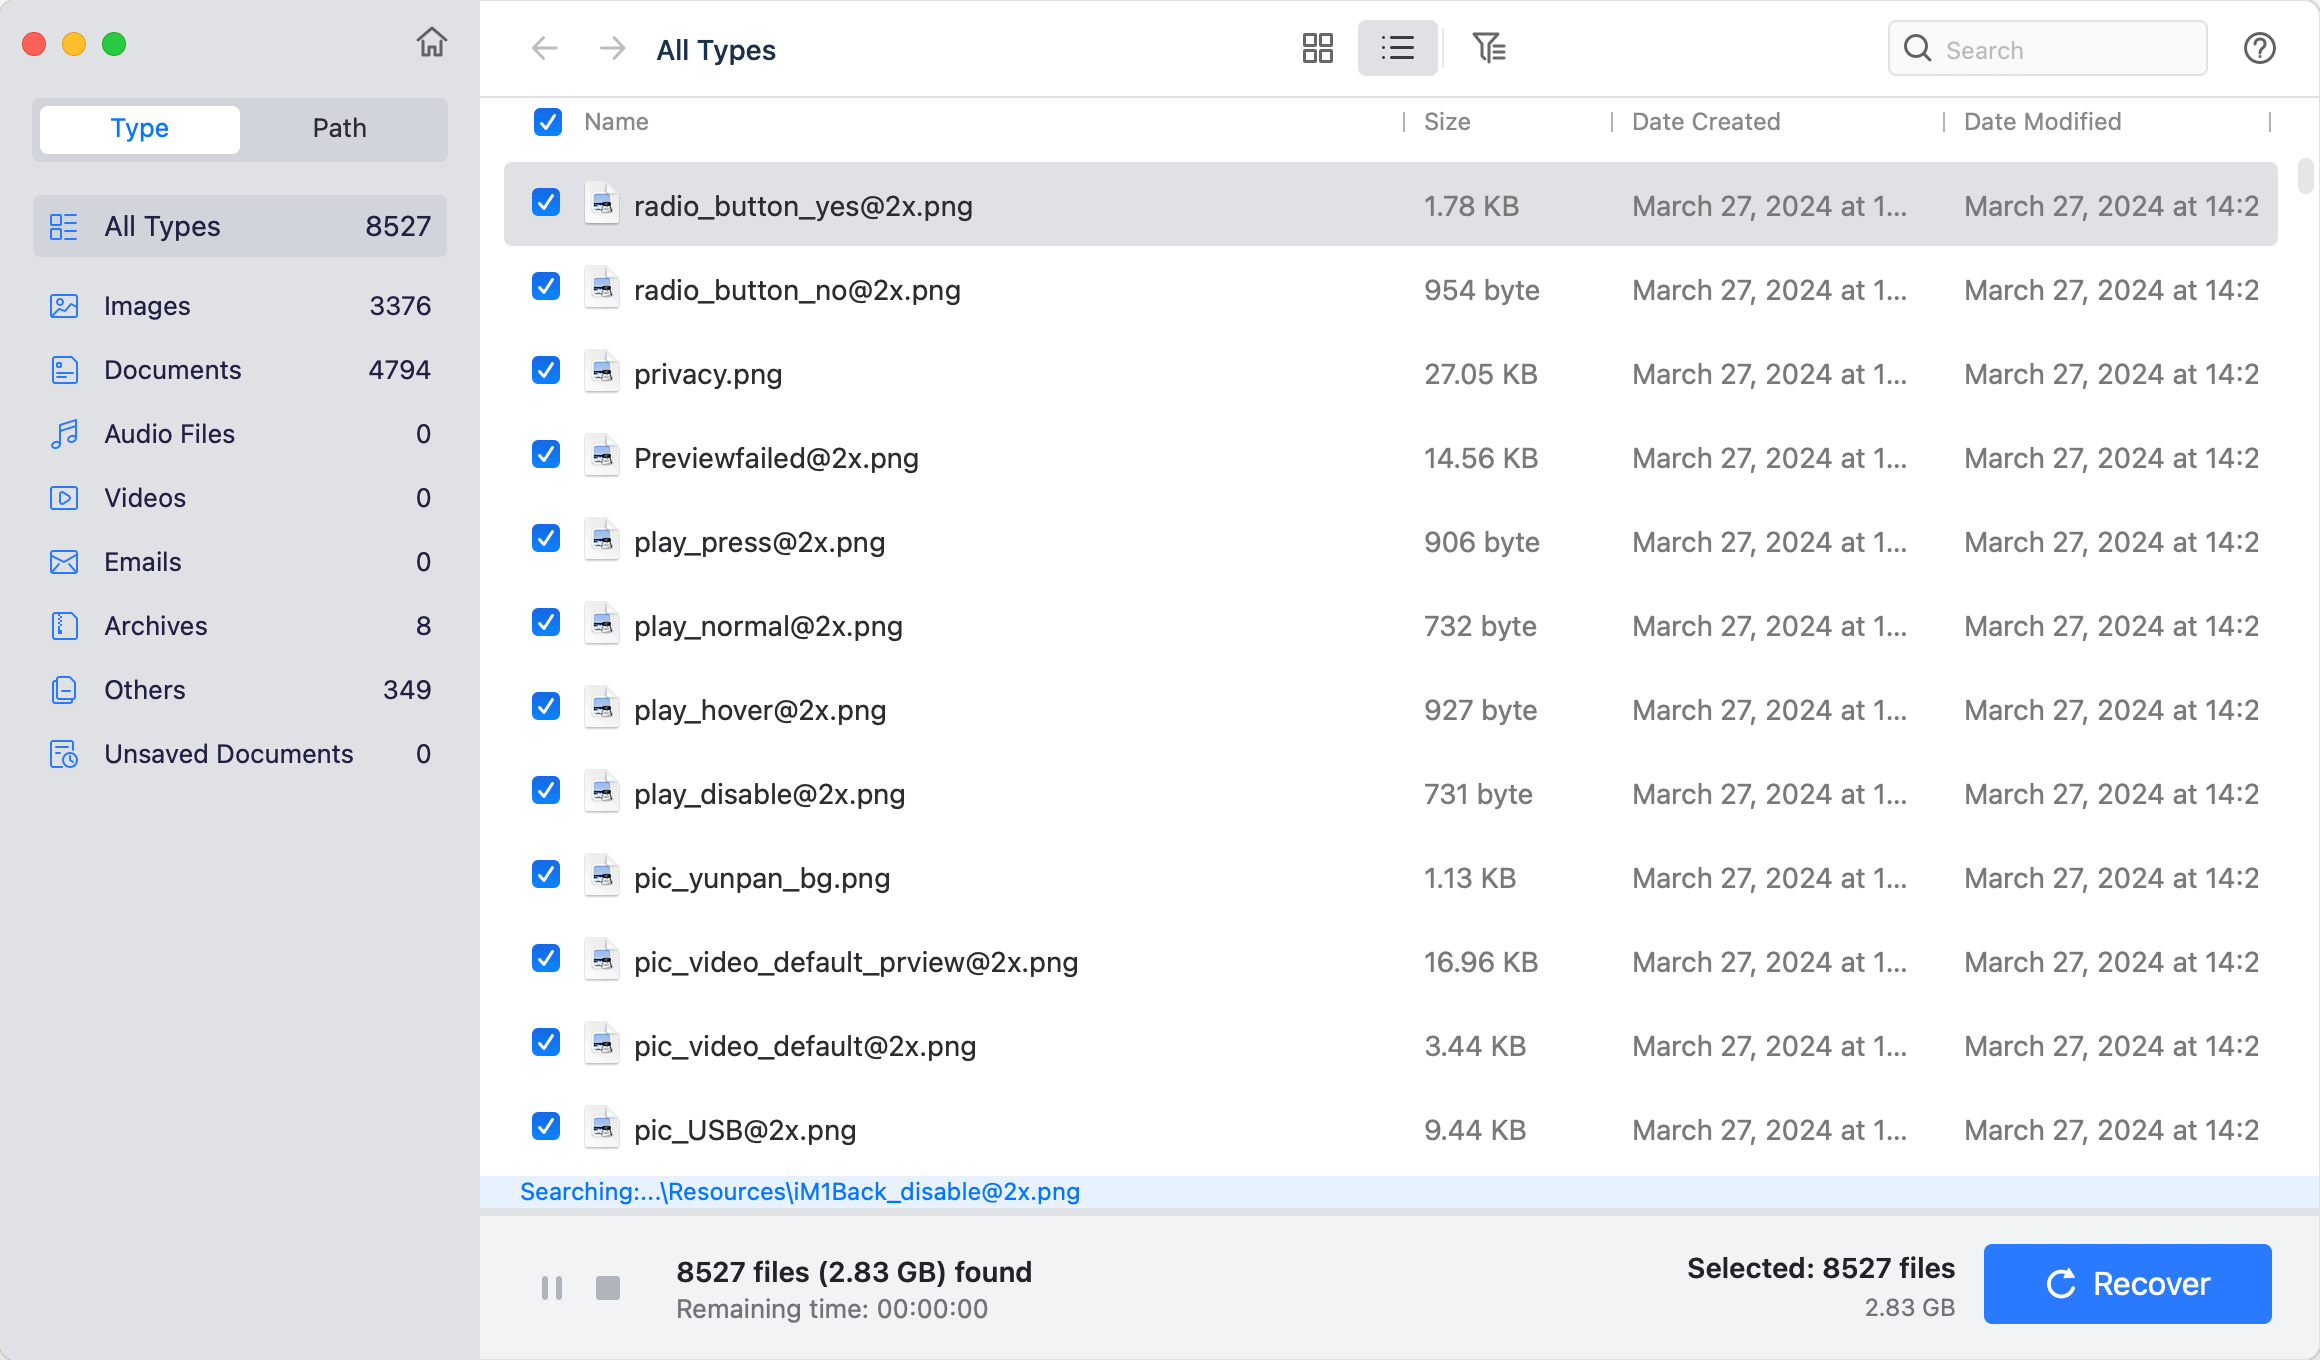
Step 4. Once the scan is completed, you can preview all recoverable files. Then select the wanted files and save them.

FAQs About How to Format NTFS to APFS
1. How to quickly convert NTFS to APFS on Mac?
- Connect the NTFS drive to your Mac and open Disk Utility.
- Select the NTFS drive and click Erase.
- Select APFS as the file system and click Erase again.
- Once the process gets finished, click on Done button.
2. How to use a NTFS drive on Mac without formatting?
A third-party NTFS for Mac application allows you to quickly and effortlessly copy files to and from an NTFS disk and a Mac and write files to an NTFS drive on your Mac.
Tools like DoYourData NTFS for Mac, macFUSE, NTFS Tool, iBoysoft NTFS for Mac, Paragon NTFS for Mac, and Tuxera NTFS for Mac are all options.
These utilities facilitate the installation of an NTFS driver for your Mac and allow you to freely create, modify, delete, copy, rename, and save files to an NTFS drive while using your Mac. The NTFS drive can then be used on the Mac without any hassle or need for formatting.
One of the Mac NTFS programs can copy all files from the NTFS drive to a spot on the Mac, where the conversion from NTFS to APFS can be performed. Connecting an NTFS drive to a Windows machine allows you to read and write to the drive from within Windows.
If you want to convert the NTFS drive to APFS, you can download and install a NTFS for Mac tool on your Mac. Open it, select the NTFS drive and click Format. Select APFS as the file system, then erase the NTFS to APFS.

3. How to unformat NTFS drive on Mac?
Run Do Your Data Recovery for Mac to scan the formatted NTFS drive, it will find all recoverable files. Select the wanted files and save them by clicking on Recover button.
Conclusion:
Moving data from NTFS drives to Macs is cumbersome due to the mismatch between the two file systems. The issue of NTFS drives being read-only on Mac can be remedied by formatting them as APFS. It is crucial to make a backup of your data before switching from NTFS to APFS.
DoYourData NTFS for Mac is the NTFS for Mac software and it allows you to use the NTFS drives on Mac without formatting to APFS. It quickly enables writable for NTFS drives and grant full read-write access to external hard drive, USB flash drive, etc.
Written & Updated by Ricky Lin
Ricky Lin is an senior editor of DoYourData who lives in Adelaide, Australia. He is interested in writing technology articles related with data recovery, computer issue fixes, disk clone, iPhone data recovery, video edit, Mac optimization, etc. He Joined DoYourData in 2019 and have written 500+ articles to help both Windows users and Mac users to solve data or computer problems.
Hot Articles
- Best Free Data Recovery Software Review
- Best Data Erasure Software Review
- Best Disk Cloning Software Review
- Fix External Hard Drive Not Showing Up on Mac
- Fix RAW External Hard Drive
- Reset A M1 Mac to Factory Settings
- How to Back Up Mac Data
- Uninstall Apps on Mac
- Install Windows-style Start Menu on Mac
- Fix iMac Black Screen and Fix iMac Boot Issue