Download & Activation
Click on Download button or link to download Do Your Data Recovery for Mac. Then double click the .dmg file to start installation.
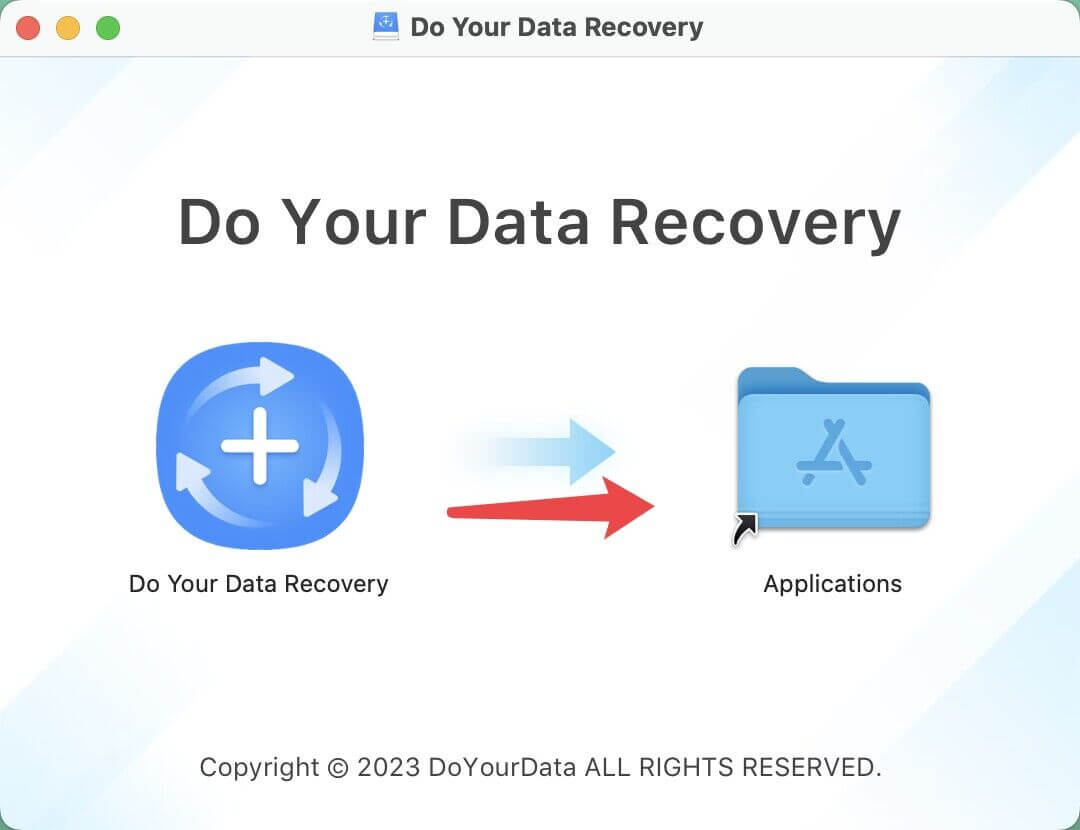
Drag the software icon to Applications folder to complete installation.
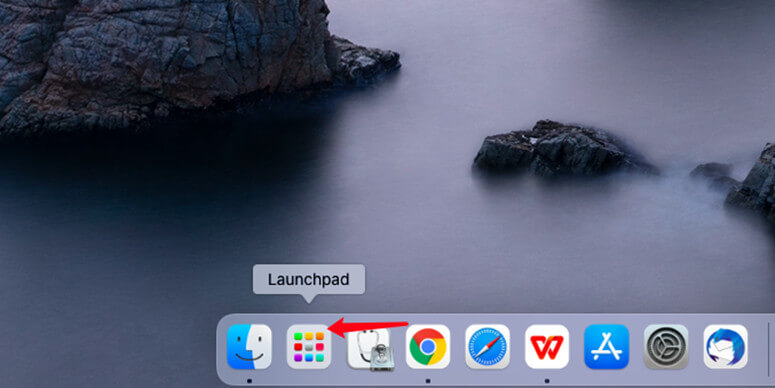
Open Launchpad > Find Do Your Data Recovery > Open it.
Click Activate icon, then you will see the activation box, enter your license code and click on Activate button.
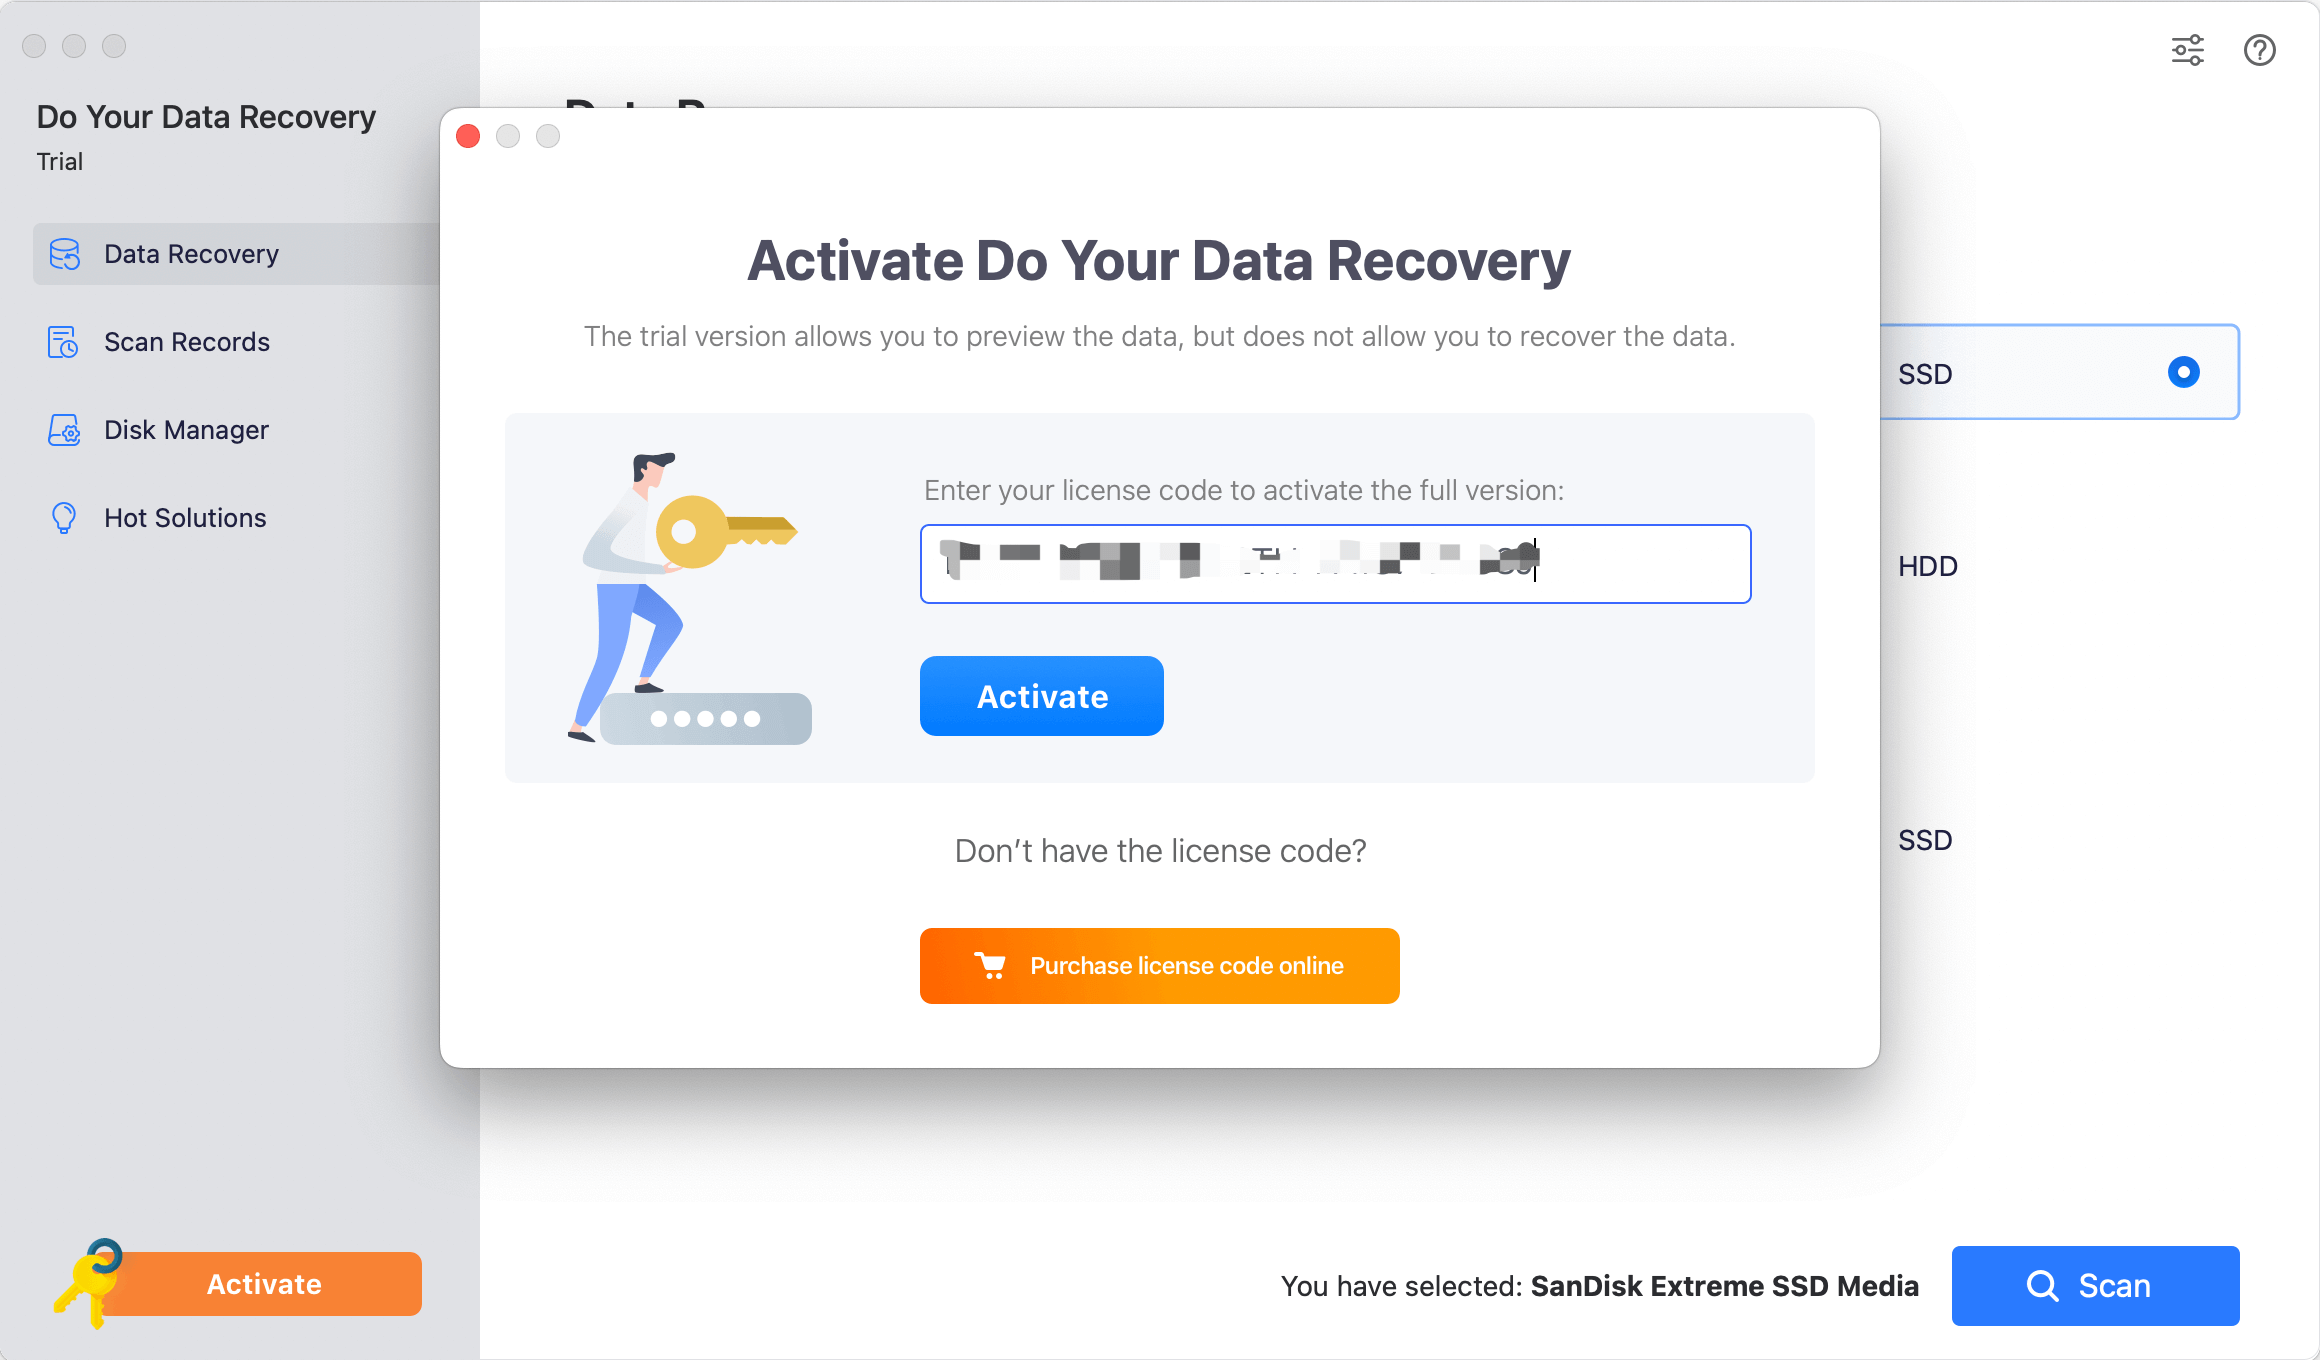
Note: the activation requires network connection. And if you are using VPN, just turn it off when you are activating this software.
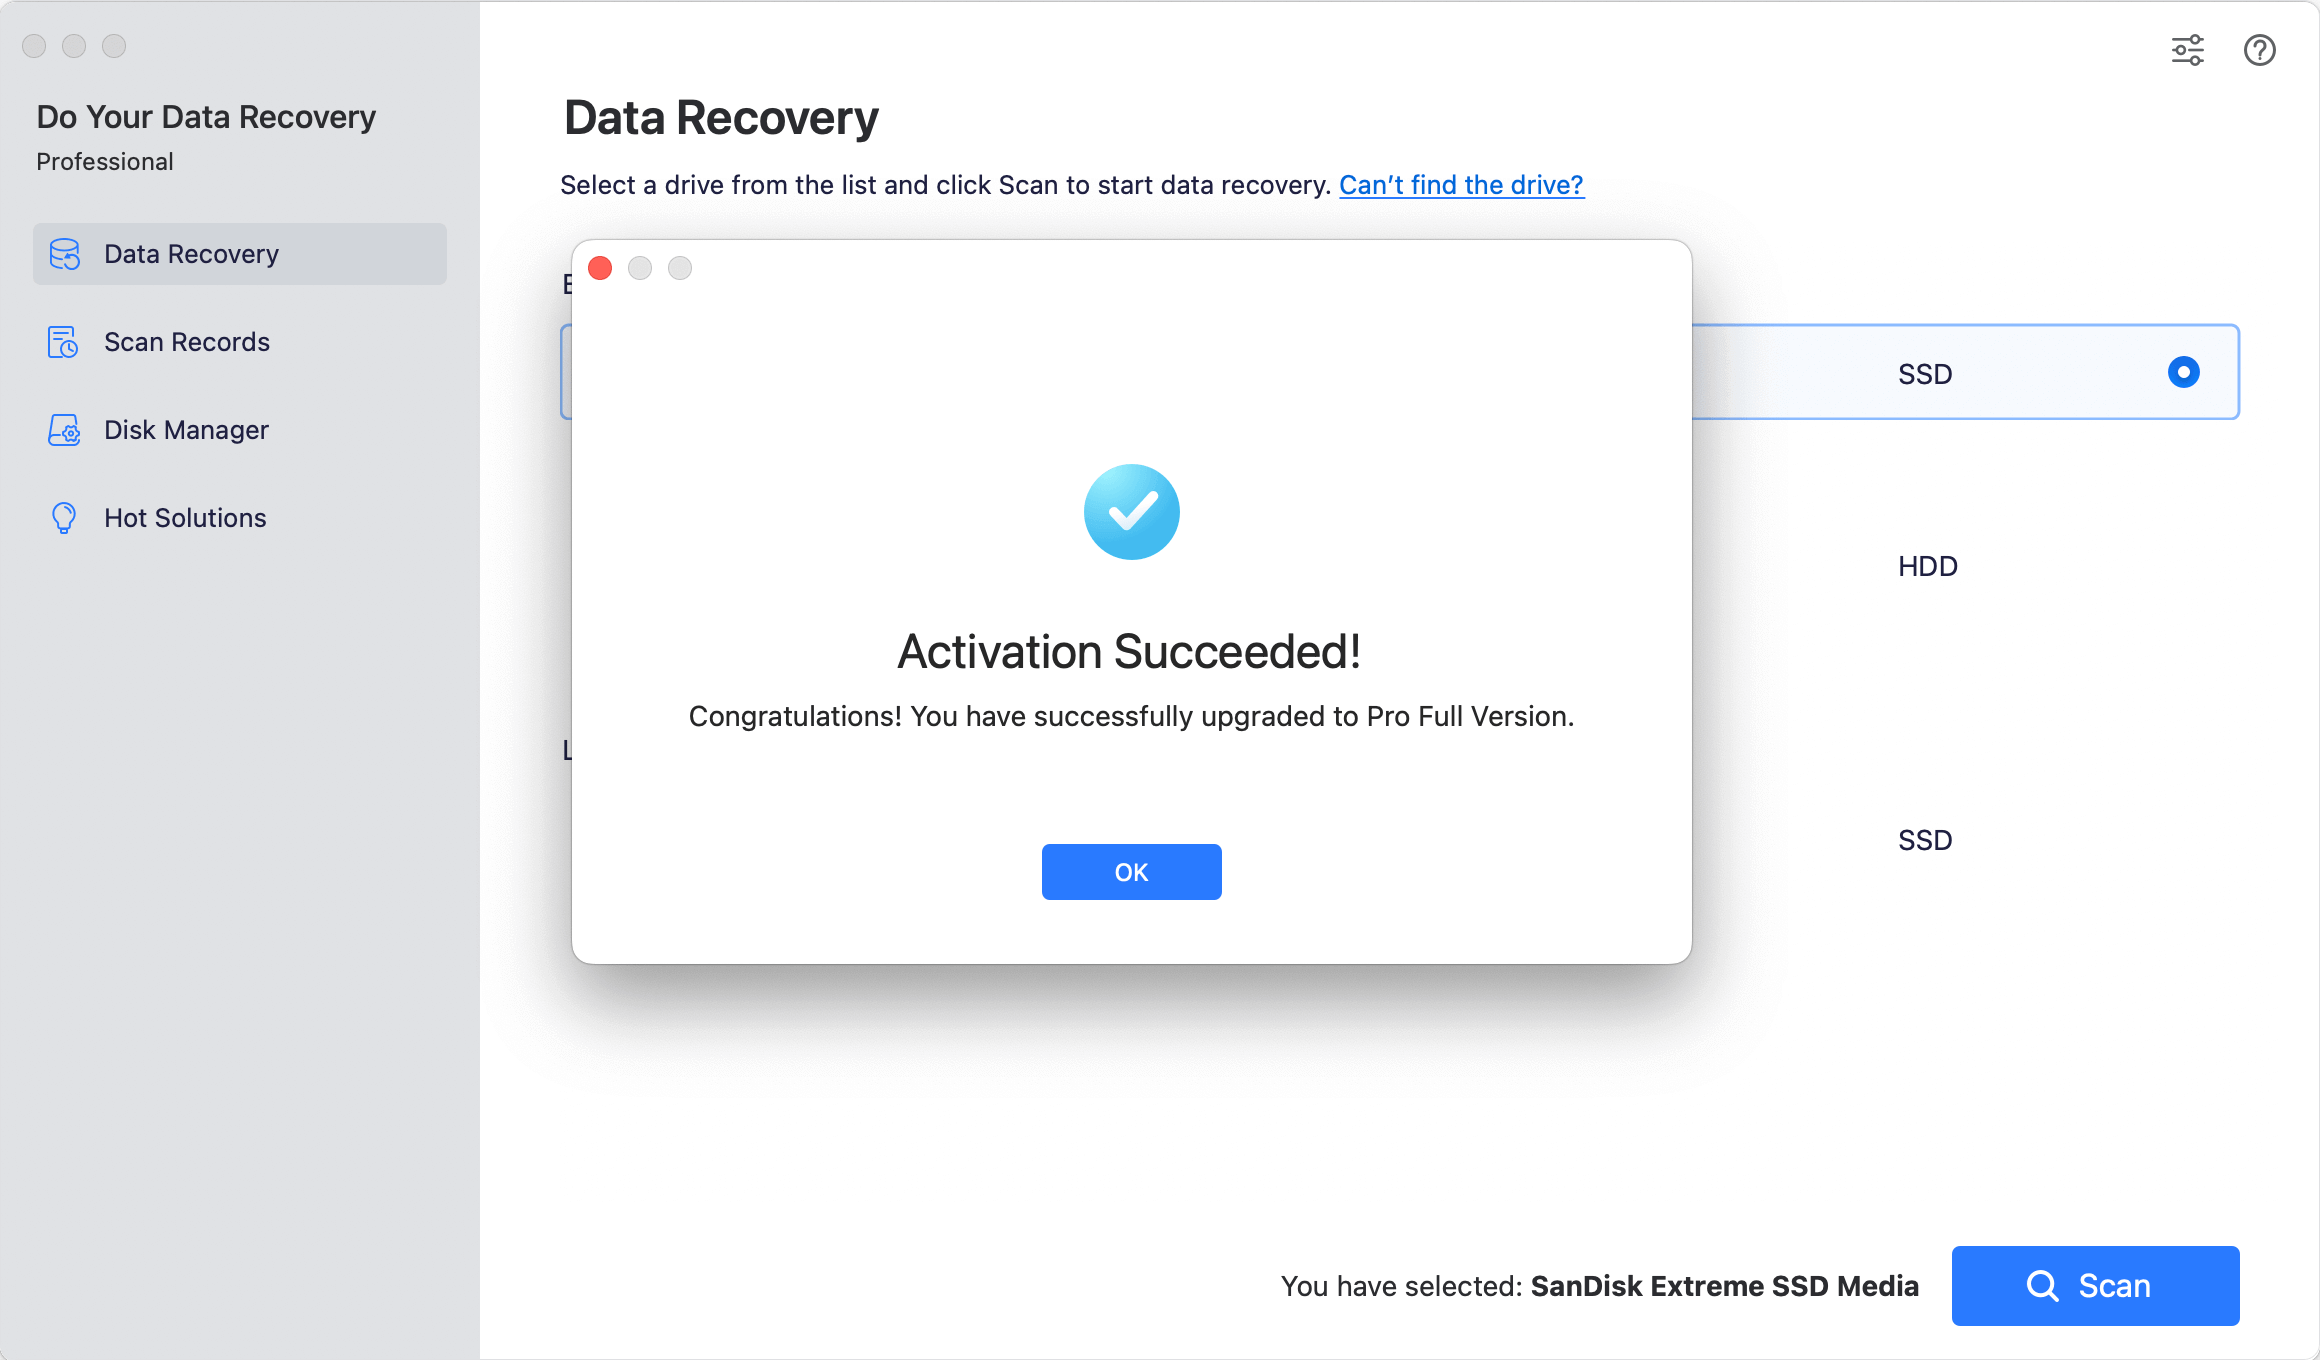
Now, this software is activated successfully and can help you recover unlimited files from unlimited disks or devices.
Three Data Recovery Steps
When you realize your have lost important files, don’t save new files to the hard drive where you lose your files. Just immediately run Do Your Data Recovery for Mac to scan the hard drive & quickly get lost files back. Here are the data recovery steps.
Step 1: Select the hard drive where you lose your data.
Select the hard drive or device where you lose your files to start data recovery. You can recover lost files from local/external Mac hard drive, as well as retrieve lost files from SD card, USB drive, digital camera, memory card or other storage media. You can even recover lost files from deleted/lost Mac volumes.

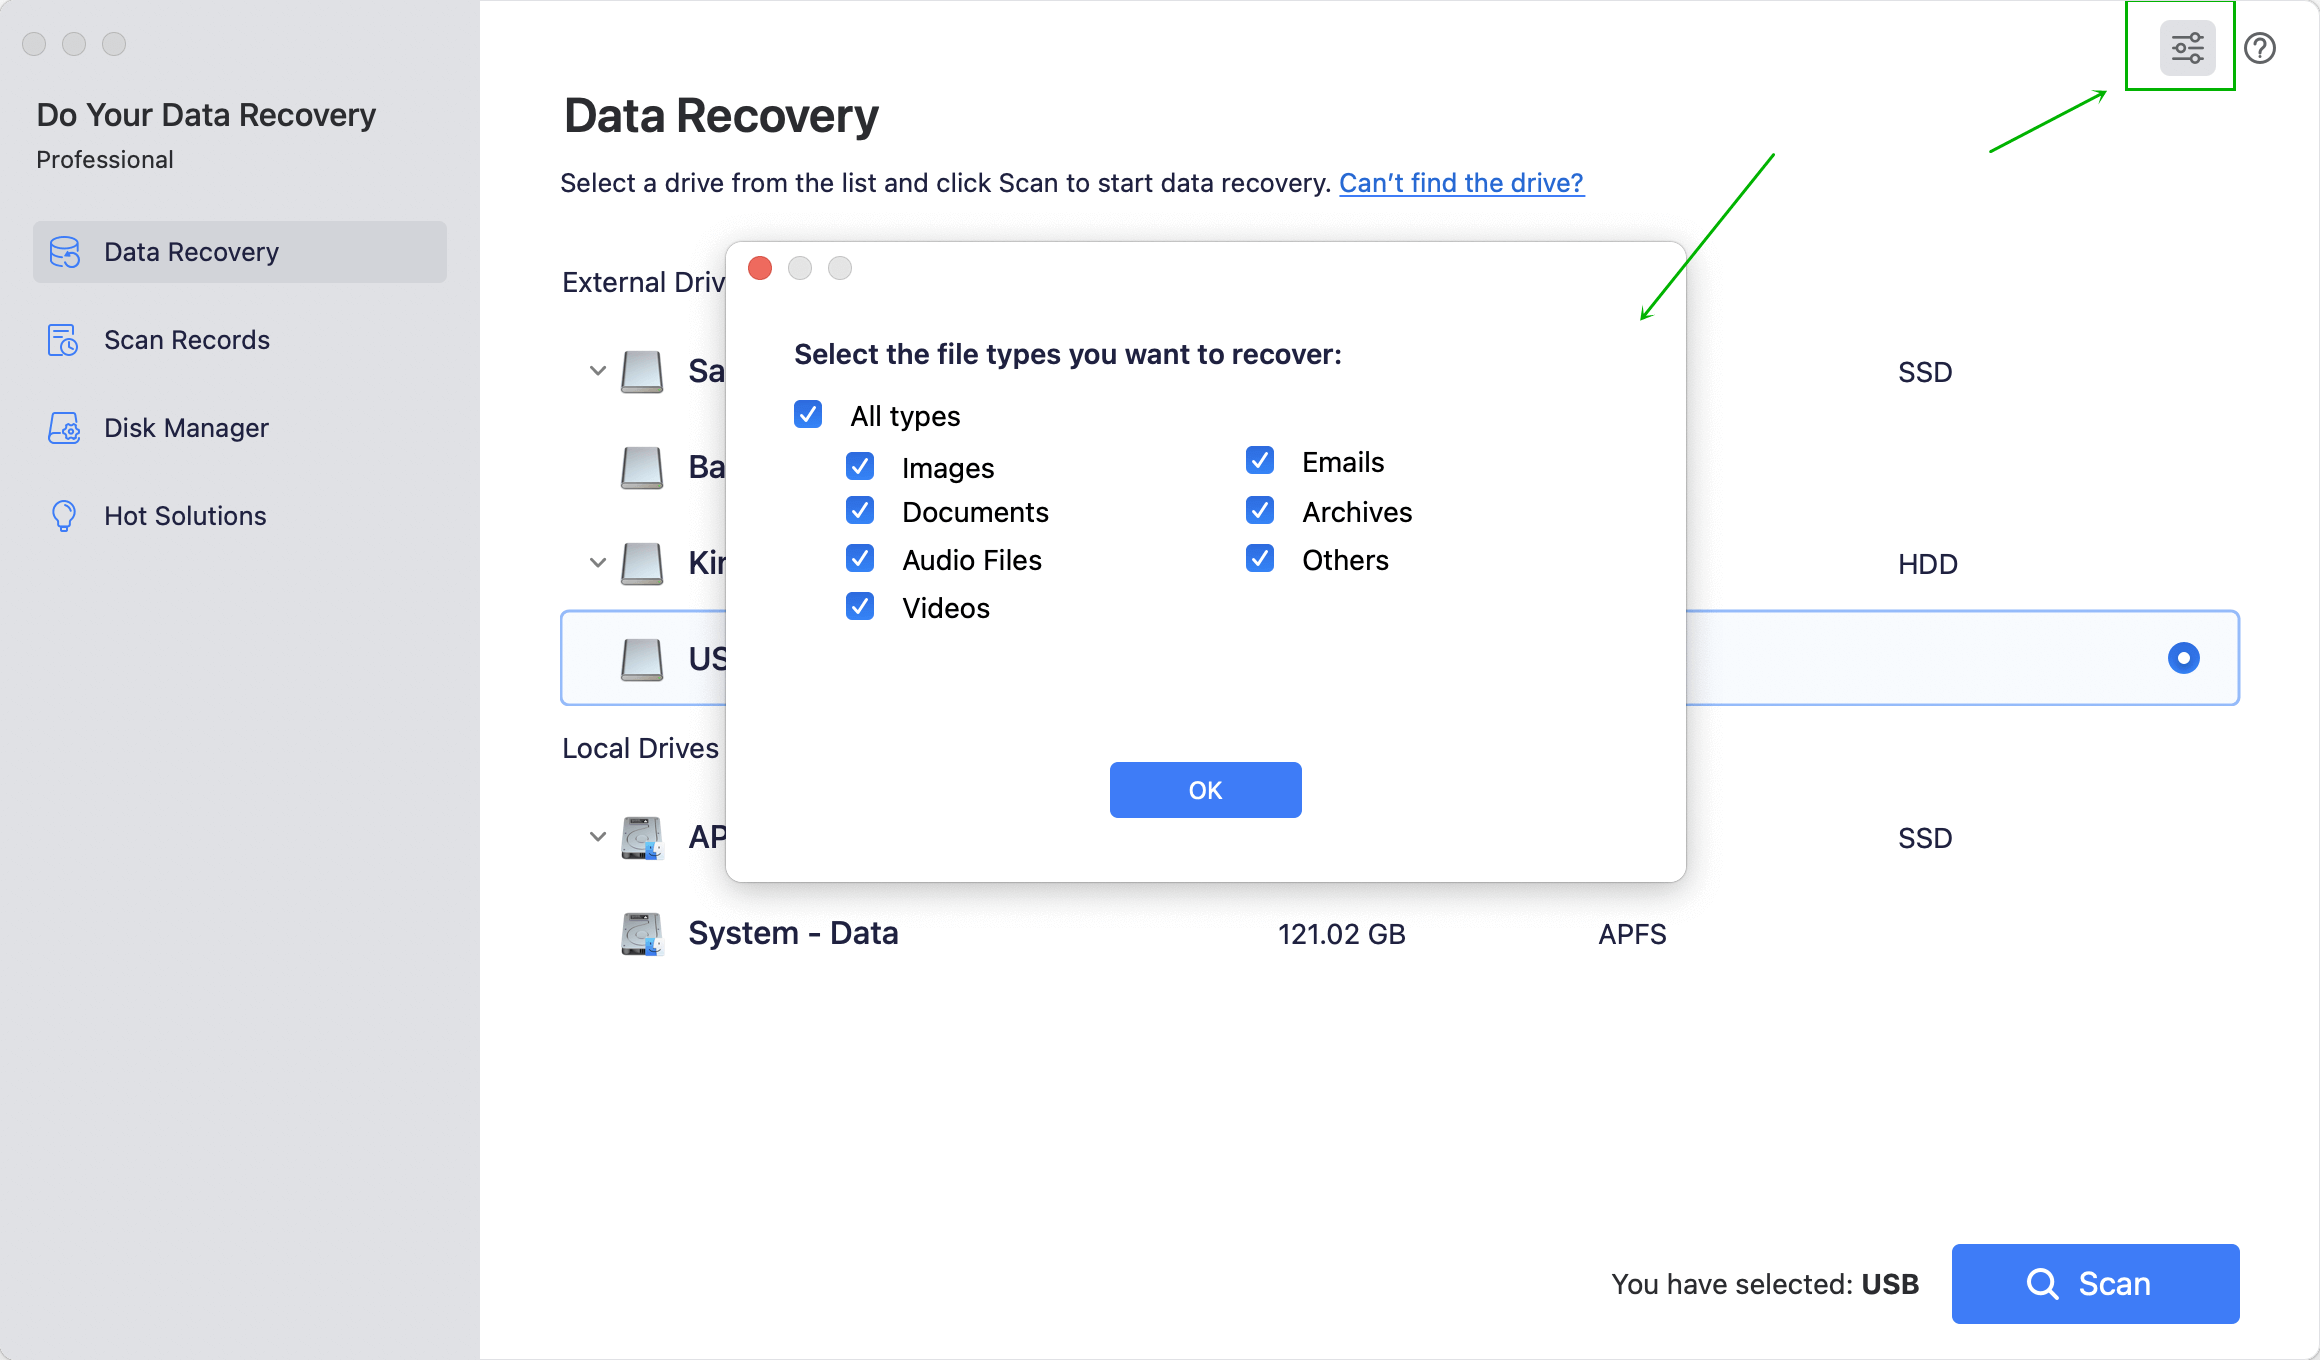
Select file types that you want to recover.
Click File Types you will see all File Types are selected by default. If you only want to recover one, two or three etc file types of files, please select them. For example, if you only want to recover photos, you just only select 'Images', then the program will scan your drive or device and find photos/images for you only. It will save your time and get a more focused scanning result.
Step 2: Scan your hard drive to find lost files.
After selecting the hard drive where you lose your files, just click on Scan button. Do Your Data Recovery for Mac will automatically scan the hard drive and find lost files.
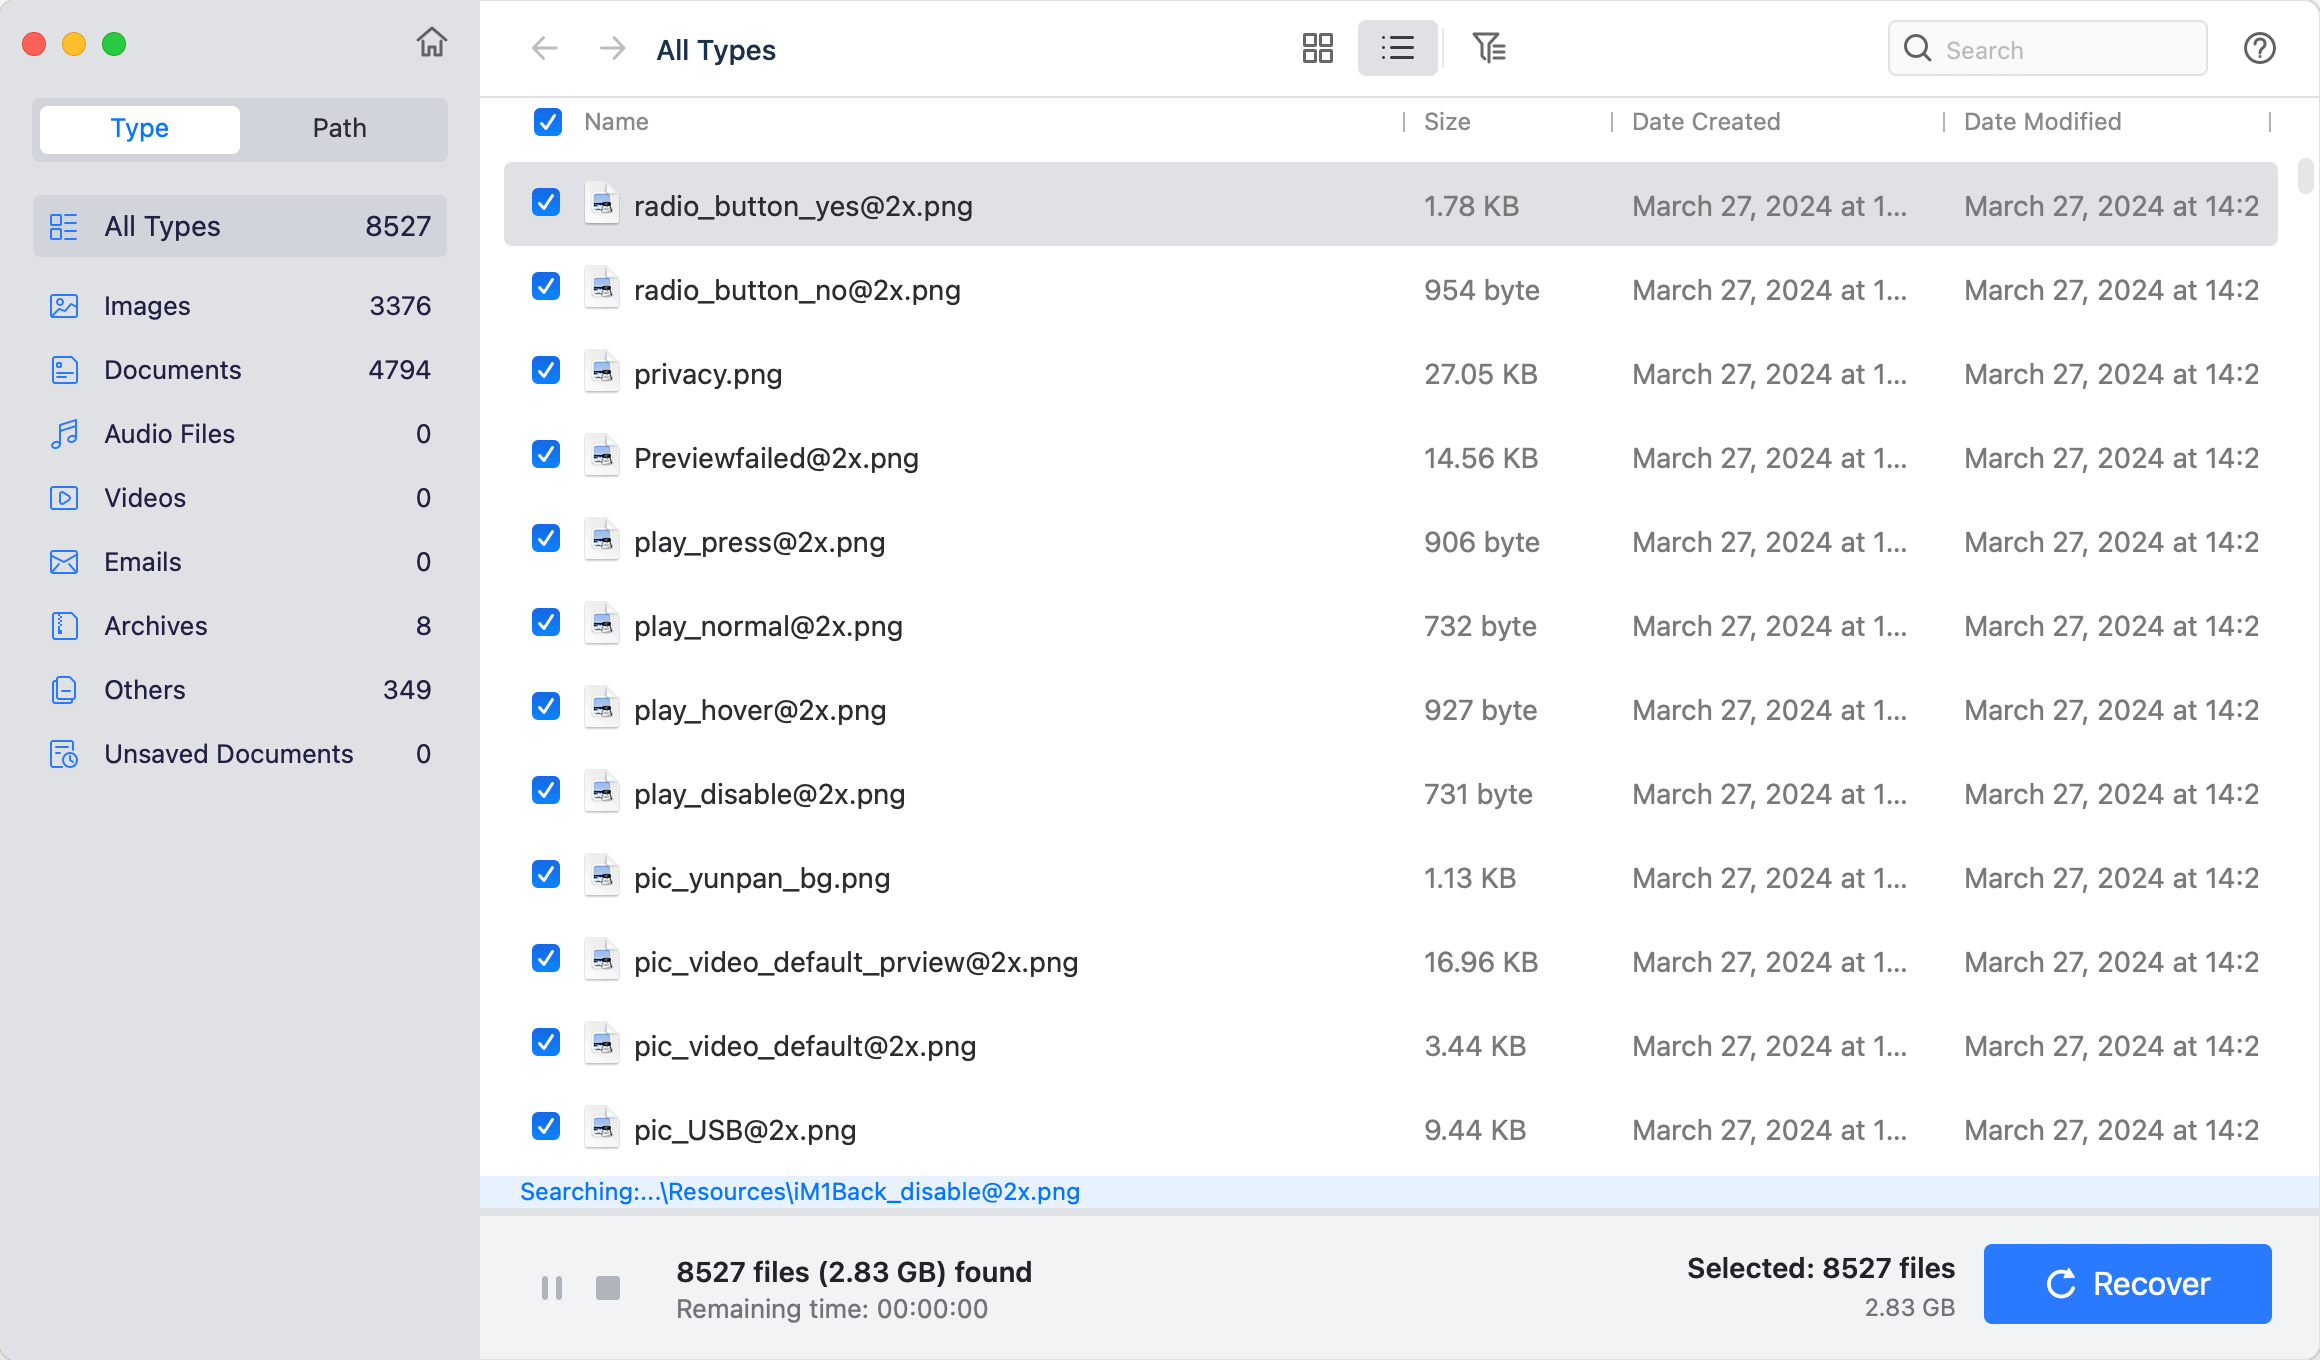
Step 3: Preview the files and recover them.
You can preview the recoverable files to check their quality before recovery. Then recover what you want and save them on your computer or storage device by clicking on Recover button. Please don't save the found files on the disk where you lose your data, in case that they would overwrite the original data.

Please note:
- 1. Don't save files the drive where you lose your files before getting all files back.
- 2. During the scanning, you can pause and stop the scan process to recover lost data.
Import/Export Scanning Result
Do Your Data Recovery for Mac offers ‘Import Scan Result’ and ‘Export Scan Result’ options.
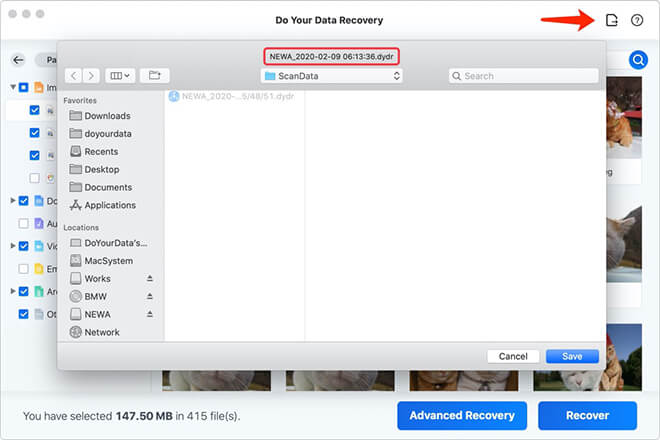
Export Scan Result
When a full scan is finished, you can save the scan result for later data recovery. Click ‘Export Scan Result’ icon and save the scan result as a .dydr file.
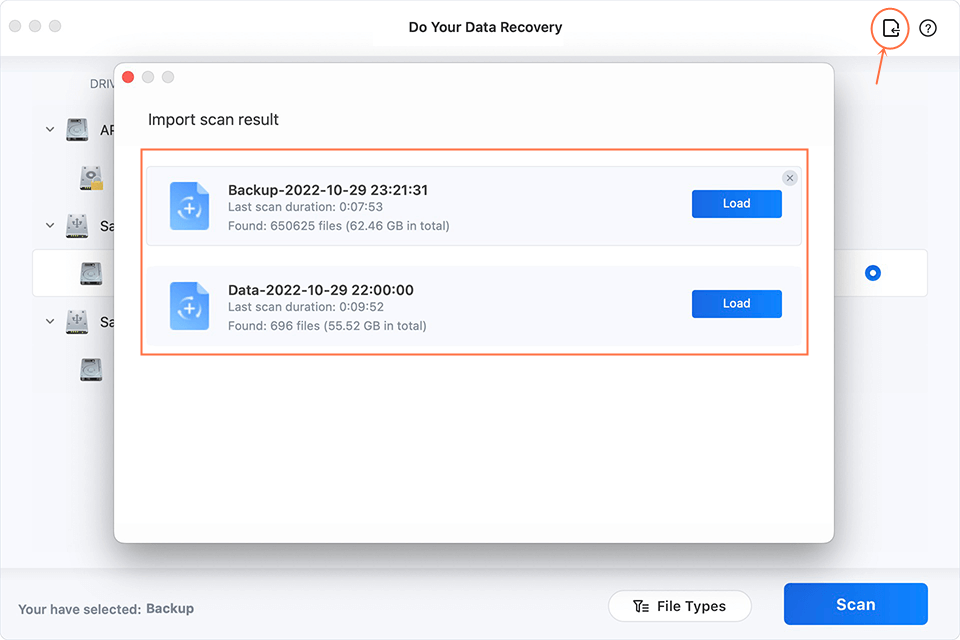
Import Scan Result
Run Do Your Data Recovery on your computer. Click ‘Import Scan Result’ icon on the top-right corner of the first interface, then import previous scan result (.dydr file) to resume data recovery. You don’t need to scan your hard drive again.
Tech Specification
System Requirements: macOS 26 (Tahoe) - macOS 10.12 (Sierra), Mac OS X 10.11 (El Capitan) - 10.9 (Mavericks), and Mac OS Server.
Supported Devices: You can recover lost data from Mac Desktop/Laptop/Server computer, HDD, SSD, memory card, digital camera, USB flash drive, external hard drive, RAID and other storage media device. (All T1/T2/Apple Silicon Chip machines are supported.)
Supported File Formats: You can recover all types of lost files including emails, images, videos, audio files, documents, archives, folders, raw files, etc.
File System: FAT 12/16/32, exFAT, HFS, HFS +, NTFS/NTFS +, ext 2/3/4, APFS and more.
Disk Space: at least 100 MB.
Please feel free to contact us by sending an email to support@doyourdata.com if you have any question.