Back Up macOS Using Time Machine
Full guide about how to back up Mac data with the tool Time Machine.
When you need to resell an old Mac Studio, it's necessary to wipe the data permanently first to protect your privacy information. Also, you may need to erase data in some other cases, like removing sensitive or confidential data due to company policy or private information security. This guide introduces the professional data erasure software DoYourData Super Eraser for Mac to permanently wipe data and ensure the wiped data is no longer recoverable.
![]() Updated by Shirly Chen on April 14, 2025
Updated by Shirly Chen on April 14, 2025
Quick Navigation:
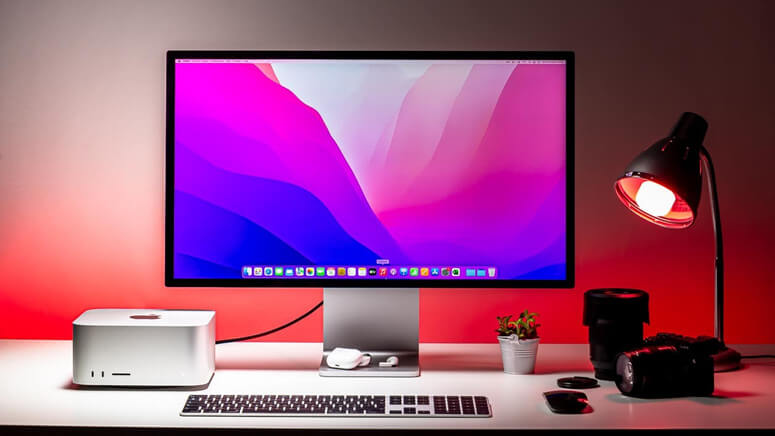
Apple offers a variety of products in the computing segment of its ecosystem. That includes MacBook as well as Mac Mini and now, the latest entrant, Apple Mac Studio.
No matter which Mac computer you own, there can always be a search to erase the data for some reason. For example:
So many reasons, yet you may not be aware of how to erase the data on your Mac Studio. Surprisingly, the older macs are supposedly trickier to reset. While the newer macs, ones with macOS Monterey or later version and Apple Silicon chipsets i.e., Mac Studio, offer a rather convenient method to erase the data. Here is a guide mentioning how to erase data on Mac Studio.
Note that if you face any abnormality while trying the below-given methods, stop and hand it over to some expert. Get it erased by someone who knows stuff (maybe under your supervision) to erase the data effectively.
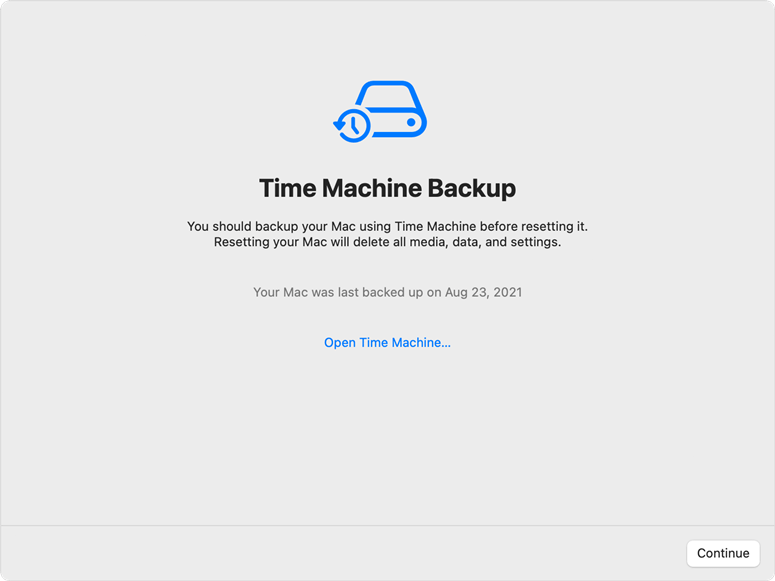
Are you looking to reset your Mac Studio? If yes then before you proceed, make sure that you have backed up your important files. Since there can be some files that you may not want to lose, it is always a good idea to back up your Mac running on an Apple Silicon chip.
Now you would say that there is no need to make a backup since your Mac has iCloud, it backs everything up. Unfortunately, that may not be the case as some 3rd party data may not get backed up in this official app for macOS.
Therefore, you should manually make a proper backup using Apple's in-house backup tool, Time Machine. You can also use some suitable 3rd party software that promises to back up all those things that you require.
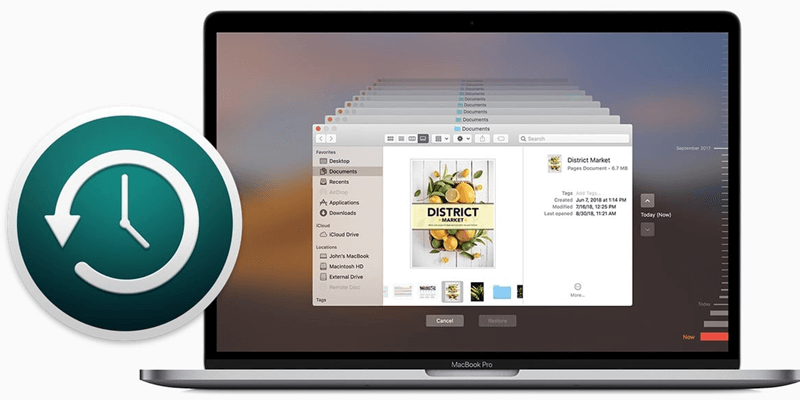
Back Up macOS Using Time Machine
Full guide about how to back up Mac data with the tool Time Machine.
In comparison, a backup made with Apple's Time Machine might be easier to restore once you are done erasing your Mac. So, it seems to be a good idea to prefer Time Machine over other products for this process. Time machine uses an external storage device to make a backup (more info about Time Machine available on Apple's support page).
In case, you face any complications backing up or restoring your Mac Studio using Time Machine, ask for expert help from Apple Support or from someone who knows his job, to avoid any mishap.
On the other hand, you can also try to manually make a backup of your files. To do that, connect an external drive with your Mac and copy the required content to it. Keep it safe so that you can use it later when needed.
How to Create Bootable Clone Backup for Mac?
Use DoYourClone for Mac to copy Mac and make a bootable backup.
Since Mac Studio also uses the latest Apple Silicon chips from Apple, running on macOS Monterey, the procedure should be similar to that used with the Apple Mac Pro.
Here is how you can erase your Mac Studio. This method is derived from the guide available on Apple's official page, for Mac computers running macOS Tahoe. The company itself asks its users to use this official guide (if applicable) instead of other methods.
Please note that this method will specifically work for Mac computers running on Apple's in-home-produced chipsets such as the M series. Since Mac Studio runs on an Apple Silicon, therefore, this method should also work for this newly launched device.
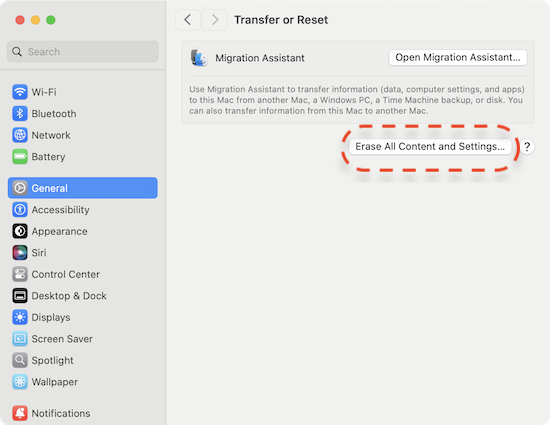
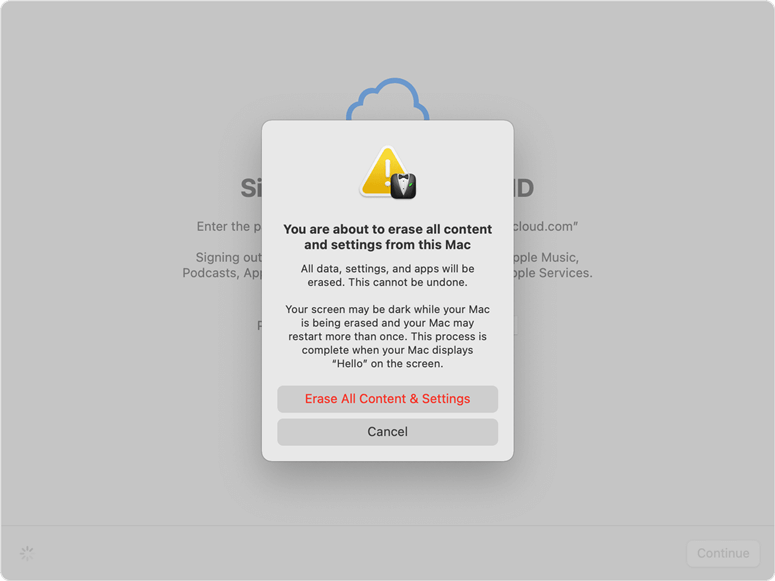
After the restart, you will be directed to a setup page just like the setup you faced on the first startup of your Mac. As your will is to sell it, thence, don't proceed with the setup and just turn it off by using the Power button.
Please note that the method above can help you erase your data, but the erased data still can be recovered by data recovery software. For example, Do Your Data Recovery for Mac can help you easily recover lost data on Mac Studio. If you want to permanently erase data on your Mac Studio, just try data erasure software method.
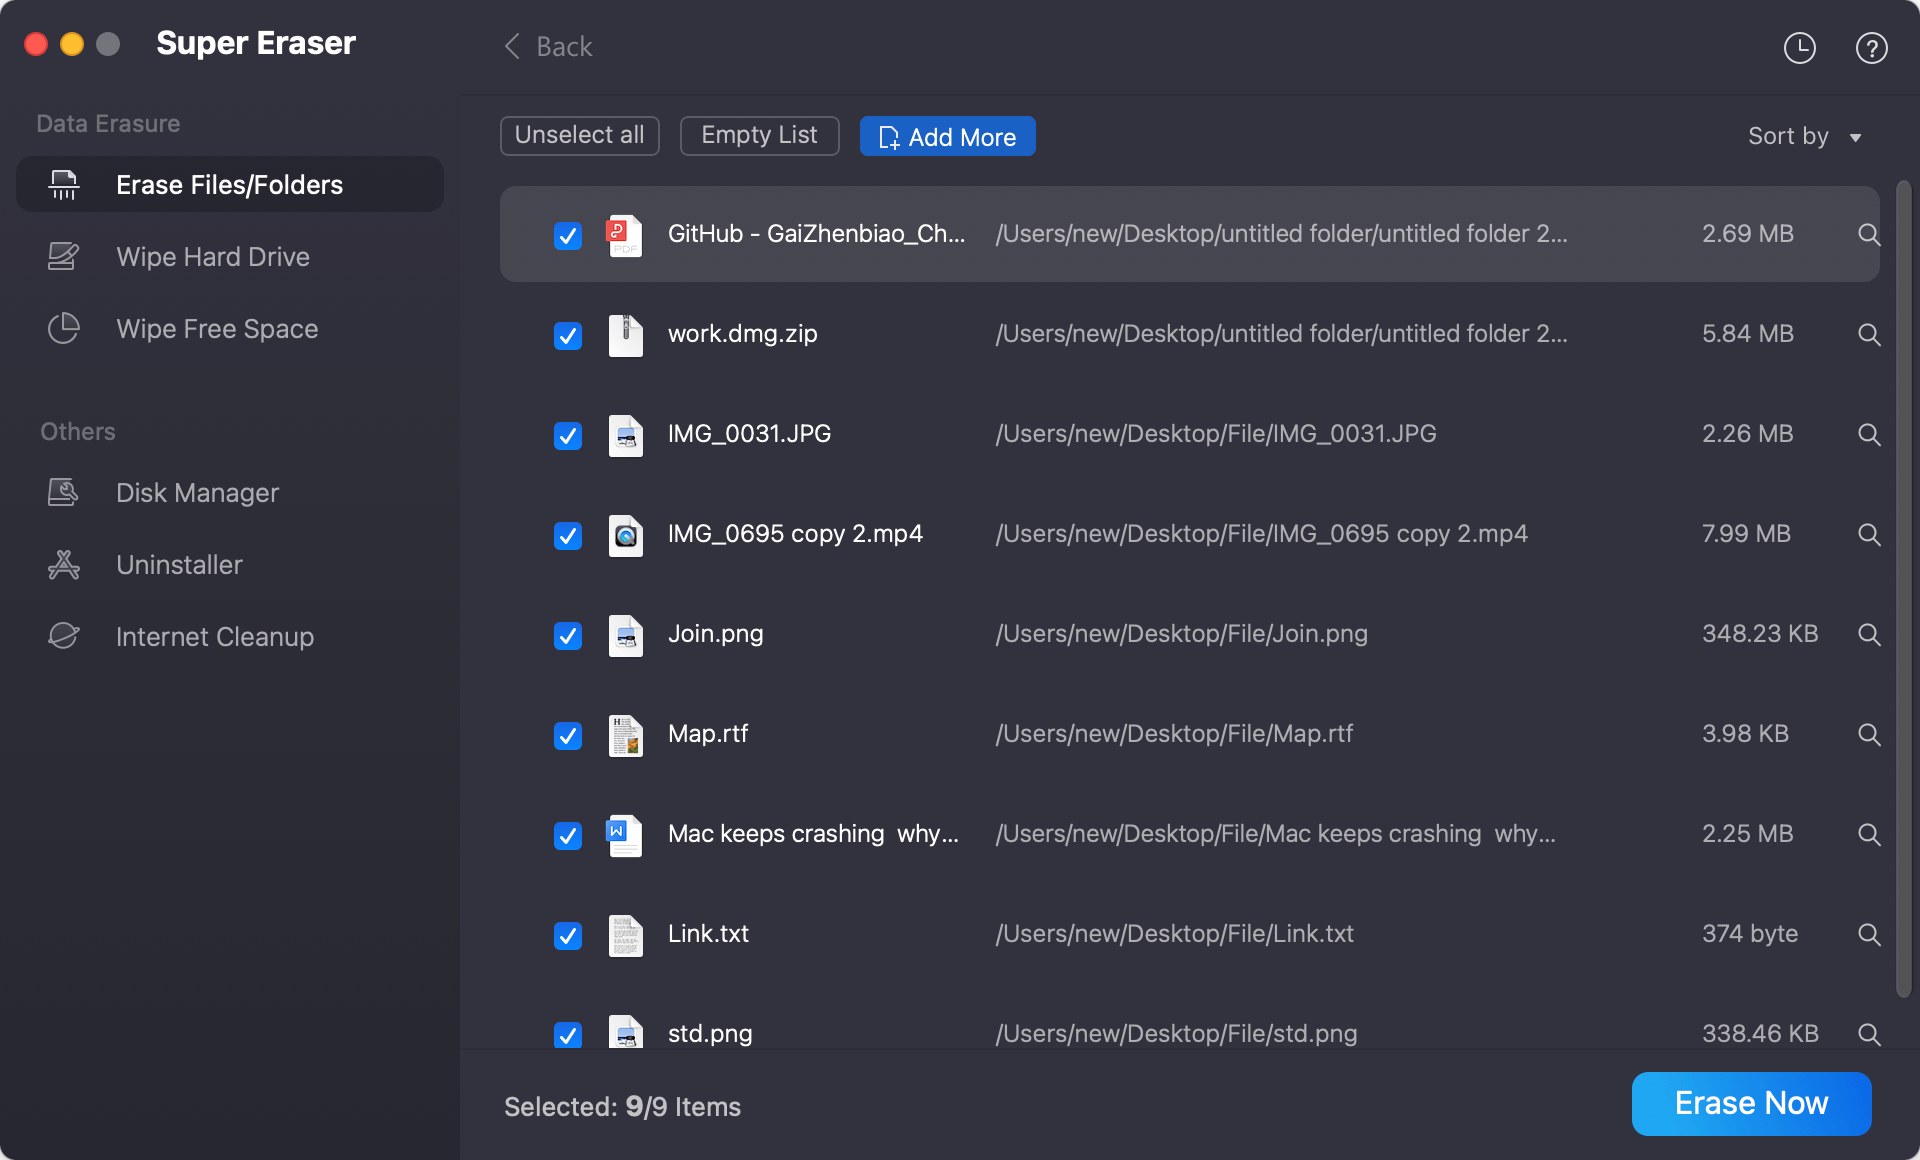
DoYourData Super Eraser for Mac is a powerful & easy-to-use data erasure software. It can help you securely and permanently erase data from Mac machines or external devices. Once your data is erased by this software, the data is gone forever, can't be recovered by any data recovery software.
Whether you want to shred a document on Mac Studio or wipe entire hard drive, just try DoYourData Super Eraser for Mac.
Just add files/folders from Mac Studio to the erasure list, then click on Erase Now button. This mode will securely and permanently erase the selected files and folders.
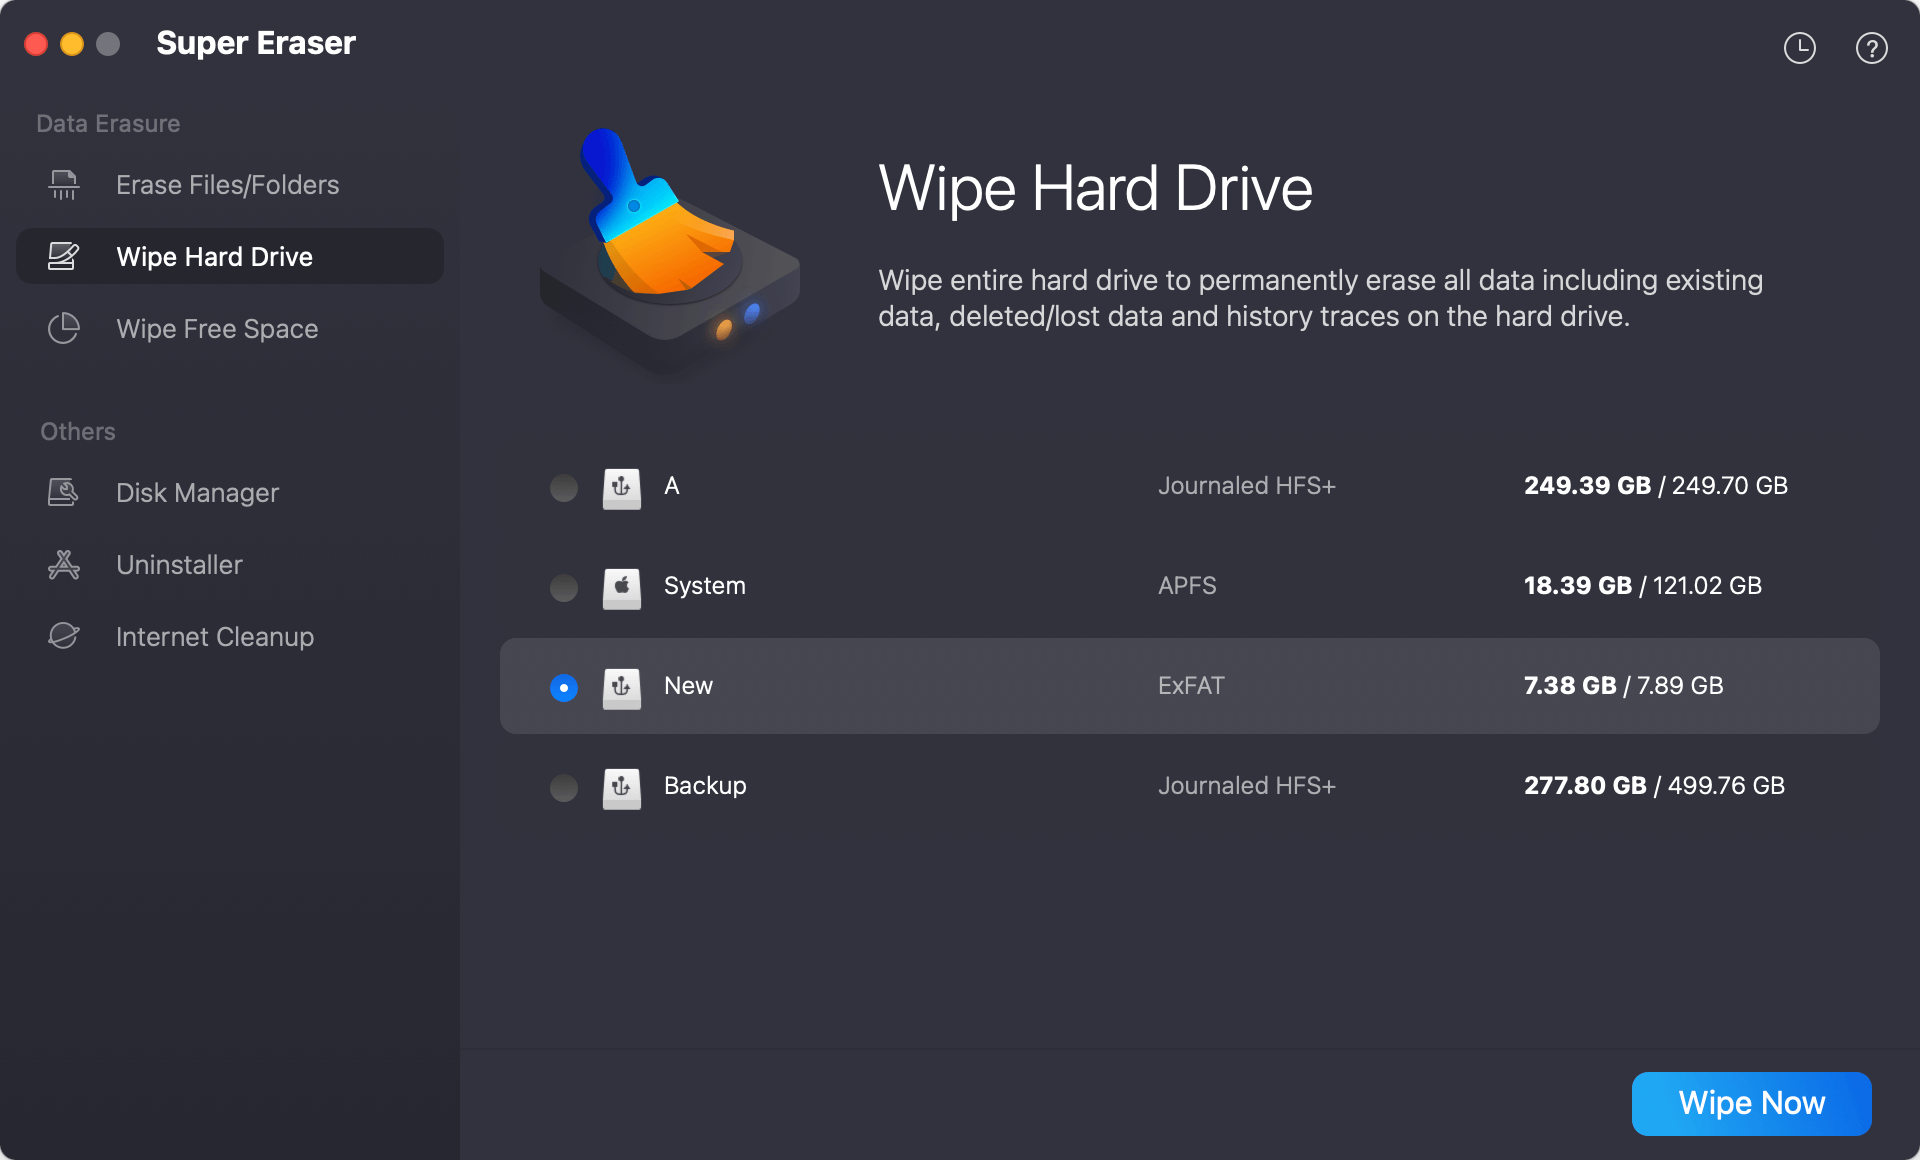
This mode can help you wipe all data from a hard drive or device. All data on the selected hard drive will be permanently erased.
This mode will wipe free space of the Mac Studio hard drive, and permanently erase all deleted/lost data. It will not erase the existing data on your Mac Studio.

With this article, we tried to present the method to erase data on Mac Studio. We hope that this guide will help the owners of Mac Studio. If you will sell or donate your Mac Studio, you'd better download DoYourData Super Eraser for Mac to help to permanently wipe all sensitive data.
DoYourData Super Eraser for Mac
DoYourData Super Eraser for Mac is a 100% safe, powerful and easy-to-use data erasure program. It offers certified data erasure standards including Peter Gutmann, U.S. Army AR380-19, DoD 5220.22-M ECE to permanently erase data from Macs and external devices, making data recovery be impossible.
Written & Updated by Shirly Chen
Shirly Chen has been writing data recovery, data erasure articles for DoYourData over 4 years. She has been working as a professional website content writer & editor for quite a long time. She also writes articles about disk clone, Mac optimization, disk backup, etc.