Permanently Wipe Data from Old Mac Before Upgrading to M5 Mac
Before upgrading to new M5 mac, you may need to permanently wipe data from the old Mac before you donate or sell it. DoYourData Super Eraser for Mac is a professional tool that an wipe and make sure the data is gone forever from the old Mac.
![]() Updated by Shirly Chen on May 26, 2026
Updated by Shirly Chen on May 26, 2026
Quick Navigation:
- Before Upgrading to M5 Mac, How to Deal With the Old Mac
- How to Securely and Permanently Wipe Data from Old Mac?
- Conclusion:
The launch of Apple's powerful M5 chip has many users excited to upgrade. However, before you unbox your new machine, there is a critical security step you cannot ignore: clearing your digital footprint. To protect your privacy, you must know how to permanently wipe data from Mac before upgrading to M5.

Many users believe that emptying the Trash or doing a standard factory reset keeps their information safe. In reality, standard deletion only hides files, leaving the actual data on the drive where recovery software can easily retrieve it. Whether you plan to sell, trade in, or donate your old computer, leaving behind financial documents or personal photos poses a major security risk.
To ensure a safe transition to your new M5 Mac, you need a clear workflow that combines a full system backup with permanent data destruction.
Before Upgrading to M5 Mac, How to Deal With the Old Mac
1. Backup All Data
Start by creating a comprehensive backup of your old Mac to prevent data loss.
- Use Time Machine to back up the entire system to an external hard drive or SSD—ensure the drive has enough storage (at least equal to your Mac's current used space).
- For critical files (documents, photos, videos), create a secondary backup via cloud services like iCloud, Dropbox, or Google Drive.
- Verify backups by restoring a few files to confirm they're intact.
Don't forget to save browser bookmarks, email accounts, and application preferences (e.g., export settings from apps like Adobe Creative Suite or Microsoft Office).
2. Deauthorize Accounts and Services
Sign out of all accounts linked to your old Mac to avoid license conflicts or security risks.
- For media services, deauthorize iTunes (or Apple Music) and iBooks to free up device slots.
- Unlink cloud storage accounts (iCloud, OneDrive) by signing out in System Settings.
- For subscription-based software (e.g., Adobe Creative Cloud, Microsoft 365), deactivate the license in the app settings to transfer it to the new M5 Mac later.
- Also, log out of social media, email clients, and password managers to protect sensitive information.
3. Erase Personal Data Securely
Before selling, donating, or recycling your old Mac, erase all personal data to prevent unauthorized access.
- First, back up data (as above), then restart the Mac in Recovery Mode (For Apple silicon Mac: hold Power button during startup, then select Options and click Continue, for Intel-based Mac: hold Command + R during startup, ).
- Open Disk Utility, select your startup disk (usually "Macintosh HD"), and choose Erase. Use the APFS format (or Mac OS Extended for older models).
- After erasing, reinstall macOS to prepare the device for its next owner.
4. Transfer Data to the New M5 Mac
Use Apple's Migration Assistant to seamlessly transfer data from the old Mac to the new M5 Mac.
- Connect both Macs via a Thunderbolt cable, or use Wi-Fi (ensure both are on the same network).
- On the new Mac, during setup, select "Transfer from a Mac, Time Machine backup, or startup disk."
- On the old Mac, open Migration Assistant (found in Applications/Utilities) and follow the prompts.
- Choose to transfer apps, documents, user accounts, and system settings.
This process may take time depending on data size—keep both Macs connected until complete.
5. Decide the Fate of the Old Mac
Choose an option based on the device's condition and your needs:
- Sell: Clean the Mac (wipe screen, remove case scratches), reset to factory settings, and list it on platforms like eBay, Facebook Marketplace, or Swappa. Highlight specs (model, storage, RAM) and include photos. Check current market prices for similar models to set a competitive rate.
- Donate: Organizations like Goodwill, schools, or nonprofits may accept working Macs. Ensure data is erased, and ask for a tax receipt if donating to a registered charity.
- Recycle: If the Mac is non-functional, use Apple's recycling program (Apple Trade In) or local e-waste centers to dispose of it responsibly. Apple may offer a small credit for eligible devices, even if they no longer work.
- Repurpose: Convert the old Mac into a home server, media center, or secondary display. Install lightweight macOS versions (e.g., macOS Monterey for older models) or use it for tasks like file storage, streaming, or testing software.
6. Update and Prepare for Handover
If selling or donating, ensure the old Mac is in optimal condition.
- Update macOS to the latest compatible version to fix bugs and improve security.
- Replace worn parts (e.g., battery, keyboard) if cost-effective, as this increases resale value.
- Include original accessories (charger, box) if available, as they make the device more appealing.
- Finally, draft a brief note for the new owner with setup instructions or any remaining warranty details.
By following these steps, you'll safely transition to your M5 Mac while ensuring your old device is handled securely and responsibly.
How to Securely and Permanently Wipe Data from Old Mac?
Why do you need to permanently wipe data from old Mac? Because the other solutions are not safe enough. No matter you deleted files, format the drive or factory reset the Mac, the data can still be recovered with professional data recovery software.
Only with a reliable data erasure software, you can make sure the data is wiped and cannot be recovered in any way. For example, DoYourData Super Eraser for Mac can help you wipe the data from Mac permanently.
Step 1: Download and Install DoYourData Super Eraser for Mac
First, visit the official DoYourData website to download the Mac version of Super Eraser. Once the download is complete, open the DMG file and drag the application icon to the "Applications" folder to install it. Launch the program from the Applications folder or Launchpad.
DoYourData Super Eraser
- Fast and safe to wipe data permanently from Mac.
- Wipe data with international data wiping algorithms.
- 3 modes to shred files or wipe hard drive data.
Step 2: Select the Data Wiping Mode
DoYourData Super Eraser for Mac offers three main modes; choose the one that matches your needs:
- Erase Files/Folders: Use this to wipe specific files or folders. Click "Erase Files" on the main interface, then drag and drop the target files/folders into the program window, or click "Add" to browse and select them manually.
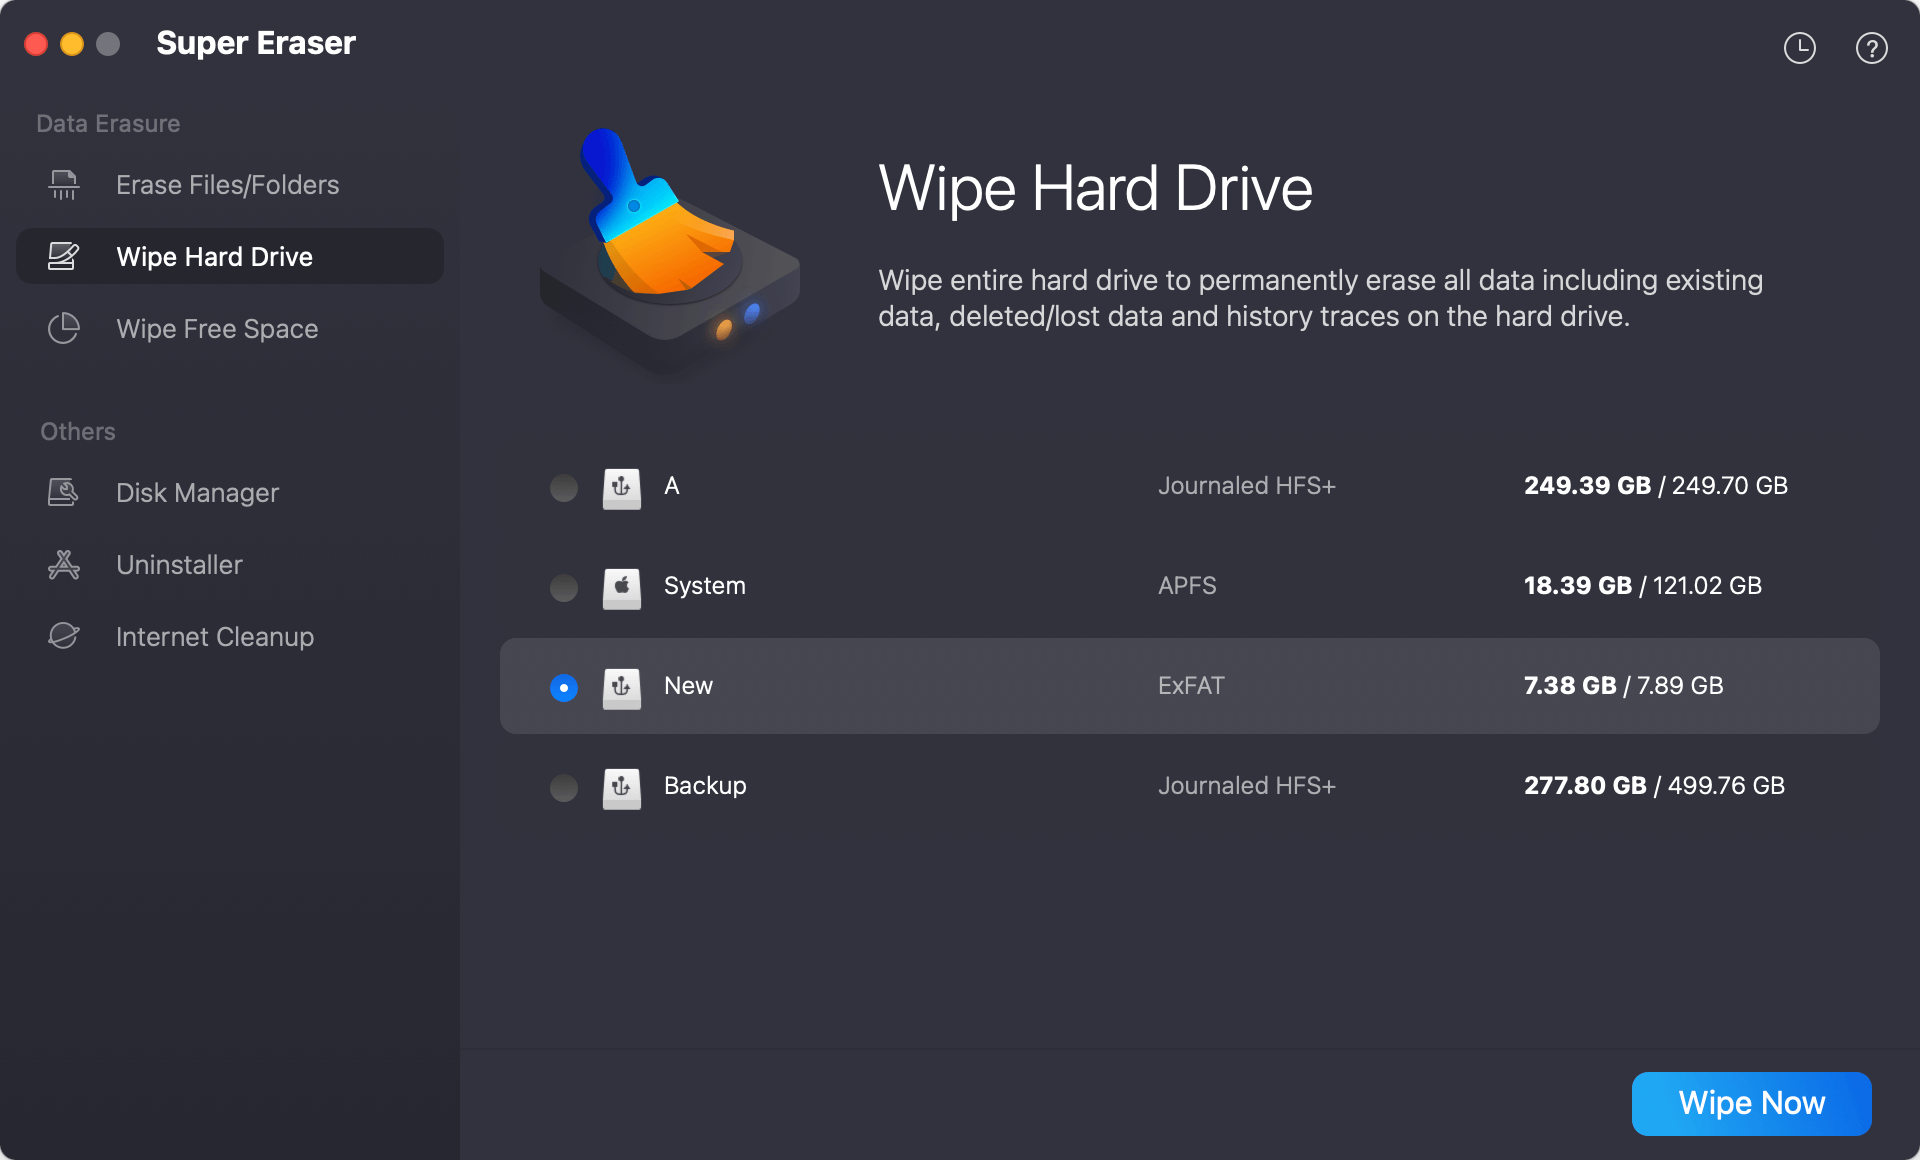
- Wipe Hard Drive: Select this to wipe an entire hard drive (e.g., internal disk, external SSD/HDD, USB drive). Click "Erase Hard Drive," then choose the target drive from the list of available storage devices.
- Wipe Free Space: This mode securely overwrites the free space on a drive to permanently delete previously deleted files that may still be recoverable. Click "Erase Free Space," then select the drive whose free space you want to wipe.
Step 3: Choose a Wiping Algorithm
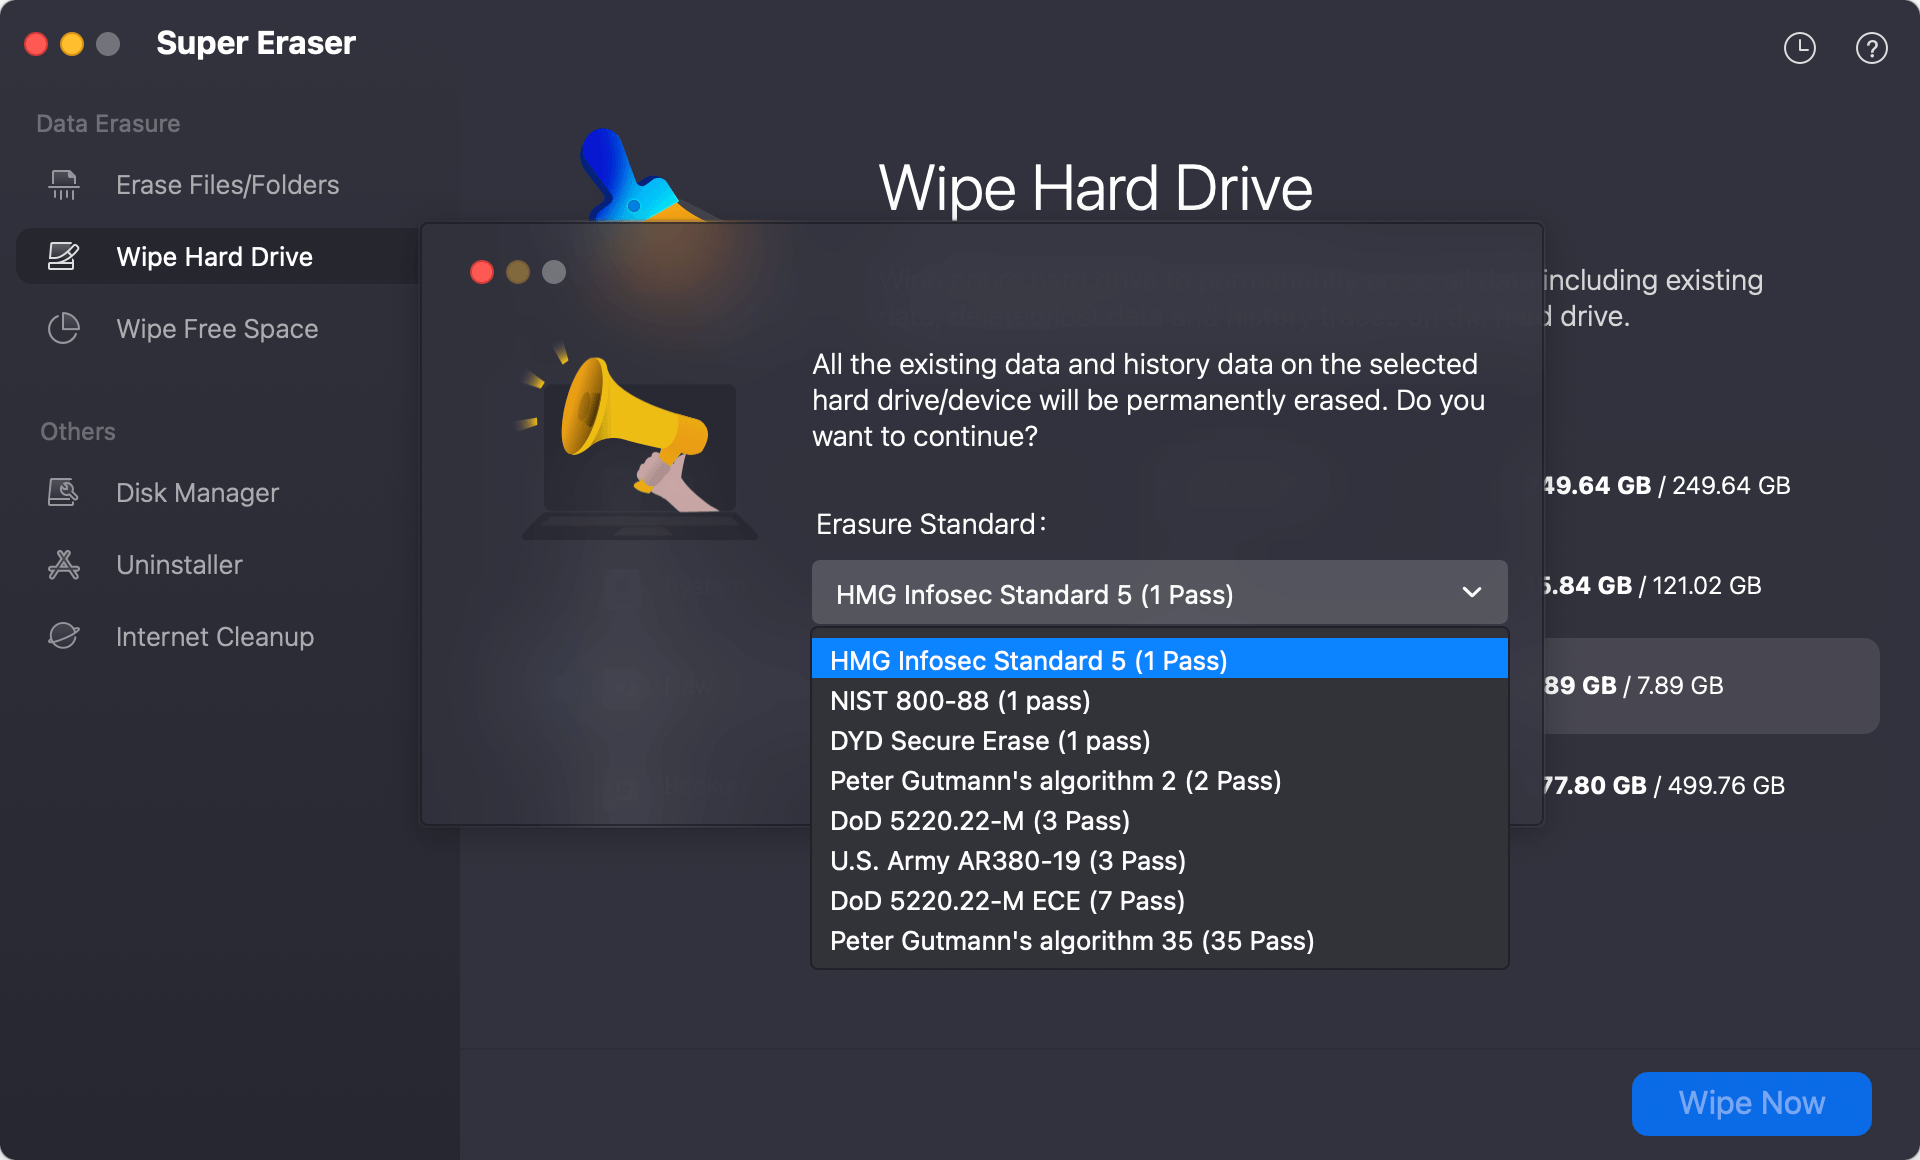
After selecting the mode and target data/drive, click Wipe to proceed to the wiping settings. The program provides multiple security levels (wiping algorithms) to balance speed and data irrecoverability:
- DYD Secure Erase (1-pass): Overwrites data with zeros. Fast but may not meet high-security standards.
- DoD 5220.22-M (3-pass): Follows U.S. Department of Defense standards, overwriting with three passes (zeros, ones, random data). Suitable for most users.
- Peter Gutmann's algorithm (35-pass): The most secure option, using 35 passes to overwrite data. Ideal for highly sensitive information but takes longer.
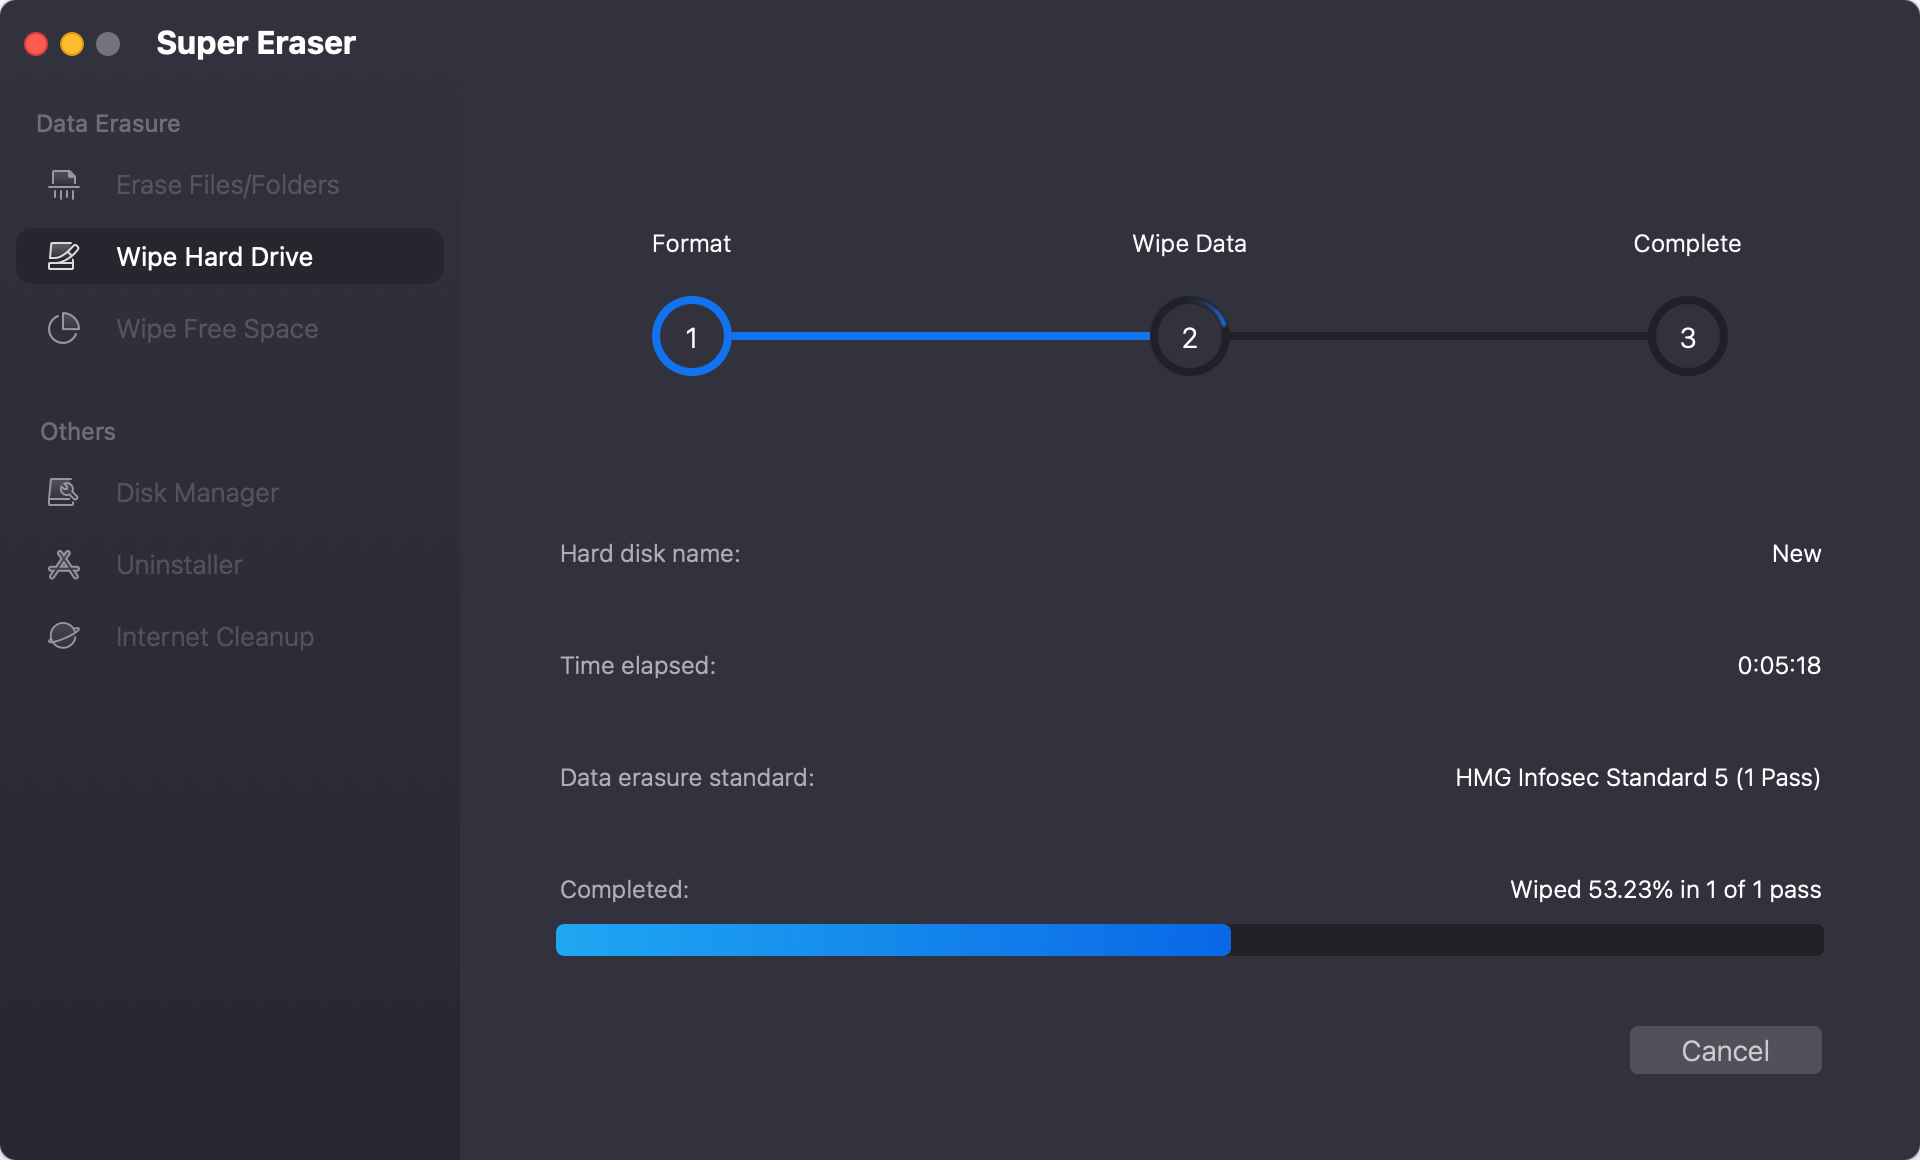
Step 4: Confirm and Start Wiping
Select the desired algorithm based on your security needs and click Continue to confirm. The program will display a progress bar showing the wiping status. Do not interrupt the process or disconnect the drive (for external devices) until it completes.
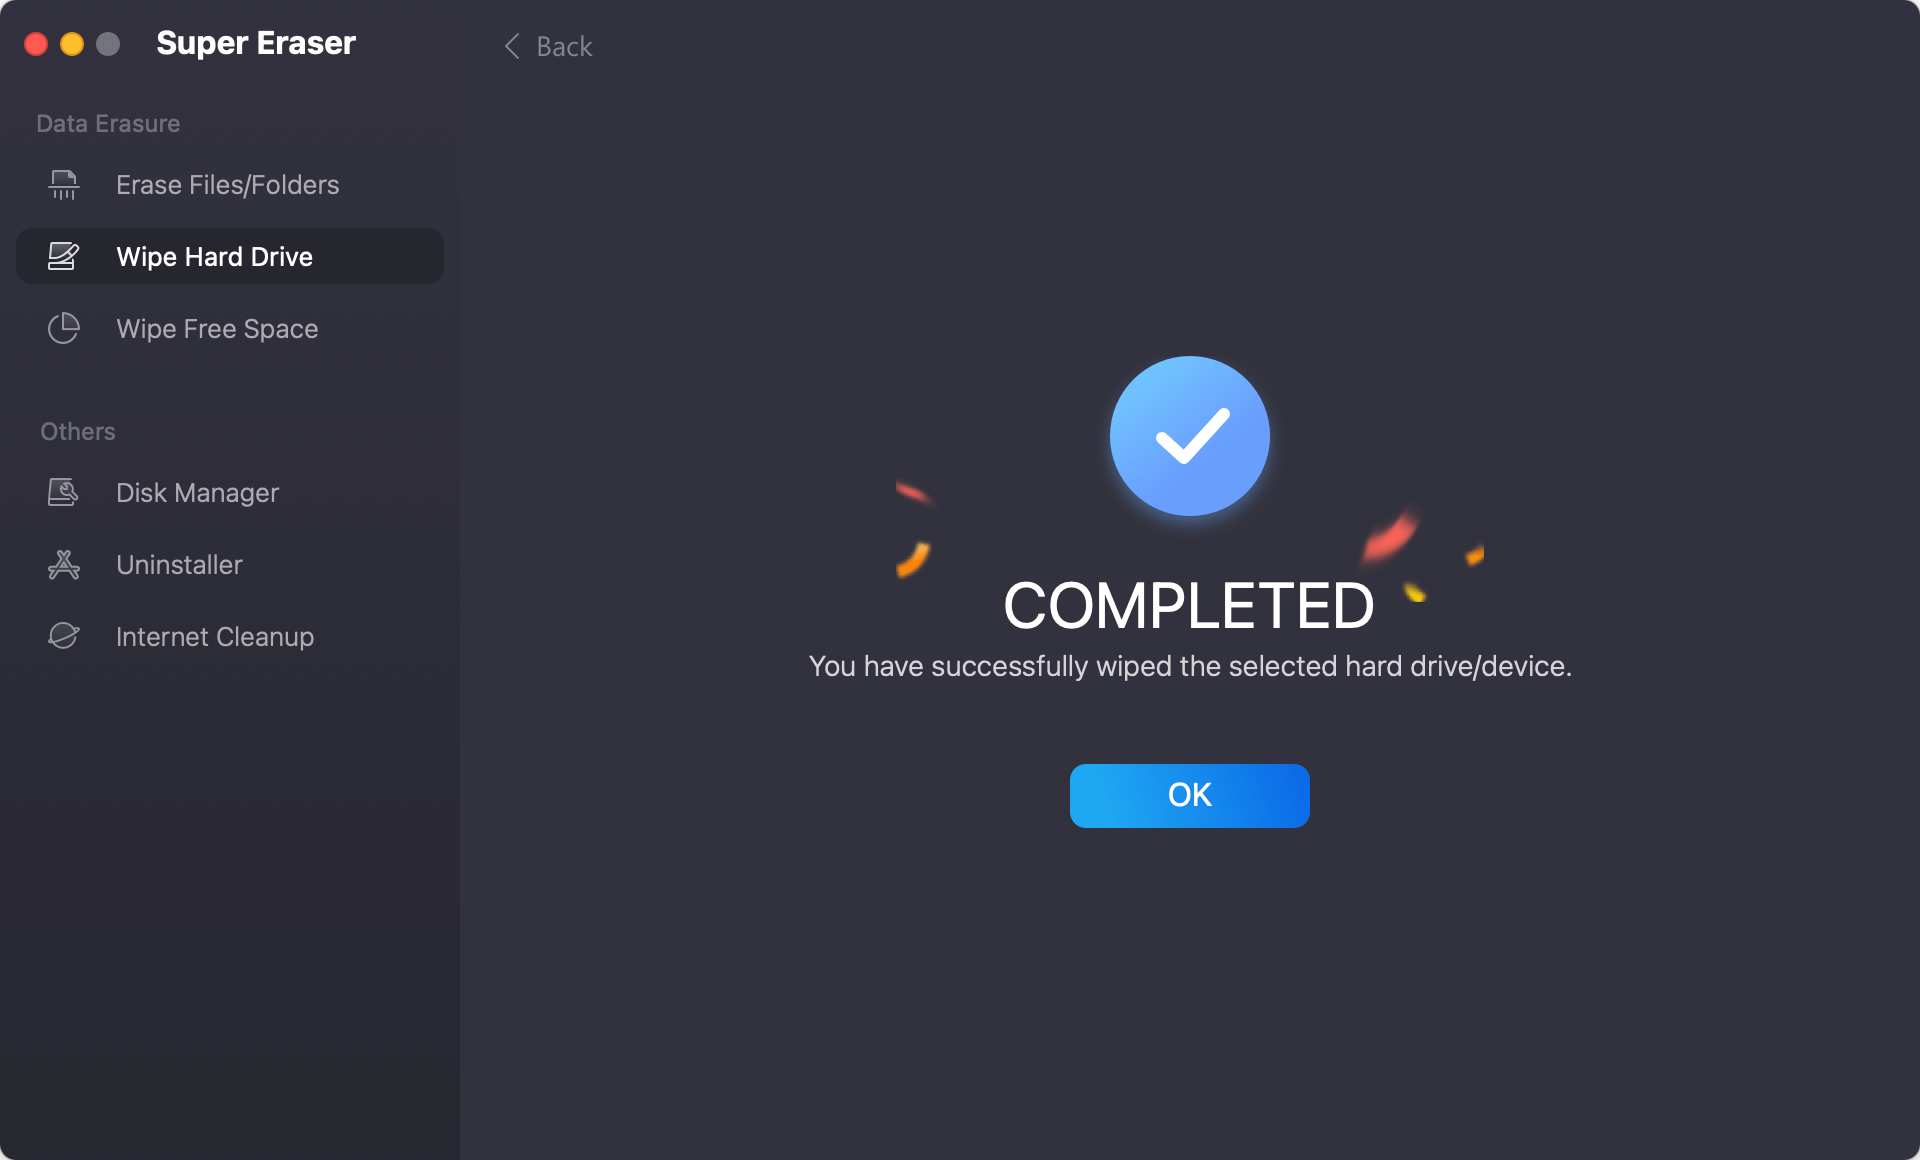
Step 5: Verify Wiping Completion
Once the process finishes, DoYourData Super Eraser will notify you with a "Wipe Successfully" message. For added assurance, you can use data recovery software to scan the wiped drive—no recoverable data should be found.
By following these steps, you can securely and permanently erase data from your Mac using DoYourData Super Eraser.
Conclusion:
Upgrading to a new M5 Mac is an exciting step, but protecting your personal privacy should always be your top priority. Simply deleting files or formatting your drive isn't enough to keep your private information out of the wrong hands.
By following a proper preparation workflow—backing up your data, signing out of accounts, and using a dedicated tool like DoYourData Super Eraser for Mac—you can completely destroy sensitive files beyond recovery. Take a few minutes to securely wipe your old Mac today so you can enjoy your new M5 upgrade with total peace of mind.
DoYourData Super Eraser for Mac
DoYourData Super Eraser for Mac is a 100% safe, powerful and easy-to-use data erasure program. It offers certified data erasure standards including Peter Gutmann, U.S. Army AR380-19, DoD 5220.22-M ECE to permanently erase data from Macs and external devices, making data recovery be impossible.
Written & Updated by Shirly Chen
Shirly Chen has been writing data recovery, data erasure articles for DoYourData over 4 years. She has been working as a professional website content writer & editor for quite a long time. She also writes articles about disk clone, Mac optimization, disk backup, etc.