Recover Data with TestDisk: Step-by-Step Guide (2026 Updated)
TestDisk is a free tool which can help you recover data/partition or fix corrupted drive. It's excellent for advanced users who are skilled at command lines. However, for many users who are not familiar with command lines, a user-friendly tool, like Do Your Data Recovery is a better choice.
![]() Updated by Justin Kenny on April 16, 2026
Updated by Justin Kenny on April 16, 2026
Quick Navigation:
- What Exactly is TestDisk?
- Step-by-Step: How to Recover Data with TestDisk
- Alternative Data Recovery Software to TestDisk
- Comparison: TestDisk vs. Paid Alternatives
- FAQs about Recovering Data with TestDisk
- Final Thoughts
Data loss is that "heart-sinking" moment we all dread. Whether you accidentally deleted a partition, formatted the wrong drive, or woke up to a "RAW" drive error, it feels like your digital life has just vanished.
But here's the good news: your data is likely still there; your computer just forgot how to find it. One of the most powerful, free, and open-source tools to fix this is TestDisk. In this guide, we'll walk you through how to recover data with TestDisk like a pro, and we'll also look at some alternative data recovery software to TestDisk if you prefer something a bit more modern and user-friendly.
What Exactly is TestDisk?
Created by Christophe Grenier, TestDisk is a legendary tool in the IT world. It isn't your typical "point-and-click" software; it's a command-line utility designed to find lost partitions and make non-booting disks bootable again.
Core Capabilities:
- Partition Recovery: Restores deleted or lost partitions.
- Boot Sector Repair: Fixes FAT32 and NTFS boot sectors.
- Rebuilding Partition Tables: Fixes the "map" of your hard drive.
- RAW Drive Fix: Converts RAW file systems back to readable formats like NTFS or FAT32.
🎯 Note: TestDisk is often paired with PhotoRec. While TestDisk recovers the "containers" (partitions), PhotoRec is used to "carve" out individual files if the partition itself is too damaged to save.
Critical Safety First: Before You Start Data Recovery
Before you try to recover data with TestDisk, follow these "Golden Rules" to avoid permanent data loss:
- Stop Using the Drive: Every second you use the affected drive, you risk overwriting your lost data.
- Run from a USB: Do not install TestDisk on the drive you are trying to save.
- Clone the Disk: If you have the space, create a disk image and perform the recovery on the clone.
Step-by-Step: How to Recover Data with TestDisk
Step 1: Launch with Power
On Windows, start TestDisk (ie testdisk-6.13/testdisk_win.exe) from an account with Administrator permissions. On Mac or Linux, use the sudo command in the Terminal. This is necessary because the software needs to read your hardware at a "raw" level.
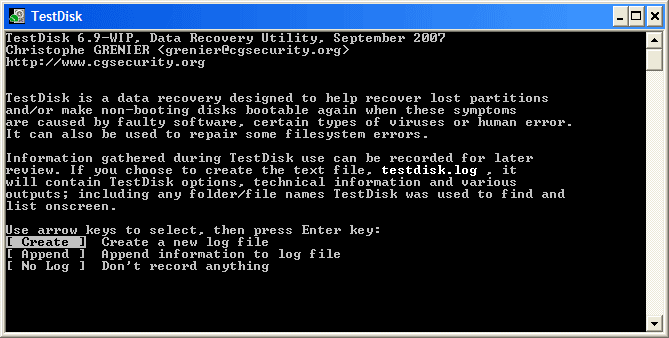
Step 2: Start a Log
Select Create to start a new log file. This file will keep track of everything the software finds, which is vital if you need to troubleshoot later.
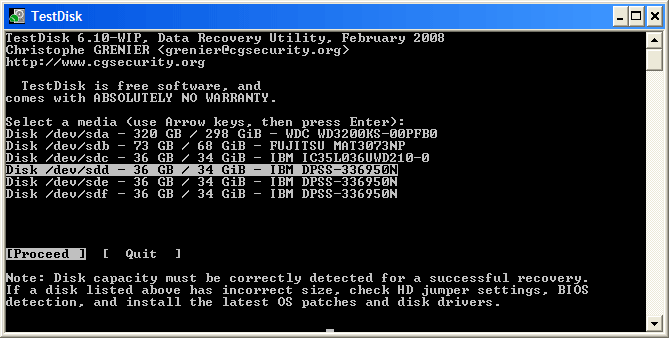
Step 3: Select Your Drive
You'll see a list of physical drives. Look at the size and model carefully.
🎯 Pro Tip: Selecting the wrong 1TB drive when you have two of them could result in overwriting the wrong data. Double-check the connection type (SATA/USB).
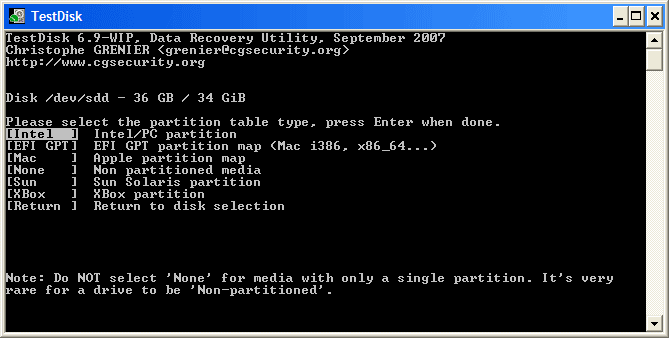
Step 4: Choose Partition Table Type
TestDisk usually detects this automatically.
- Intel/PC: For older MBR-based systems.
- EFI GPT: For modern Windows 10/11 and newer Macs.
Step 5: Analyze and Quick Search
Choose Analyze, then Quick Search. This scans the drive for the "signatures" of your old partitions. It's usually very fast.
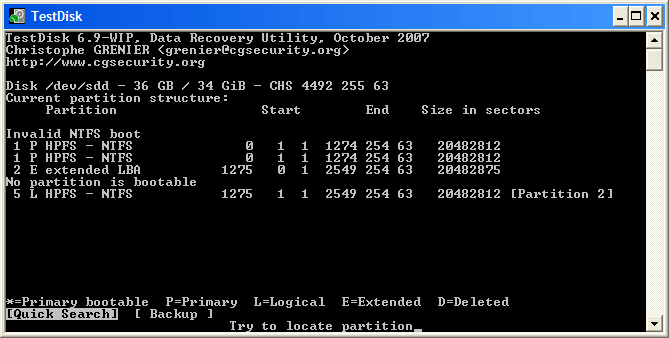
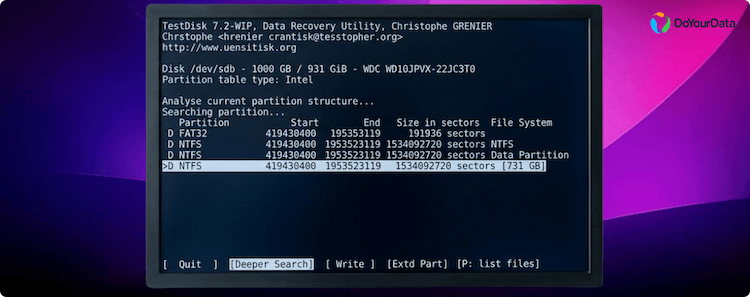
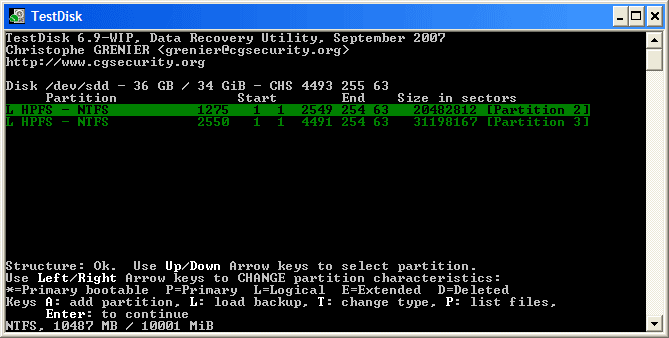
Step 6: Review the Results
Green: Valid partition.
D: Deleted partition.
Highlight a partition and press "P". If you see your files and folders listed, congratulations—you've found your data!
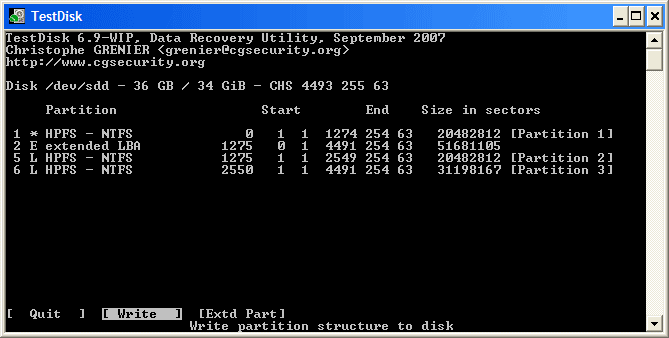
Step 7: Write the Changes
If the files look correct, select Write and confirm with "Y". This updates the partition map of your drive. Restart your computer, and your drive should reappear in File Explorer or Finder.
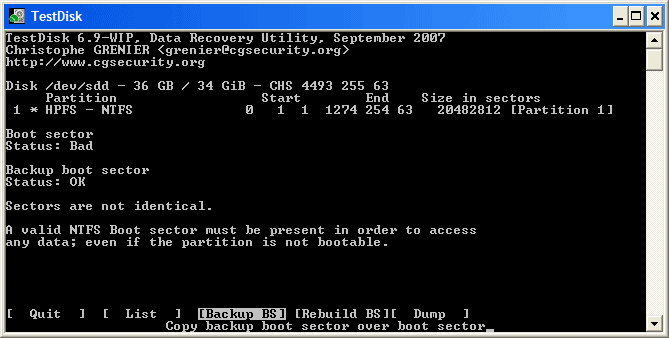
How to Fix a RAW Drive with TestDisk
If your drive shows up as "RAW" and Windows asks you to format it—don't!
- Go to the Advanced menu in TestDisk.
- Select the partition and choose Boot.
- If the Backup Boot Sector is "OK," select Backup BS to overwrite the corrupted primary one.
- If both are bad, use Rebuild BS.
Alternative Data Recovery Software to TestDisk
While TestDisk is incredibly powerful and free, it's not for everyone. The text-only interface can be intimidating, and one wrong click can be risky. If you're looking for a more modern, "home-user friendly" experience, consider an alternative data recovery software to TestDisk.
1. Do Your Data Recovery
Do Your Data Recovery is a top-tier alternative for those who want a professional-grade recovery without the complexity of a command-line interface.

- User-Friendly: It features a clean, graphical interface that guides you through the process.
- Deep Scan: Like TestDisk's "Deeper Search," Do Your Data Recovery uses advanced algorithms to find files even on formatted or corrupted drives.
- Preview Feature: Unlike TestDisk, Do Your Data Recovery allows you to preview photos and documents before you recover them, ensuring you aren't wasting time on corrupted files.
- Safety: It is a read-only tool, meaning it won't risk damaging your original partition table like TestDisk might if misconfigured.
Do Your Data Recovery
- User-friendly and easy-to-use data recovery software.
- Preview files before execute data recovery process.
- Recover deleted/lost data in any data loss scenarios.
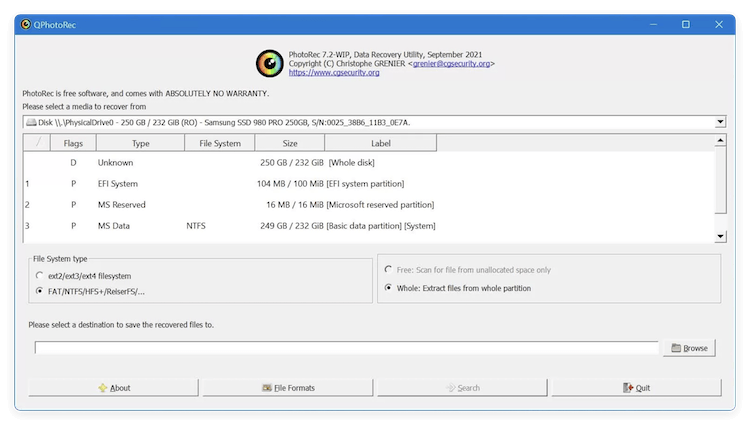
2. PhotoRec (The "Sibling" Tool)
If you only care about specific files (like photos or docs) and the partition table is a total loss, use PhotoRec. It's included in the TestDisk download and focuses on file signatures rather than the disk structure.
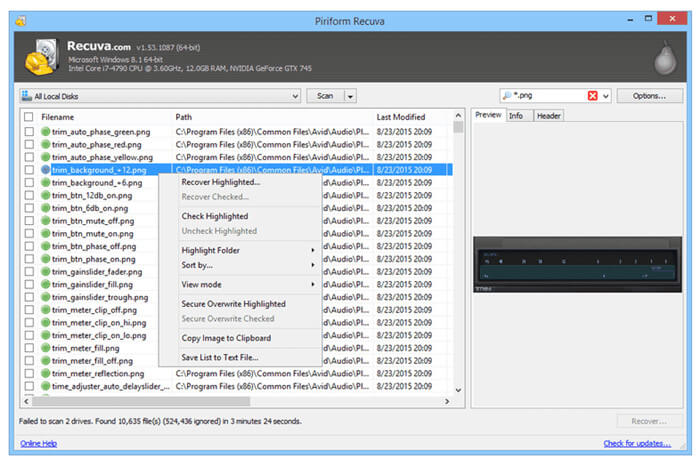
3. Recuva
For basic file deletion (emptying the Recycle Bin), Recuva is a solid, free Windows-based alternative that is much easier to navigate for beginners.
Comparison: TestDisk vs. Paid Alternatives
Feature |
TestDisk |
Paid Tools (e.g., DoYourData) |
|---|---|---|
Cost |
Free (Open Source) |
Paid (Free trials usually available) |
Interface |
Command-Line |
Graphical (GUI) |
Repair |
Repairs Partition Tables |
Focuses on File Extraction |
Preview |
Text-based list |
Visual Thumbnail Previews |
Safety |
High risk if misused |
Generally Read-Only / Safer |
FAQs about Recovering Data with TestDisk
Final Thoughts
Learning how to recover data with TestDisk is a valuable skill that can save your files and your money. However, it requires patience and a bit of technical comfort.
If the command-line feels too risky, don't hesitate to use an alternative data recovery software to TestDisk like Do Your Data Recovery. No matter which tool you choose, the most important step is to act fast and stop using the drive immediately.
Once you get your data back, remember the golden rule: Back it up!
Do Your Data Recovery
The safe, powerful and easy-to-use data recovery program to help you recover deleted, formatted or lost data, recover lost data from damaged hard drive, from HDD, SSD, USB flash drive, memory card, digital camera, etc, fix damaged drive and external devices.
Written & Updated by Justin Kenny
Justin Kenny is a writer & editor of DoYourData. He joined DoYourData in 2016 and focuses on writing articles about Windows data recovery, Mac data recovery, external device data recovery, hard drive clone, data erasure, Mac cleanup, computer issue fixes, etc. He is a super fan of Apple devices and is big on testing new digital device and system utility software.