Create A Bootable Clone for macOS Ventura
Create a bootable clone for macOS Ventura as a full backup and the cloned macOS can be used to boot up Mac in emergency cases. With the software DoYourClone for Mac, it's easy to create a bootable copy for macOS Ventura. The guide also introduce the steps to create a bootable USB installer for macOS Ventura.
![]() Updated by Darren on February 19, 2025
Updated by Darren on February 19, 2025
Quick Navigation:
- About Disk Cloning
- Create A Bootable Clone for macOS Ventura
- Create Bootable USB Installer for macOS Ventura
- How to boot your Mac from an external drive?
- Conclusion:
To back up your macOS Ventura data, you can clone the macOS directly. It's a good way to back up the entire macOS, along with the settings, installed programs and personal files. With DoYourClone for Mac, it's even able to create a bootable clone for macOS Ventura.
A bootable macOS Ventura USB installer is frequently helpful. For instance, without constantly downloading the massive 12 GB file to each Mac, you may utilize the drive to install a new copy of macOS on as many Macs as you wish. Additionally, it will assist you in reinstalling macOS and fixing your Mac if it malfunctions.
This tutorial will demonstrate using macOS Ventura to create a bootable installation disk and also how to make a bootable USB installer for macOS Ventura.
About Disk Cloning
What is Cloning?
You can use Cloning to generate an exact clone of your Mac’s hard drive and its contents. You clone bootable operating system folders and files in addition to replicating the content.
The main advantage of Cloning is that it works flawlessly while backing up, transferring, or upgrading your drive. Furthermore, Cloning can let you transfer data from one drive to another.
What is a bootable USB or external drive?
Let's define a bootable macOS Ventura USB drive to ensure we're all on the same page. A bootable USB (also known as an external drive) is a disc used to boot up a system to install an operating system.
What is the need for Cloning?
You may read the arguments that encourage you to choose Cloning below, so there is no danger in relying on it.
- By backing up your drive, you can store the essential data.
- Cloning assists you in achieving your goal if you wish to relocate data from one drive to another drive.
- When switching from your hard drive to an SSD, you can move the data around using Cloning.
- Mac is a powerful system but tends to deteriorate a little over time. So that you can transfer the data when necessary, you should use a cloned hard drive to generate a backup of your vital files.
Create a bootable clone backup for macOS Ventura
If you want to make a full backup of your Mac, just try disk cloning application. DoYourClone for Mac is a powerful disk cloning application which can help you clone hard drive or back up Mac data.
DoYourClone for Mac
- Create bootable clone backup for macOS Ventura.
- Clone HDD, SSD on macOS Ventura.
- Create disk image backup for macOS Ventura.
The tool can not only copy the files from Mac to an external drive, but also, the system data, settings and programs will be copied. In this way, the software can create a bootable copy for macOS Ventura.
Download and install DoYourClone for Mac on your computer, then just connect an external hard drive to your Mac, then follow the steps below to create a bootable clone backup for macOS Ventura.
Step 1. Open DoYourClone for Mac, then choose disk cloning mode - Clone OS. This mode will help you clone all data from the Mac disk to the external hard drive and make it be bootable.
🎈 Tips: Use an empty external drive or back up the files on the drive first. Otherwise, the data on the external drive will be overwritten during the disk cloning process.
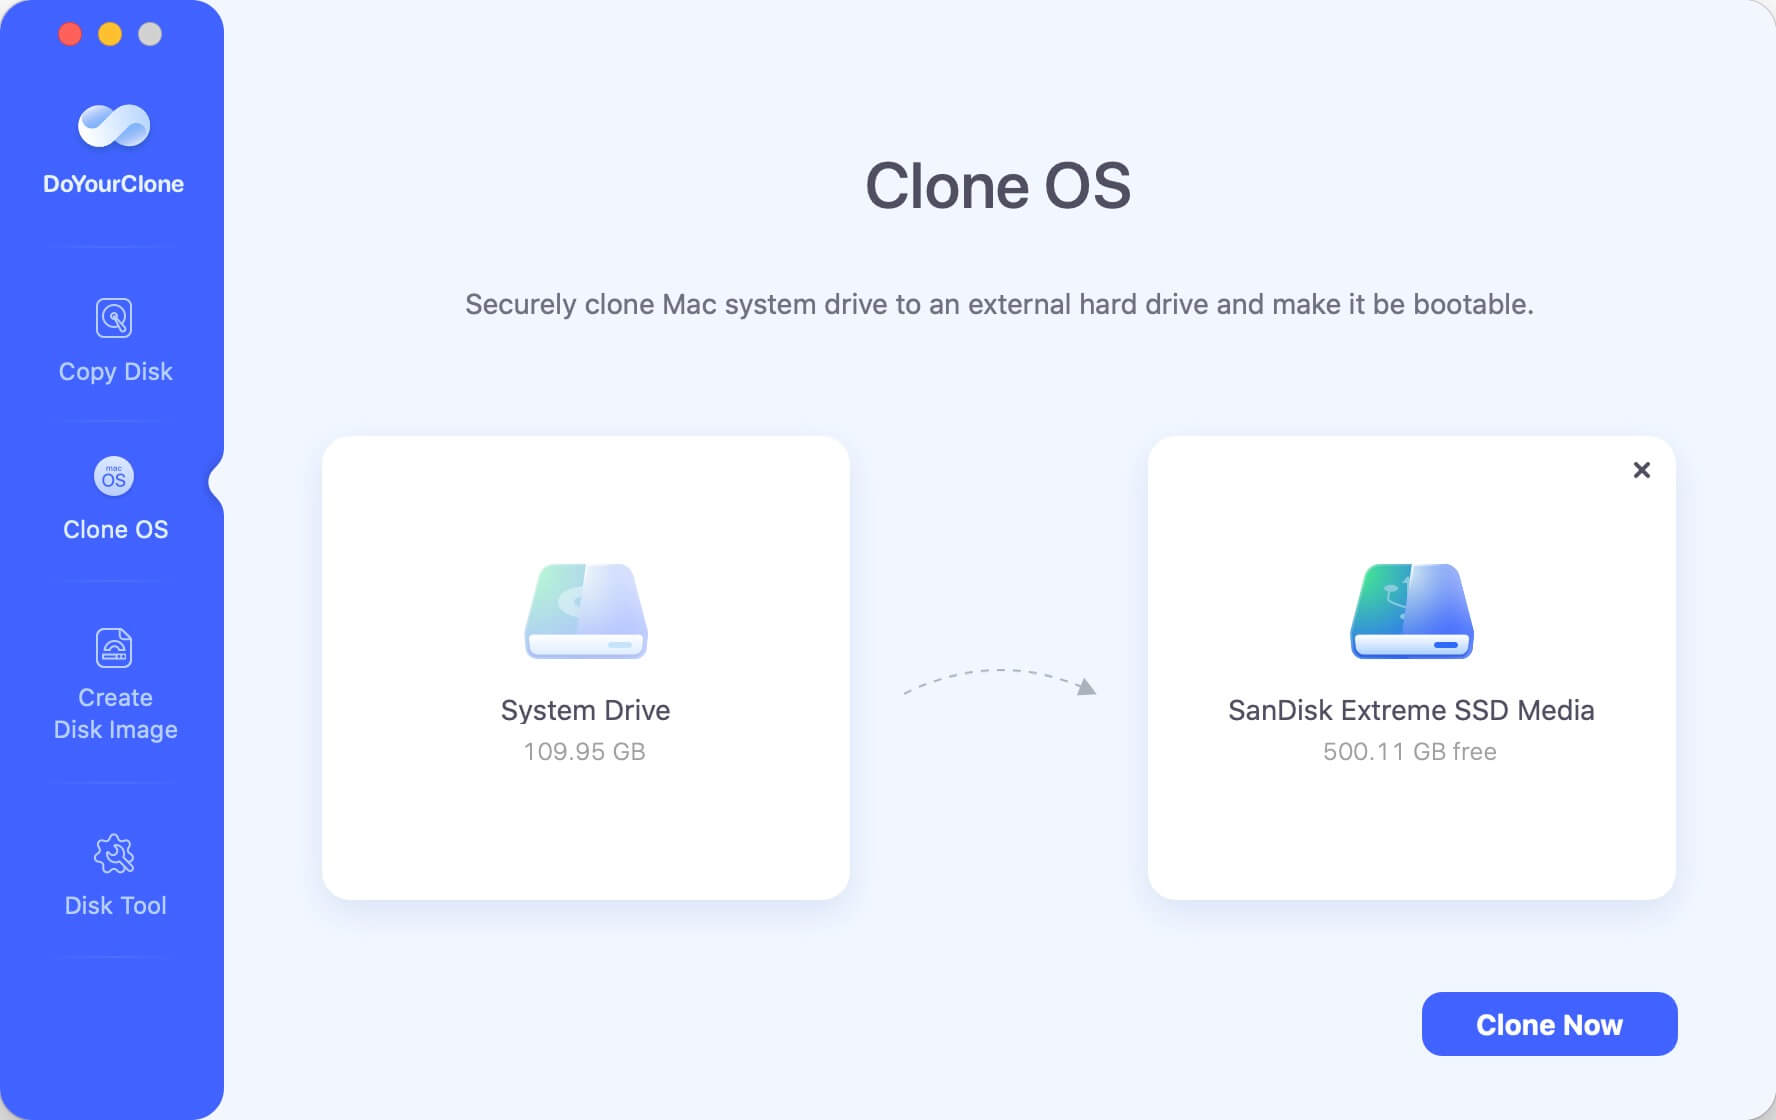
Step 2. Click on Clone Now button. It will clone all data including system data, apps, settings, files to the external hard drive.
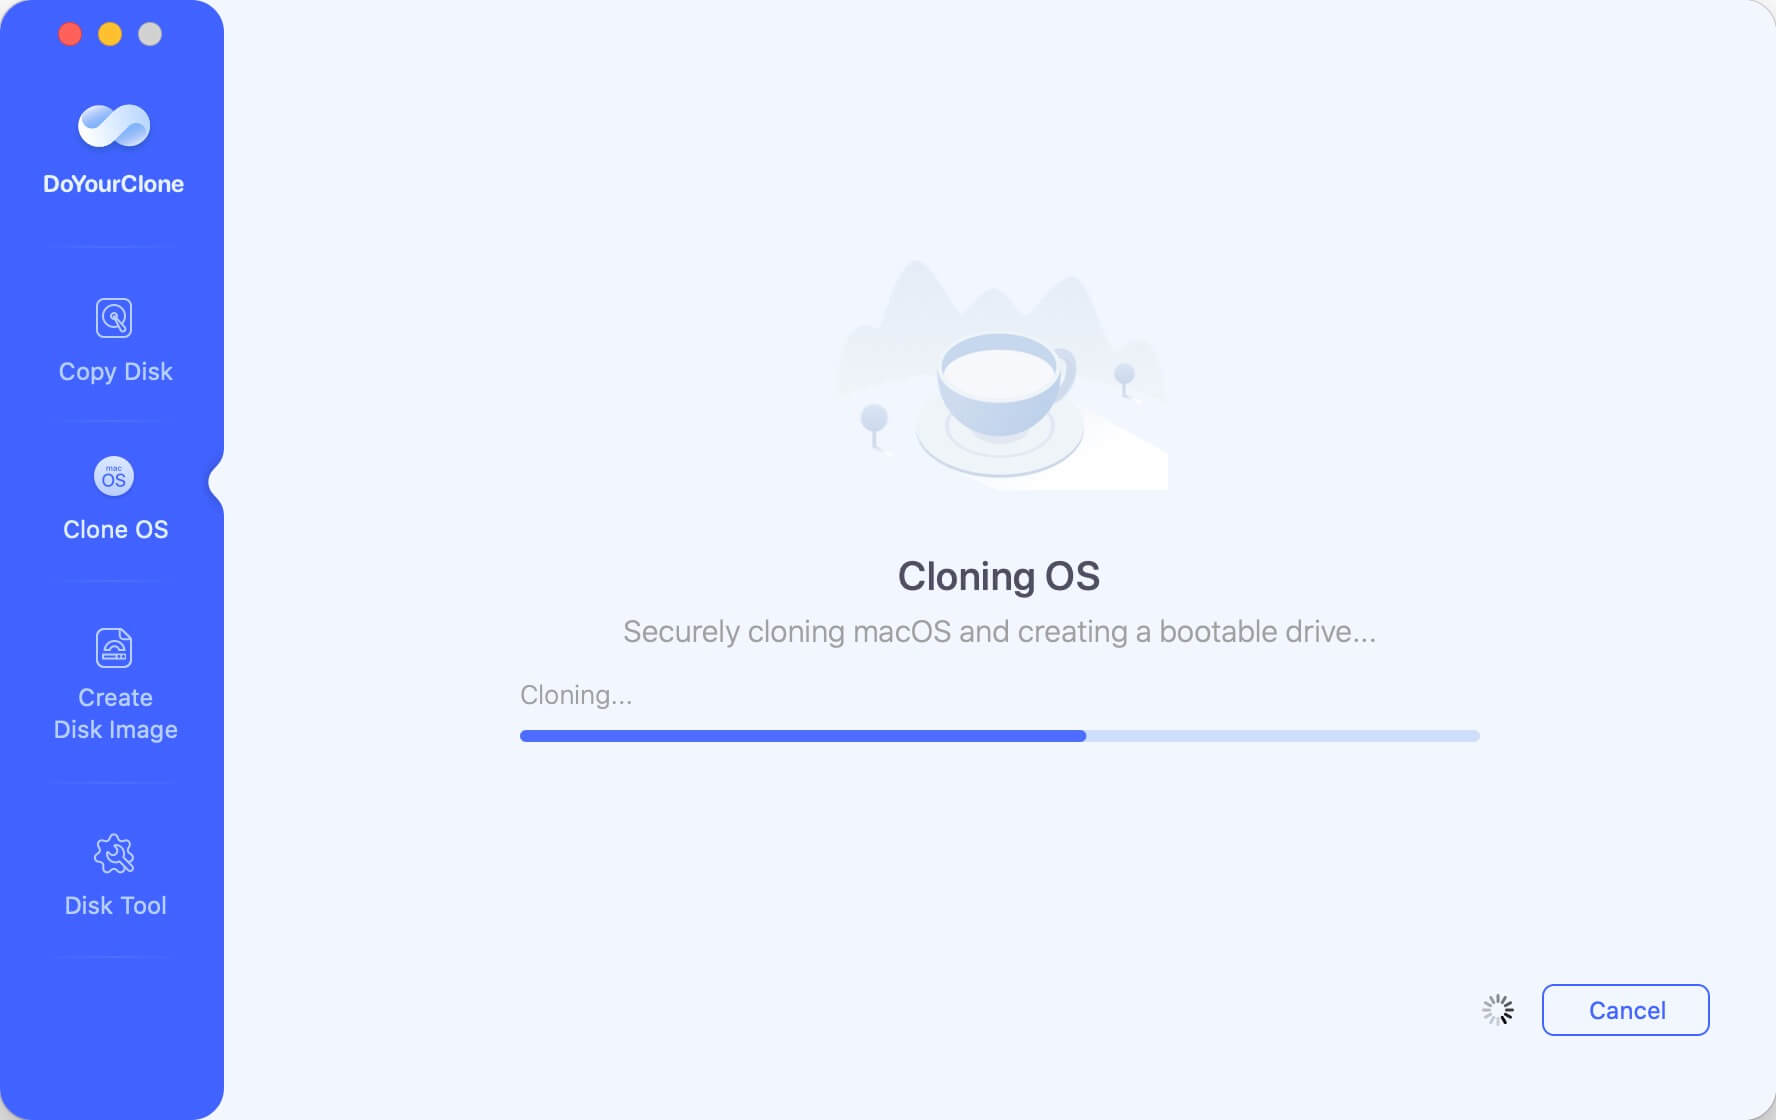
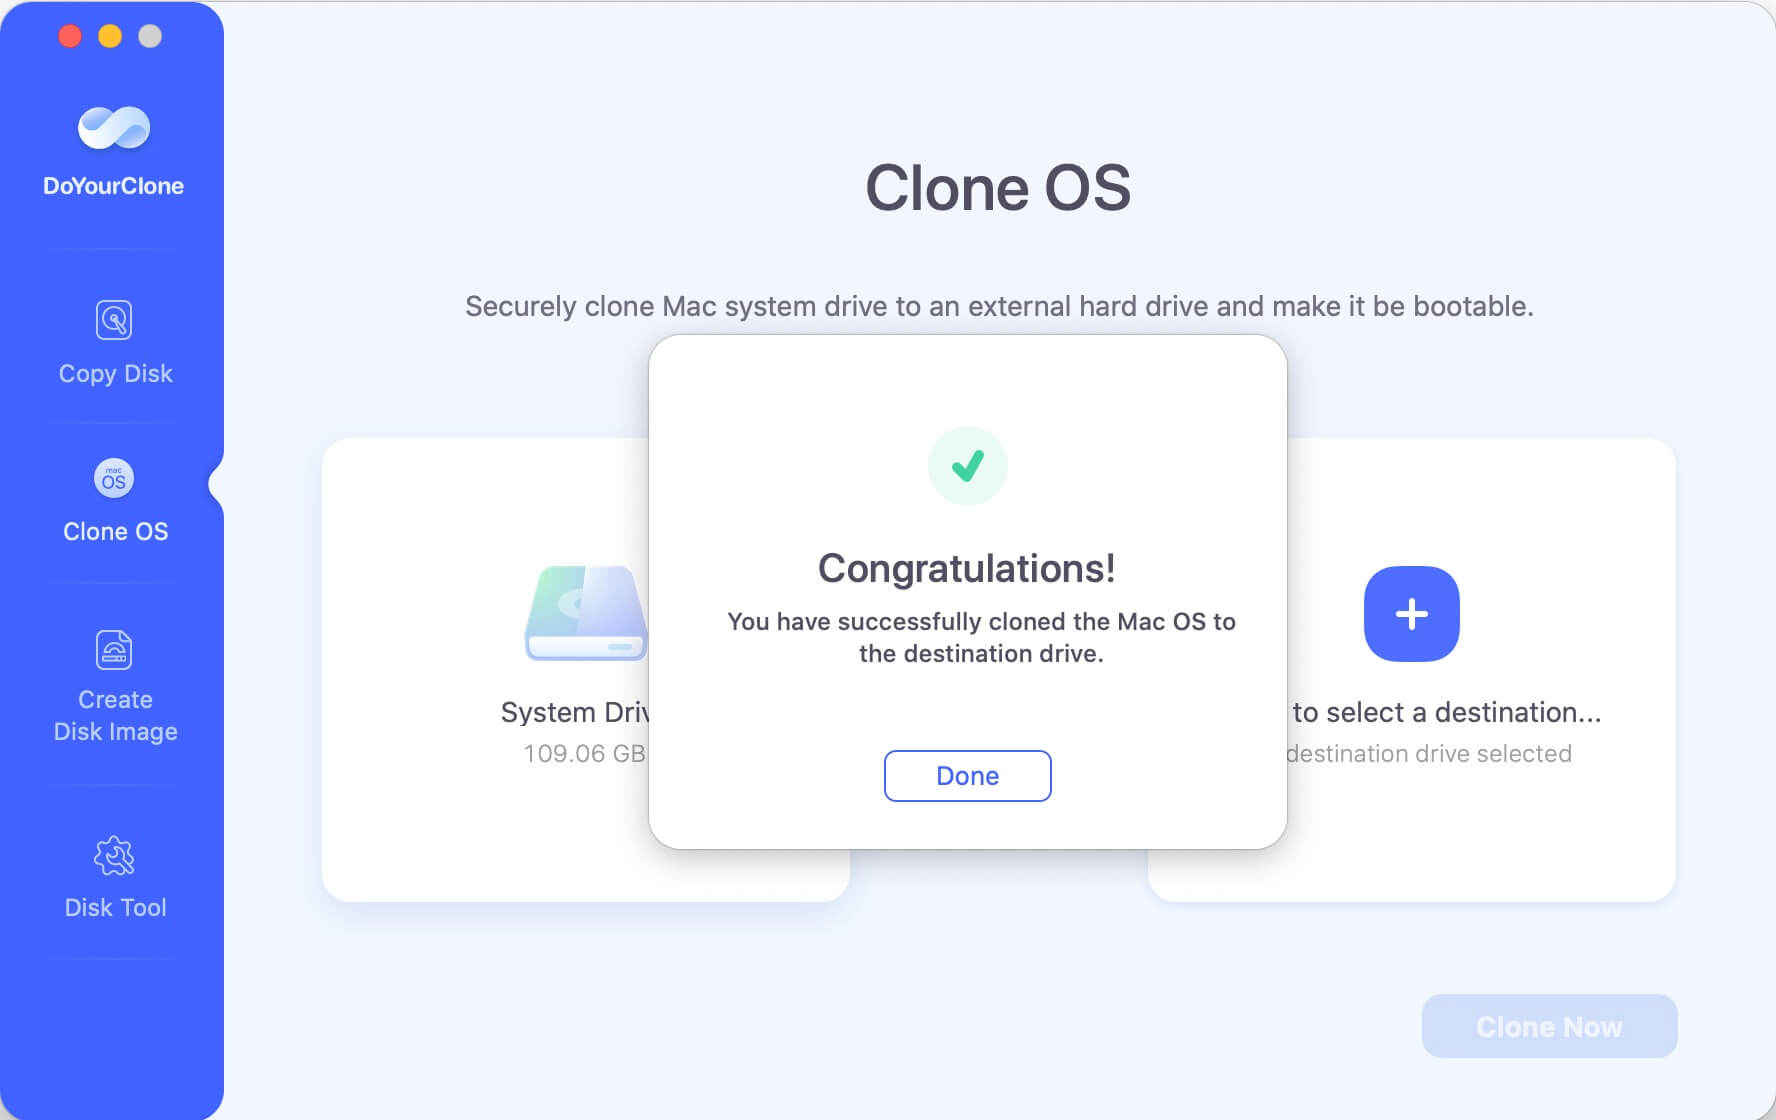
Once the process gets finished, you can use the external hard drive as a bootable disk on any Mac.
Create Bootable USB Installer for macOS Ventura
If you want to reinstall macOS Ventura from the start, you can create a bootable USB installer for the system. Then you can boot the Mac from the bootable USB and start a fresh installation for macOS Ventura.
Requirement for bootable USB
If you wish to generate a bootable USB of macOS Ventura, you should first check a few things. You will need two things to create a bootable USB.
- A USB device with at least 16 GB of storage space is required.
- You will need an Internet connection because you will download many files later.
- Ascertain that you have a fast and stable internet connection as well as backup power for your Mac. Because downloading and creating the bootable may take some time. Don't forget to back up all data on the USB, as it will be destroyed after the bootable USB is created.
Now that you have a pen drive and a stable internet connection let's proceed with the method.
How to format your USB flash drive?
Before you create the bootable USB installer, it's necessary to format the USB flash drive first. It will erase the drive. Therefore, if your Mac has any, transfer any crucial files there first. You need to format format your drive as APFS or Mac OS Extended as shown below to create a macOS bootable installer. Here is how:
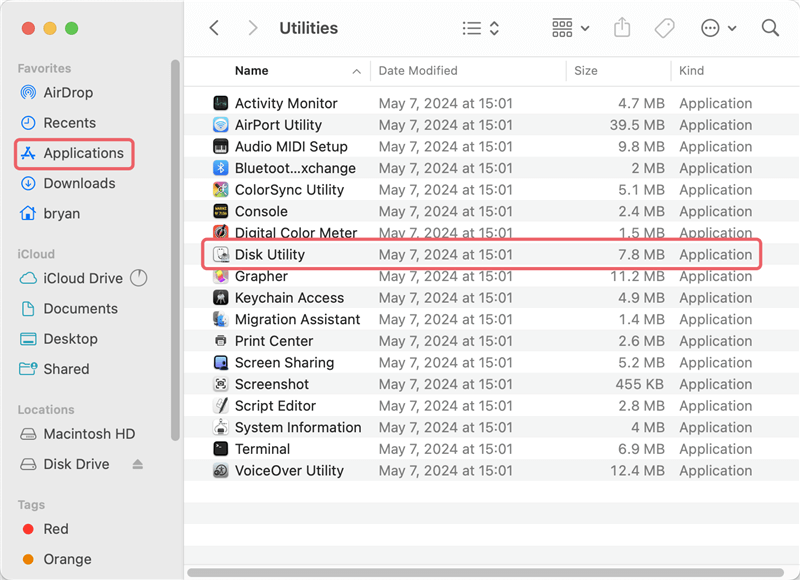
- Connect your USB drive to your Mac. Launch Disk Utility (in the "Finder," open "Applications," then "Utilities," choose and open "Disk Utility").
![create a bootable macOS Ventura USB drive]()
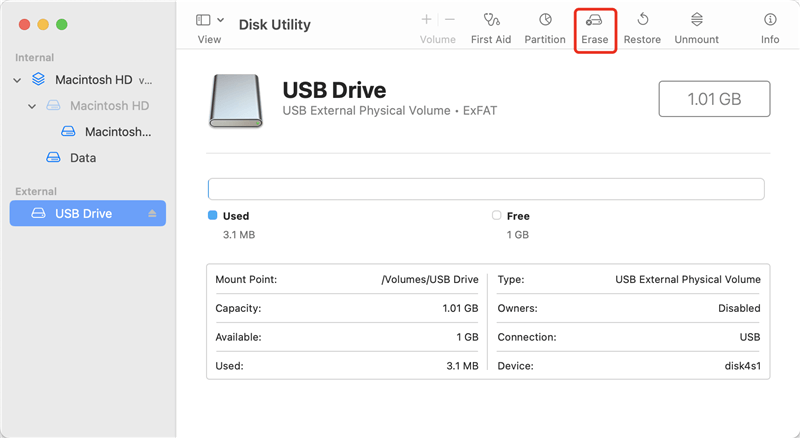
- Select the USB flash drive an click on the Erase button.
![create a bootable macOS Ventura USB drive]()
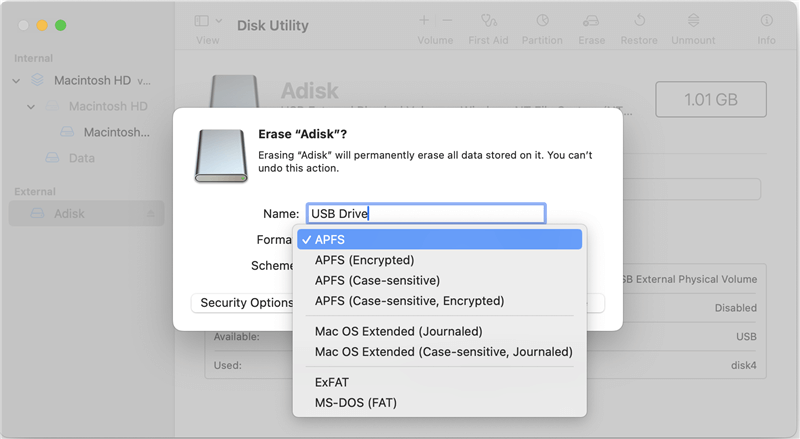
- Choose the file system as APFS or Mac OS Extended.
![create a bootable macOS Ventura USB drive]()
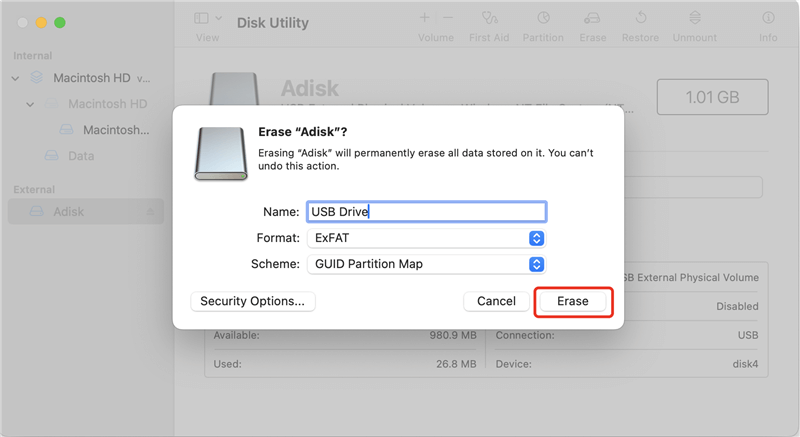
- After changing the name to Installer, click Erase.
![create a bootable macOS Ventura USB drive]()
The USB flash drive will then be formatted and you can use it to create a bootable installer for macOS Ventura.
How to create a bootable macOS Ventura USB drive in one click?
Now that you have your USB drive and the macOS dmg file, you may create a bootable USB drive.
Let's begin with the most straightforward technique. Now, we'll use Disk Drill to build a bootable installation drive. There is virtually little room for error because you are not dealing with commands. Furthermore, the Disk Drill program can be used for disc cloning, file recovery, data backup, and other purposes.
So, here's a step-by-step guide to creating a bootable macOS Ventura USB drive on a Mac:
Launch Setapp and search for "Disk Drill" in the search field.
Locate Disk Drill in the search results and press the Install button.
Open the app once it has been installed.
Connect your external drive.
In Disk Drill, choose macOS Installer in the sidebar.
Check a short how-to video or get right to it.
To add a macOS installation, click.
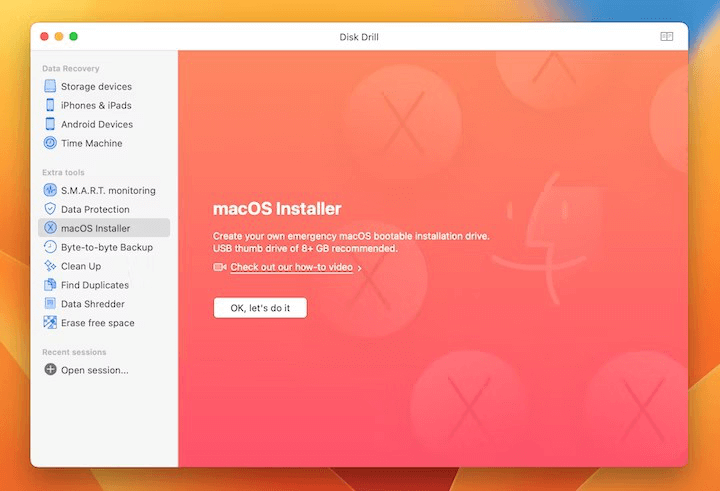
Then decide on a location (your external drive).
Create macOS installer.
Create a bootable Ventura USB drive using Terminal
The createinstallmedia command in Terminal provides another way to create a bootable USB stick.
Insert the USB stick after starting Terminal on your Mac (in the Finder, select Go > Utilities > Terminal).
Now type the following command into the Terminal window: sudo /Applications/Install\ macOS\ 13\ beta.app/Contents/Resources/createinstallmedia –volume /Volumes/MyVolume –nointeraction
Press the Return key on the keyboard.

You must wait for the confirmation message to show in Terminal before entering your Mac's password.
So you currently have a USB stick with the macOS Ventura installer. Let’s look at how to boot your Mac from a USB disk.
How to boot your Mac from an external drive?
You can now utilize the bootable USB installer for macOS Ventura. We present instructions for each processor separately depending on whether the Mac has an Apple Silicon chip or an Intel chip.
For Intel Macs:
Connect your Mac to the bootable USB disk.
Start your Mac. Then, hold down Option.
When you see the startup options screen, release button.
Select the drive containing a bootable Ventura installer, press the Return key, and then select the language.
Select Install macOS and click Continue in the utility window.
For Apple Silicon Macs:
Connect your Mac to the bootable USB disk.
Switch on your Mac while holding down the power button.
When the startup options box appears, select the driver holding a bootable installer, then click Continue.
Conclusion:
With reliable disk cloning software DoYourClone for Mac, it's easy and stable to create a bootable clone for macOS Ventura. It's simple to handle the software and the tool guarantees the cloned drive is bootable. It's useful to keep your system and data safe by creating a bootable clone for macOS.
If you want to reinstall a fresh copy of macOS Ventura in some cases, creating a bootable USB installer is necessary, especially you need to install the macOS on a computer offline. With built-in or third-party tool, you can smoothly create the bootable USB installer by following the guide in this page.
DoYourClone for Mac
DoYourClone for Mac, one of the best Mac disk cloning software, can help you clone HDD, SSD, external storage device on Mac, upgrade HDD to SSD, create full disk image backup, etc. It also can clone everything from your Mac to an external HDD/SSD and create a full bootable clone backup. 100% safe and easy-to-use.
Written & Updated by Darren
Darren is an senior editor at DoYourData. Since 2021, Darren has written 100+ articles about data recovery, Mac file recovery, disk management, disk clone, computer issue fixes, etc. He helps lost of users to recover important data, get the reliable data backup solution, find optimization for PCs and Macs.