Home > Hard Drive Solutions for Mac
Top 6 NTFS for Mac Software
NTFS is a Windows-based file system and it is not compatible with macOS. If you want to use a NTFS drive on Mac, you need special NTFS for Mac tool to help you add NTFS support on Mac. In this article, we will introduce best 6 NTFS for Mac tools to help Mac users enable read-write for NTFS drive, mount NTFS drive on Mac, repair NTFS drive on Mac, etc. Download and install a NTFS for Mac tool and use it to read-write NTFS drives on Mac without any limitation.
![]() Updated by Justin Kenny on December 25, 2025
Updated by Justin Kenny on December 25, 2025
Quick Navigation:
- How to Choose Best NTFS for Mac Software?
- Best 6 NTFS for Mac Software
- 1. DoYourData NTFS for Mac
- 2. Paragon NTFS for Mac
- 3. Mounty NTFS for Mac
- 4. Tuxera NTFS for Mac
- 5. NTFS-3G
- 6. FUSE for macOS
- Final Thoughts
- FAQs About NTFS for Mac Software
NTFS, or New Technology File System, is the default file system for Windows operating systems. It's known for its robustness, security features, and support for large file sizes and volumes. However, NTFS is not natively supported by macOS, the operating system used by Apple's Mac computers. Mac OS X, macOS's predecessor, only had read support for NTFS, meaning Mac users could access files on NTFS drives but couldn't write to them.
In recent years, there have been developments in NTFS compatibility for Mac OS, with various software solutions offering full read and write access to NTFS-formatted drives. These software tools bridge the gap between Windows and macOS systems, enabling seamless data exchange between the two platforms.
Importance of NTFS for Mac software for seamless data exchange:
The importance of NTFS for Mac software lies in its ability to facilitate smooth data transfer between Mac and Windows environments. Many users operate in mixed computing environments, where they need to share files between Mac and Windows systems regularly. Without proper NTFS support on Mac, this data exchange process can be cumbersome and limited.
NTFS for Mac software eliminates the barriers between these operating systems, allowing Mac users to write, edit, copy, and delete files on NTFS-formatted drives without restrictions. This capability streamlines workflows, enhances productivity, and ensures compatibility across platforms. Whether it's transferring documents, media files, or backup data, NTFS for Mac software plays a crucial role in maintaining seamless data interchange between Mac and Windows systems.
How to Choose Best NTFS for Mac Software?
Choosing the best NTFS for Mac software depends on various factors, including your specific needs, budget, and preferences. Here's a guide to help you make an informed decision:
- Compatibility: Ensure that the software is compatible with your Mac's operating system version. Check for compatibility with both current and future macOS updates to avoid issues down the line.
- Features: Consider the features offered by the NTFS for Mac software. Look for essential features such as full read and write access to NTFS drives, speed optimization, data protection mechanisms, and ease of use.
- Performance: Assess the performance of the software, including speed, stability, and resource usage. Opt for software that offers reliable performance, even when handling large volumes of data or complex file operations.
- User Interface: Choose software with an intuitive and user-friendly interface. A well-designed interface makes it easier to navigate the software and access its features without confusion.
- Reviews and Reputation: Read reviews and user testimonials to gauge the reputation of the NTFS for Mac software. Look for feedback on performance, reliability, customer support, and overall user experience.
- Pricing and Licensing: Consider your budget and the pricing structure of the NTFS for Mac software. Some options offer one-time purchases, while others may require subscription-based licensing. Evaluate the value for money based on the features and support offered.
- Customer Support: Assess the level of customer support provided by the software vendor. Look for options with responsive customer support channels, including email, live chat, and documentation resources, to assist you in case of any issues or queries.
- Trial Version: If available, try out the trial version of the NTFS for Mac software before making a purchase. This allows you to test its features, performance, and compatibility with your system before committing to a full license.
By considering these factors and conducting thorough research, you can choose the best NTFS for Mac software that meets your requirements and enhances your overall computing experience.
Best 6 NTFS for Mac Software
| Functions | DoYourData NTFS for Mac | Paragon NTFS for Mac | Mounty for NTFS | Tuxera NTFS for Mac | NTFS-3G | FUSE for macOS |
|---|---|---|---|---|---|---|
| Apple silicon Support | Yes | Yes | Yes | Yes | No | No |
| Free or Paid | Both | Both | Free | Both | Free | Free |
| Price | $15/month | Less than $20/month | Free | Free $15 per license | Free | Free |
| Ease-to-use | Yes | Yes | No | No | No | No |
| Transfer speed | Fast | Fast | Slow | Slow | Slow | Medium |
| Sleek UI | Yes | Yes | No | No | No | No |
Let's explore top 6 NTFS for Mac software in more details:
Top 1. DoYourData NTFS for Mac
DoYourData NTFS for Mac is a reliable software solution designed to provide seamless read and write access to NTFS-formatted drives on macOS systems. With its user-friendly interface and robust functionality, it simplifies the process of exchanging data between Mac and Windows platforms.
👍 Salient Features:
- Allows users to read, write, edit, delete, and copy files on NTFS drives from their Mac computers.
- Works with all versions of macOS, ensuring broad compatibility across different Mac systems.
- Implements advanced algorithms to ensure the integrity and security of data during file transfer operations.
- Optimizes performance for faster file transfers, enhancing productivity for users.
- Mount/format/repair NTFS drives and other drives on Mac.
DoYourData NTFS for Mac
- Most reliable and Best NTFS for Mac software.
- Easy and stable to make NTFS drive writable on Mac.
- Safe and support latest macOS and Apple Silicon Macs.
😊 Pros |
🙁 Cons |
|---|---|
|
✅ Easy-to-use NTFS for Mac tool ✅ Intuitive user interface ✅ Reliable performance ✅ Regular updates ✅ Dedicated customer support |
🚫 Limited trial version 🚫 Not Free |
Steps to Use DoYourData NTFS for Mac
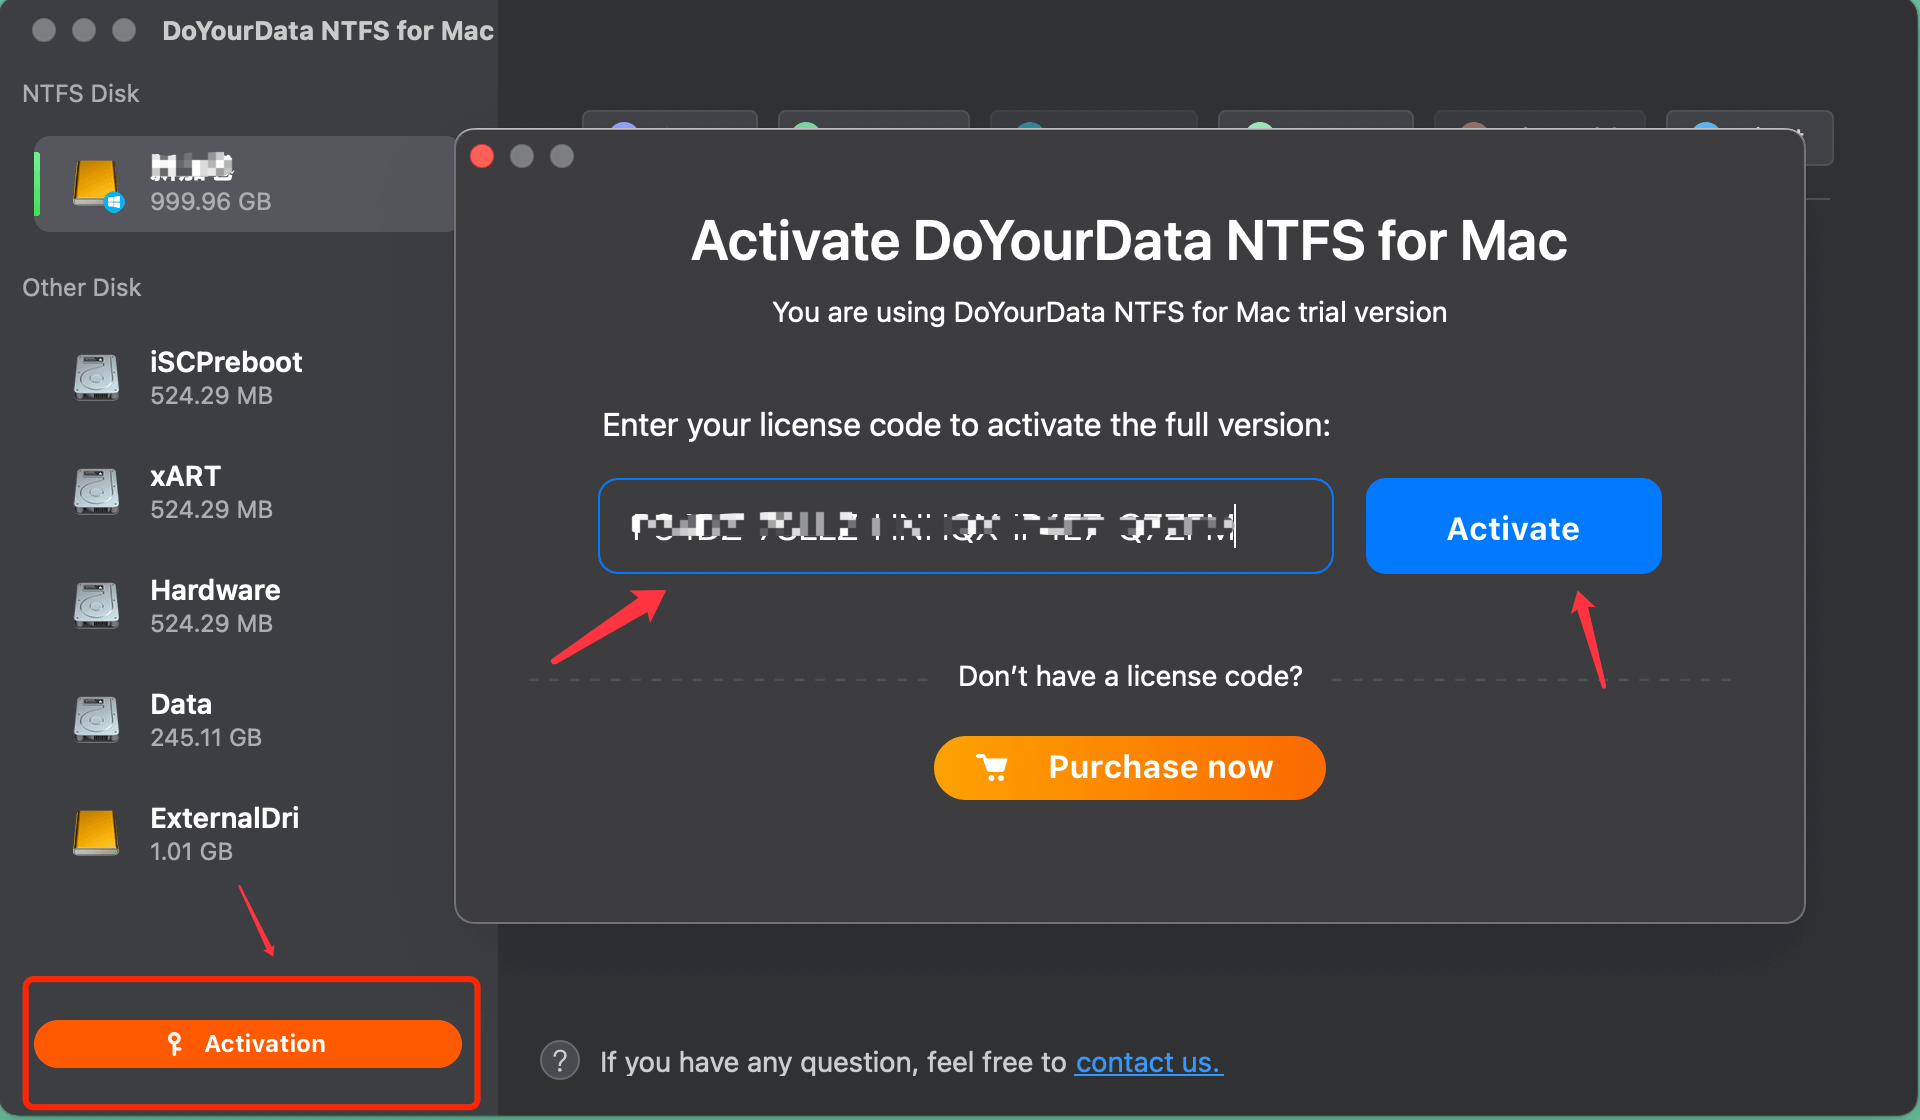
Step 1. Launch and activate DoYourData NTFS for Mac. Click "Activation" button to unlock this software.
Step 2. Connect an NTFS drive to Mac, DoYourData NTFS for Mac will automatically detect the device. Select your drive and you'll see it's now marked as 'Read-only". Click "Enable Writable" to add read and write rights to the drive.
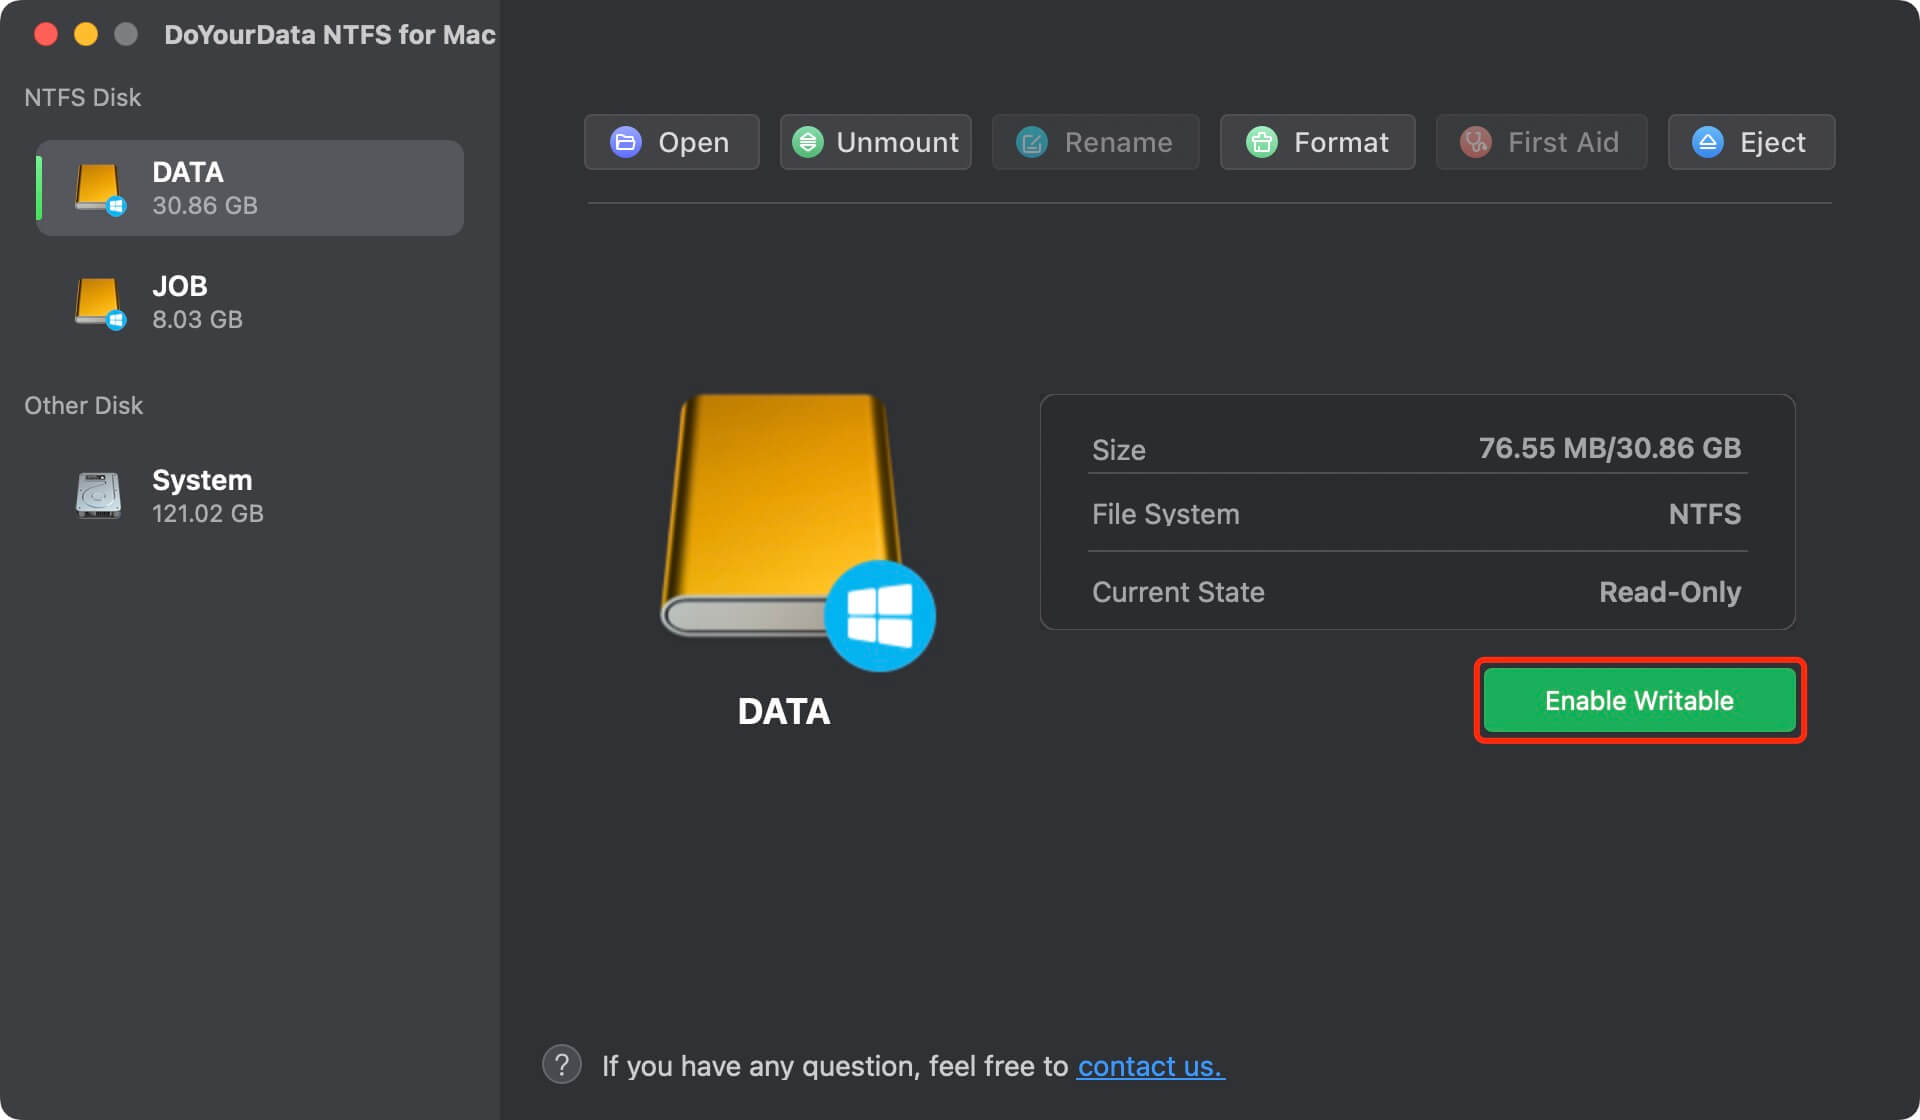
Step 3. When the state of NTFS drives turns into "Writable".
DoYourData NTFS for Mac will pops up a window to help Mac get access to the NTFS drive:
- Select "Full Disk Access", click the Lock icon and enter admin password to unlock it.
- Select the two icons of NTFS for Mac.
- Drag them to the "Full Disk Access" list.
- Click "Quit & Restore" to re-launch DoYourData NTFS for Mac.
When DoYourData NTFS for Mac restarts, you can then open to check, read, write, and even modify saved data on the NTFS device.
Top 2. Paragon NTFS for Mac
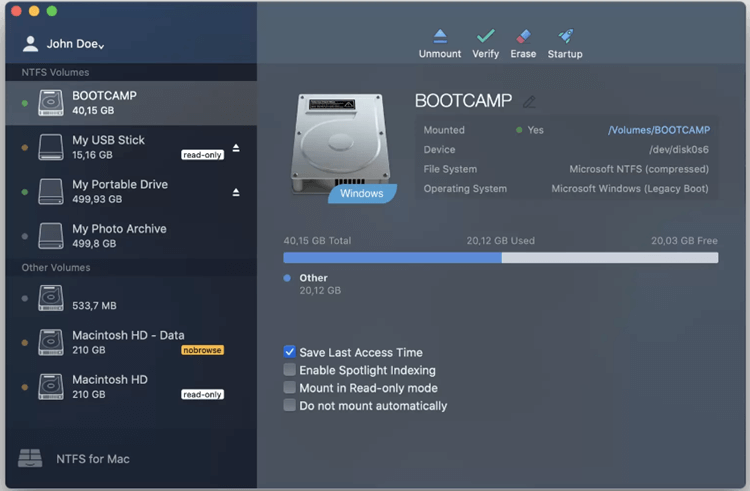
Paragon NTFS for Mac is a leading software solution tailored to offer seamless read and write access to NTFS-formatted drives on macOS systems. Renowned for its reliability and robust performance, it simplifies the process of data exchange between Mac and Windows platforms, catering to the diverse needs of users.
👍 Salient Features:
- Paragon NTFS for Mac enables users to read, write, edit, delete, and copy files on NTFS drives directly from their Mac computers.
- It seamlessly integrates with all versions of macOS, ensuring broad compatibility across different Mac systems.
- The software employs advanced algorithms to safeguard the integrity and security of data during file transfer operations, minimizing the risk of data loss or corruption.
- Paragon NTFS for Mac optimizes file transfer speeds, enhancing productivity for users dealing with large volumes of data.
😊 Pros |
🙁 Cons |
|---|---|
|
✅ 10-day free trial ✅ Friendly UI ✅ Compatible with Apple Silicone Mac ✅ Easy to use |
🚫 Hard to use for novice users 🚫 Charge for every upgrade 🚫 Advertising updates |
Steps to Use Paragon NTFS for Mac
Step 1. Download Paragon NTFS for Mac and launch it.
Step 2. Locate the file and Double-click on the dmg.
Step 3. Click on the Install NTFS for Mac button and follow the on-screen prompts.
Step 4. Restart your Mac, and then you can start editing your NTFS drives.
Top 3. Mounty NTFS for Mac
Mounty NTFS for Mac is a lightweight and straightforward software solution designed to enable read and write access to NTFS-formatted drives on macOS systems. It provides a hassle-free way for Mac users to interact with NTFS drives, enhancing their ability to share and manage files between Mac and Windows platforms.
👍 Salient Features:
- Mounty NTFS for Mac allows users to read, write, delete, and modify files on NTFS drives directly from their Mac computers.
- With its simple and intuitive interface, the software offers a streamlined user experience, making it easy for users to access and utilize its features.
- Automatically mounts NTFS drives upon detection, eliminating the need for manual intervention and ensuring smooth accessibility.
- Mounty NTFS for Mac is lightweight and resource-efficient, consuming minimal system resources while providing efficient NTFS support.
😊 Pros |
🙁 Cons |
|---|---|
|
✅ Free to use ✅ Simple UI ✅ Quick Installation ✅ Reliable performance |
🚫 Limited functionality 🚫 Lack of updates 🚫 Support limitations |
Steps to Use Mounty for NTFS
Step 1. Download and install Mounty for NTFS on your Mac.
Step 2. Once the software is downloaded, you can click on the Finder windows to manage the content of the mounted drive.
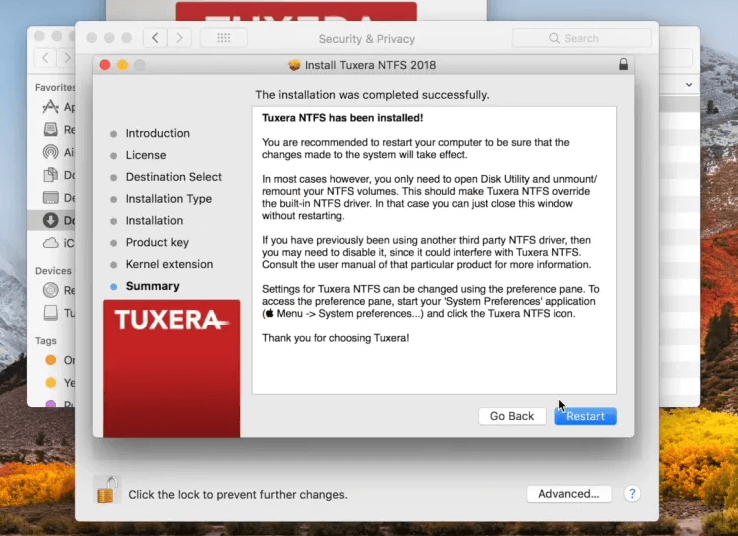
Top 4. Tuxera NTFS for Mac
Tuxera NTFS for Mac is a robust software solution tailored to provide seamless read and write access to NTFS-formatted drives on macOS systems. It stands as a reliable tool for users seeking efficient data exchange between Mac and Windows platforms.
👍 Salient Features:
- Tuxera NTFS for Mac enables users to perform read, write, edit, delete, and copy operations on NTFS drives directly from their Mac computers.
- It boasts compatibility with all versions of macOS, ensuring widespread usage across different Mac systems.
- Incorporates advanced algorithms to safeguard data integrity and security during file transfer processes.
- With optimization measures in place, it ensures swift file transfers, enhancing overall productivity for users.
😊 Pros |
🙁 Cons |
|---|---|
|
✅ Free trial for 15 days ✅ Support macOS 26 - Mac OS X 10.4 ✅ Fully compatible with Apple Silicon Mac |
🚫 Prone to corrupt users' data 🚫 Commercial Windows NTFS add-on driver 🚫 Slower data transfer rate |
Steps to Use Tuxera NTFS for Mac
Step 1. Download Tuxera NTFS for Mac installer online from the official website.
Step 2. Double-click on the Install Tuxera NTFS once the installation package is downloaded.
Step 3. Click on the open to launch the Tuxera NTFS software on your Mac.
Step 4. Click on the Continue button when the Tuxera package is ready to run and select the trial version.
Step 5. Now, simply restart your Mac, connect your NTFS driver to your Mac, and open NTFS drive in Finder to make edits.
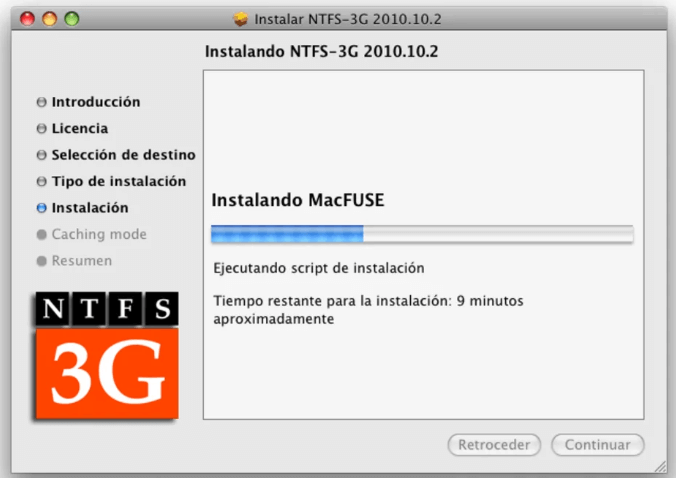
Top 5. NTFS-3G
NTFS-3G is an open-source NTFS driver for Linux, macOS, FreeBSD, NetBSD, OpenSolaris, QNX, and Haiku. It provides read-write access to NTFS drives on non-Windows systems, including macOS. NTFS-3G is widely used for its reliability and compatibility, making it a popular choice for Mac users seeking NTFS support.
👍 Salient Features:
- NTFS-3G supports multiple operating systems, including macOS, Linux, FreeBSD, and others, allowing users to access NTFS drives seamlessly.
- It enables users to read, write, modify, and delete files on NTFS partitions from their Mac computers.
- NTFS-3G is optimized for speed and efficiency, ensuring smooth data transfer operations even with large files.
- The driver supports advanced NTFS features such as transparent compression, encryption, and access control lists (ACLs).
😊 Pros |
🙁 Cons |
|---|---|
|
✅ Open Source ✅ Wide Compatibility ✅ Reliability ✅ Community Support |
🚫 Installation Complexity 🚫 Performance Overhead 🚫 Limited Official Support 🚫 Potential Compatibility Issues |
Steps to Use NTFS-3G
Step 1. To install NTFS-3G, open the Synaptic Package Manager and type the root password.
Step 2. Search for the NTFS in the search field and select Mark for Installation. Accept ntfs_config's dependencies and Apply changes to start the installation process.
Step 3. Once installation is done, Restart your computer, and you can now read-write NTFS drives on your Mac.
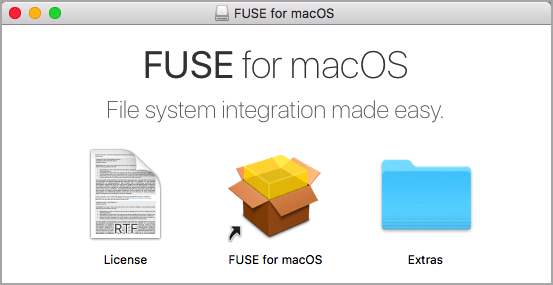
Top 6. FUSE for macOS
FUSE for macOS is an open-source software package that enables NTFS read and write capabilities on macOS systems. It allows Mac users to seamlessly access and modify files stored on NTFS-formatted drives, bridging the compatibility gap between Windows and macOS platforms.
👍 Salient Features:
- FUSE for macOS grants users full access to NTFS drives, empowering them to read, write, delete, and modify files effortlessly.
- Being open-source, FUSE for macOS encourages community contributions and continuous improvements, ensuring adaptability to evolving user needs.
- It is designed to be lightweight and efficient, minimizing system resource usage while delivering reliable performance.
- Users have the flexibility to customize settings and configurations according to their preferences and requirements.
😊 Pros |
🙁 Cons |
|---|---|
|
✅ Free tool ✅ Support macOS from OS X 10.9 ✅ Fully compatible with Apple Silicon Mac ✅ Available in multiple languages |
🚫 Can't auto-mount NTFS partitions 🚫 Complicated to use 🚫 No technical support |
Steps to Use FUSE for macOS
Step 1. Download the latest version of FUSE, open the .dmg file and click on the FUSE for macOS.pkg to initiate the installation.
Step 2. Once the software is installed, Restart your computer and connect the Windows NTFS drive to read-write on Mac.
Final Thoughts
In conclusion, the availability of NTFS for Mac software solutions has significantly improved the interoperability between Mac and Windows systems. These tools, such as DoYourData NTFS for Mac and FUSE for macOS, empower users to seamlessly exchange data across platforms by providing full read and write access to NTFS-formatted drives.
With features like intuitive user interfaces, reliable performance, and regular updates, these software solutions enhance productivity and streamline workflows for users operating in mixed computing environments. Despite some limitations such as trial version restrictions and occasional compatibility issues, the benefits of NTFS for Mac software outweigh the drawbacks for many users.
As technology continues to evolve, it's essential to choose NTFS for Mac software that meets your specific needs and requirements. Whether it's for personal use, professional tasks, or collaborative projects, these tools play a crucial role in ensuring smooth data interchange and compatibility across different operating systems.
DoYourData NTFS for Mac
DoYourData NTFS for Mac is a safe, powerful and easy-to-use NTFS for Mac tool. It allows macOS to read & write files on NTFS drives without any limitation. It is also a comprehensive disk management tool for Mac to mount/unmount disk, format disk, repair disk, read-write disk...on Mac.
FAQs About NTFS for Mac Software
Mac computers can't write data to NTFS drives. If you want to read-write a NTFS drive on Mac, you need NTFS for Mac tool to help you enable NTFS support on Mac. After installing NTFS for Mac software on your Mac and use it to enable writable for the NTFS drives, you can write data to NTFS drives or edit files on NTFS drives without any limitation.
Some NTFS for Mac tools also can help you mount NTFS drive on Mac, format NTFS drive on Mac or repair damaged NTFS drive on Mac.
Here is the list of top 6 NTFS for Mac software:
- DoYourData NTFS for Mac
- Paragon NTFS for Mac
- Mounty for NTFS
- Tuxera NTFS for Mac
- NTFS-3G
- Fuse for macOS
No, Mac does not support NTFS file system. If you want to use a NTFS drive on Mac without installing NTFS for Mac software, you can format or erase the NTFS drive to APFS or ExFAT.
- Open Disk Utility, select the external hard drive.
- Click Erase.
- Select ExFAT as the file system, click Erase again.
- When it gets finished, click Done.
If the drive is a NTFS drive, you can format it to another file system or use NTFS for Mac tool to enable writable for the drive.
If the drive gets damaged, open Disk Utility, click on First Aid button to repair it.
Written & Updated by Justin Kenny
Justin Kenny is a writer & editor of DoYourData. He joined DoYourData in 2016 and focuses on writing articles about Windows data recovery, Mac data recovery, external device data recovery, hard drive clone, data erasure, Mac cleanup, computer issue fixes, etc. He is a super fan of Apple devices and is big on testing new digital device and system utility software.