Home > Hard Drive Solutions for Mac
How to Mount NTFS Drive on Mac?
NTFS drive may not mount on Mac (especially on macOS Ventura or later), check it in Disk Utility or repair it by running First Aid. You also can use NTFS for Mac tool to mount NTFS drive on Mac and enable read-write without formatting.
![]() Updated by Justin Kenny on September 24, 2025
Updated by Justin Kenny on September 24, 2025
Quick Navigation:
- 1. Do Macs Support NTFS File Reading?
- 2. NTFS for Mac Software Mounts NTFS Drive Read-Write
- 3. Mount NTFS Drives on Mac with an Open-source Program
- 4. Mount NTFS Drive with Disk Utility
Users cannot change NTFS volumes or drives in macOS since the operating system mounts them in read-only mode by default. Because of the read-only nature of Mac external hard drives, transferring files to and from Windows NTFS devices can be a pain.
Mac OS will automatically mount any NTFS external device (USB, HDD, SSD, etc.) in read-only mode. It's possible that your Mac won't be able to read or write to an NTFS drive. The Mac can only read NTFS files. How do you mount a read/write NTFS drive using a Mac? The three options are outlined below.
Do Macs Support NTFS File Reading?
Since NTFS is a Microsoft-exclusive technology, other firms need licenses to implement it on their operating systems.
Apple does not have an active NTFS license. Instead, Macs use an NTFS implementation based on FreeBSD, which is read-only. There have been attempts to add NTFS writing permissions to Mac, but it has always been unfinished and plagued by bugs like kernel panics and internal issues.
Before Apple's architecture change for macOS Ventura, installing NTFS drivers was viable for getting around kernel constraints.
HNTFS for Mac Software Mounts NTFS Drive Read-Write
An NTFS for Mac utility is the simplest way to read/write to an NTFS drive on a Mac. Various NTFS for Mac programs are available, both free and for a price.
First, go to the website of your selected NTFS for Mac utility and download and install it.
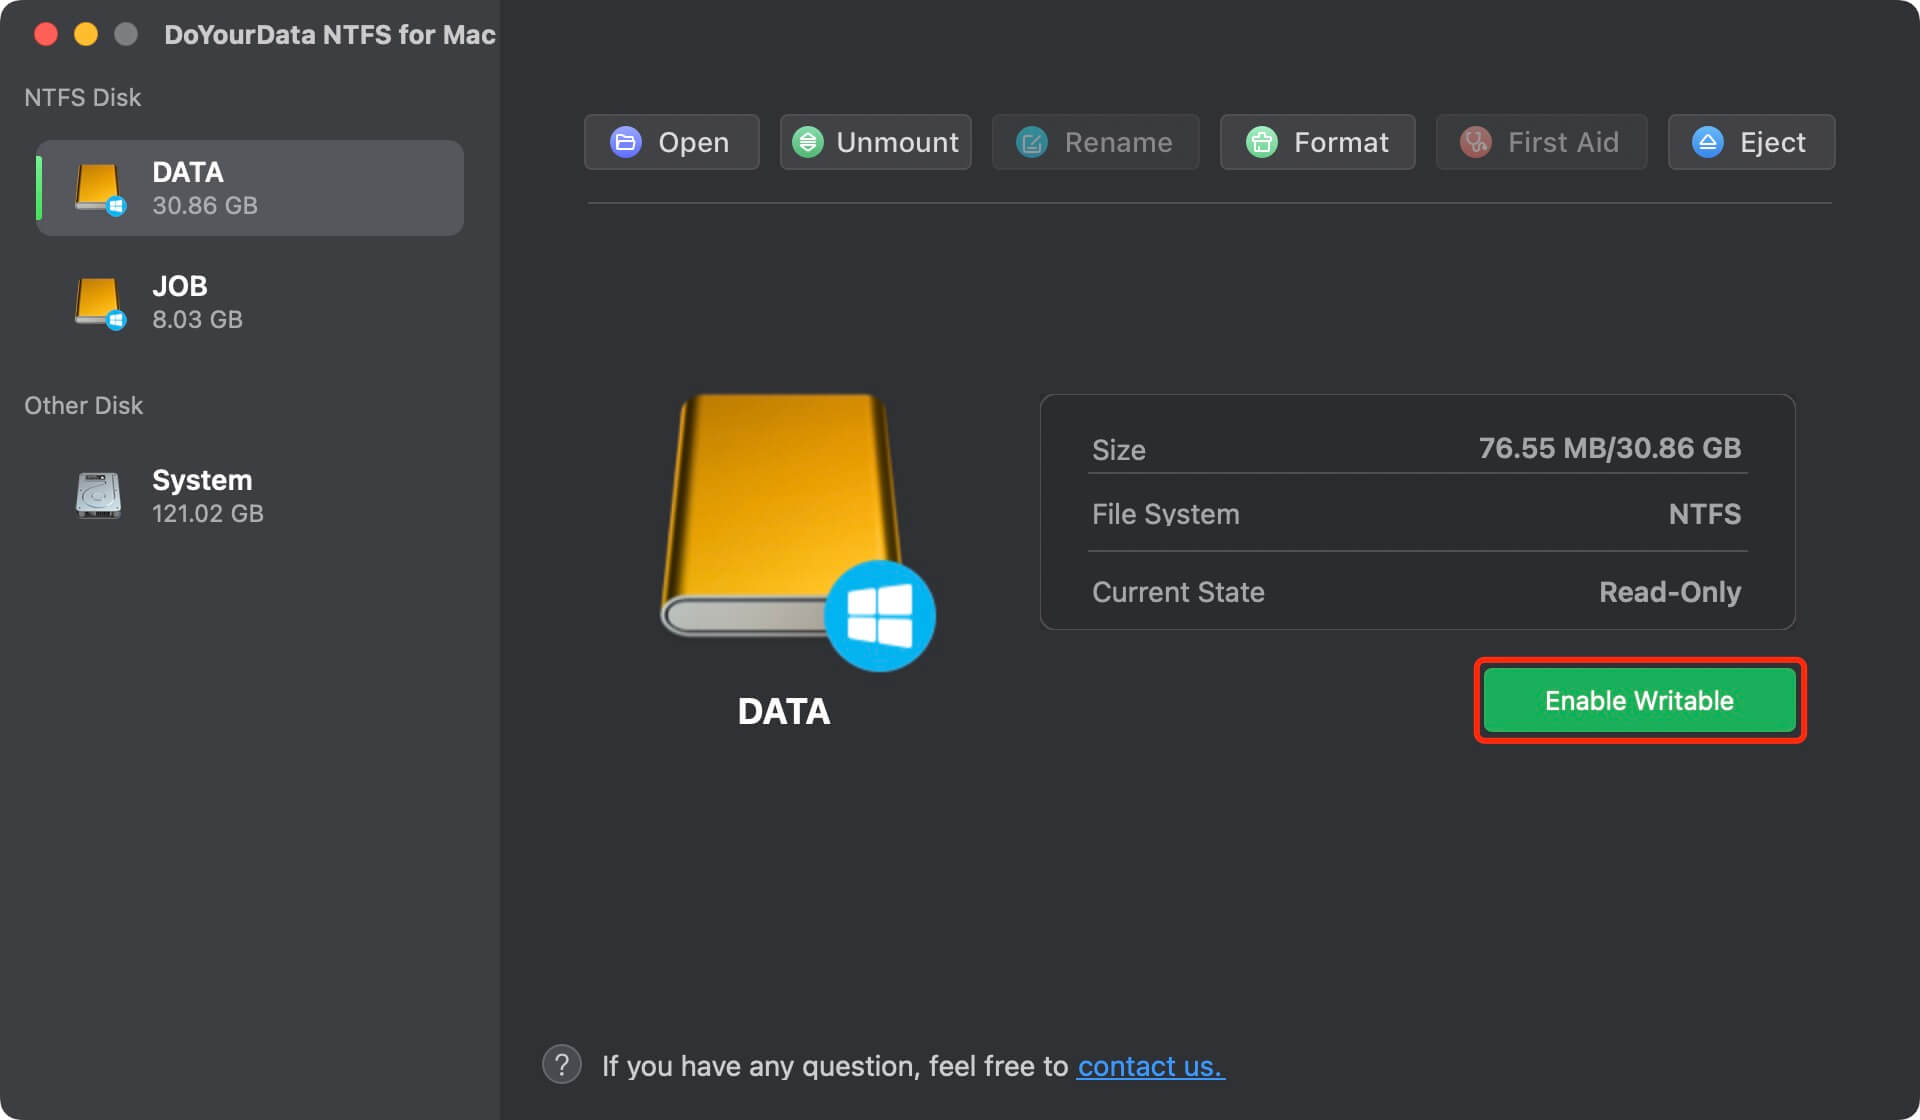
Launch the software you just installed and check out the available drives. Locate the NTFS drive you wish to mount, read/write, and click on it.
Select the NTFS drive you wish to mount and click the Mount button.
Click on Enable Writable for NTFS drives, then the NTFS drives will become read-write on Mac.
Mount NTFS Drives on Mac with an Open-source Program
Compared to a commercial NTFS mounter for Mac, the FUSE for macOS free version of NTFS software represents a security risk. In addition, the installation process and accompanying command lines can be difficult to navigate if you are uncomfortable with the command prompt.
Here's how to use FUSE for macOS to access NTFS volumes on your Mac.
First, make your Mac susceptible by disabling SIP if you're using macOS 10.13 or later.
The second step is to get FUSE for macOS out of GitHub.com and set it up.
Third, get Homebrew for Mac and set it up.
Select and click Find Terminal by clicking the Utilities button.
Installing NTFS-3G from Homebrew is as simple as typing brew install NTFS-3g into the command prompt and pressing Enter. You must enter the password when prompted to do so.
To set up an NTFS mount point, go to the Terminal and enter sudomkdir /Volumes/NTFS.
Seventh, you'll find the name of your NTFS volume by typing in the diskutil list and hitting Enter.
In the Terminal, press Enter after typing sudo /usr/local/bin/ntfs-3g /dev/disk3s1 /Volumes/NTFS -olocal -oallow_other.
After you've completed these steps, the NTFS partition of your external hard drive will be visible and accessible from your computer's desktop.
Mount NTFS Drive with Disk Utility
Disk Utility can help you mount NTFS drive on Mac:
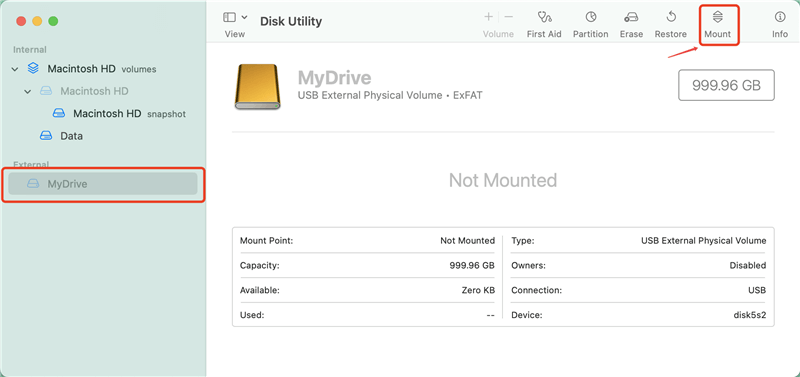
Open Disk Utility.
Find the NTFS drive, select it.
Click on Mount button.
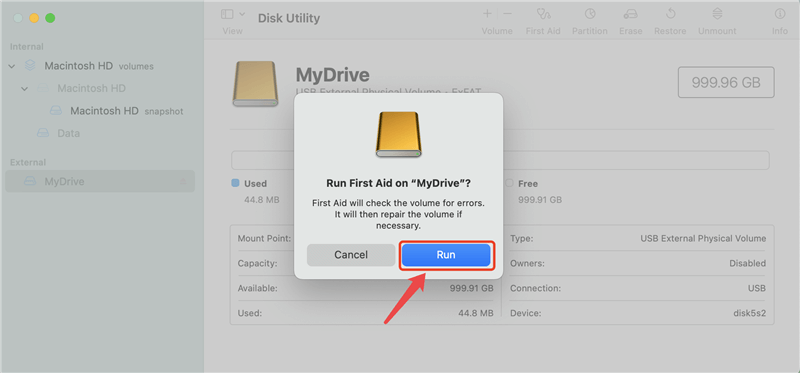
If the Mount is not available or failed, you should run First Aid to repair the damaged NTFS drive.
If you lose important data from the NTFS drive, follow the steps below to get all lost files back.
Step 1. Download and install a data recovery application - Do Your Data Recovery on your Mac.
Do Your Data Recovery for Mac
- Unformat hard drive (NTFS, APFS, HFS, ExFAT, FAT32) on Mac.
- Recover permanently deleted files.
- Recover inaccessible data.
Step 2. Open the data recovery application, then select the NTFS drive to start data recovery.

Step 3. Click on Scan button to deeply scan the NTFS drive.
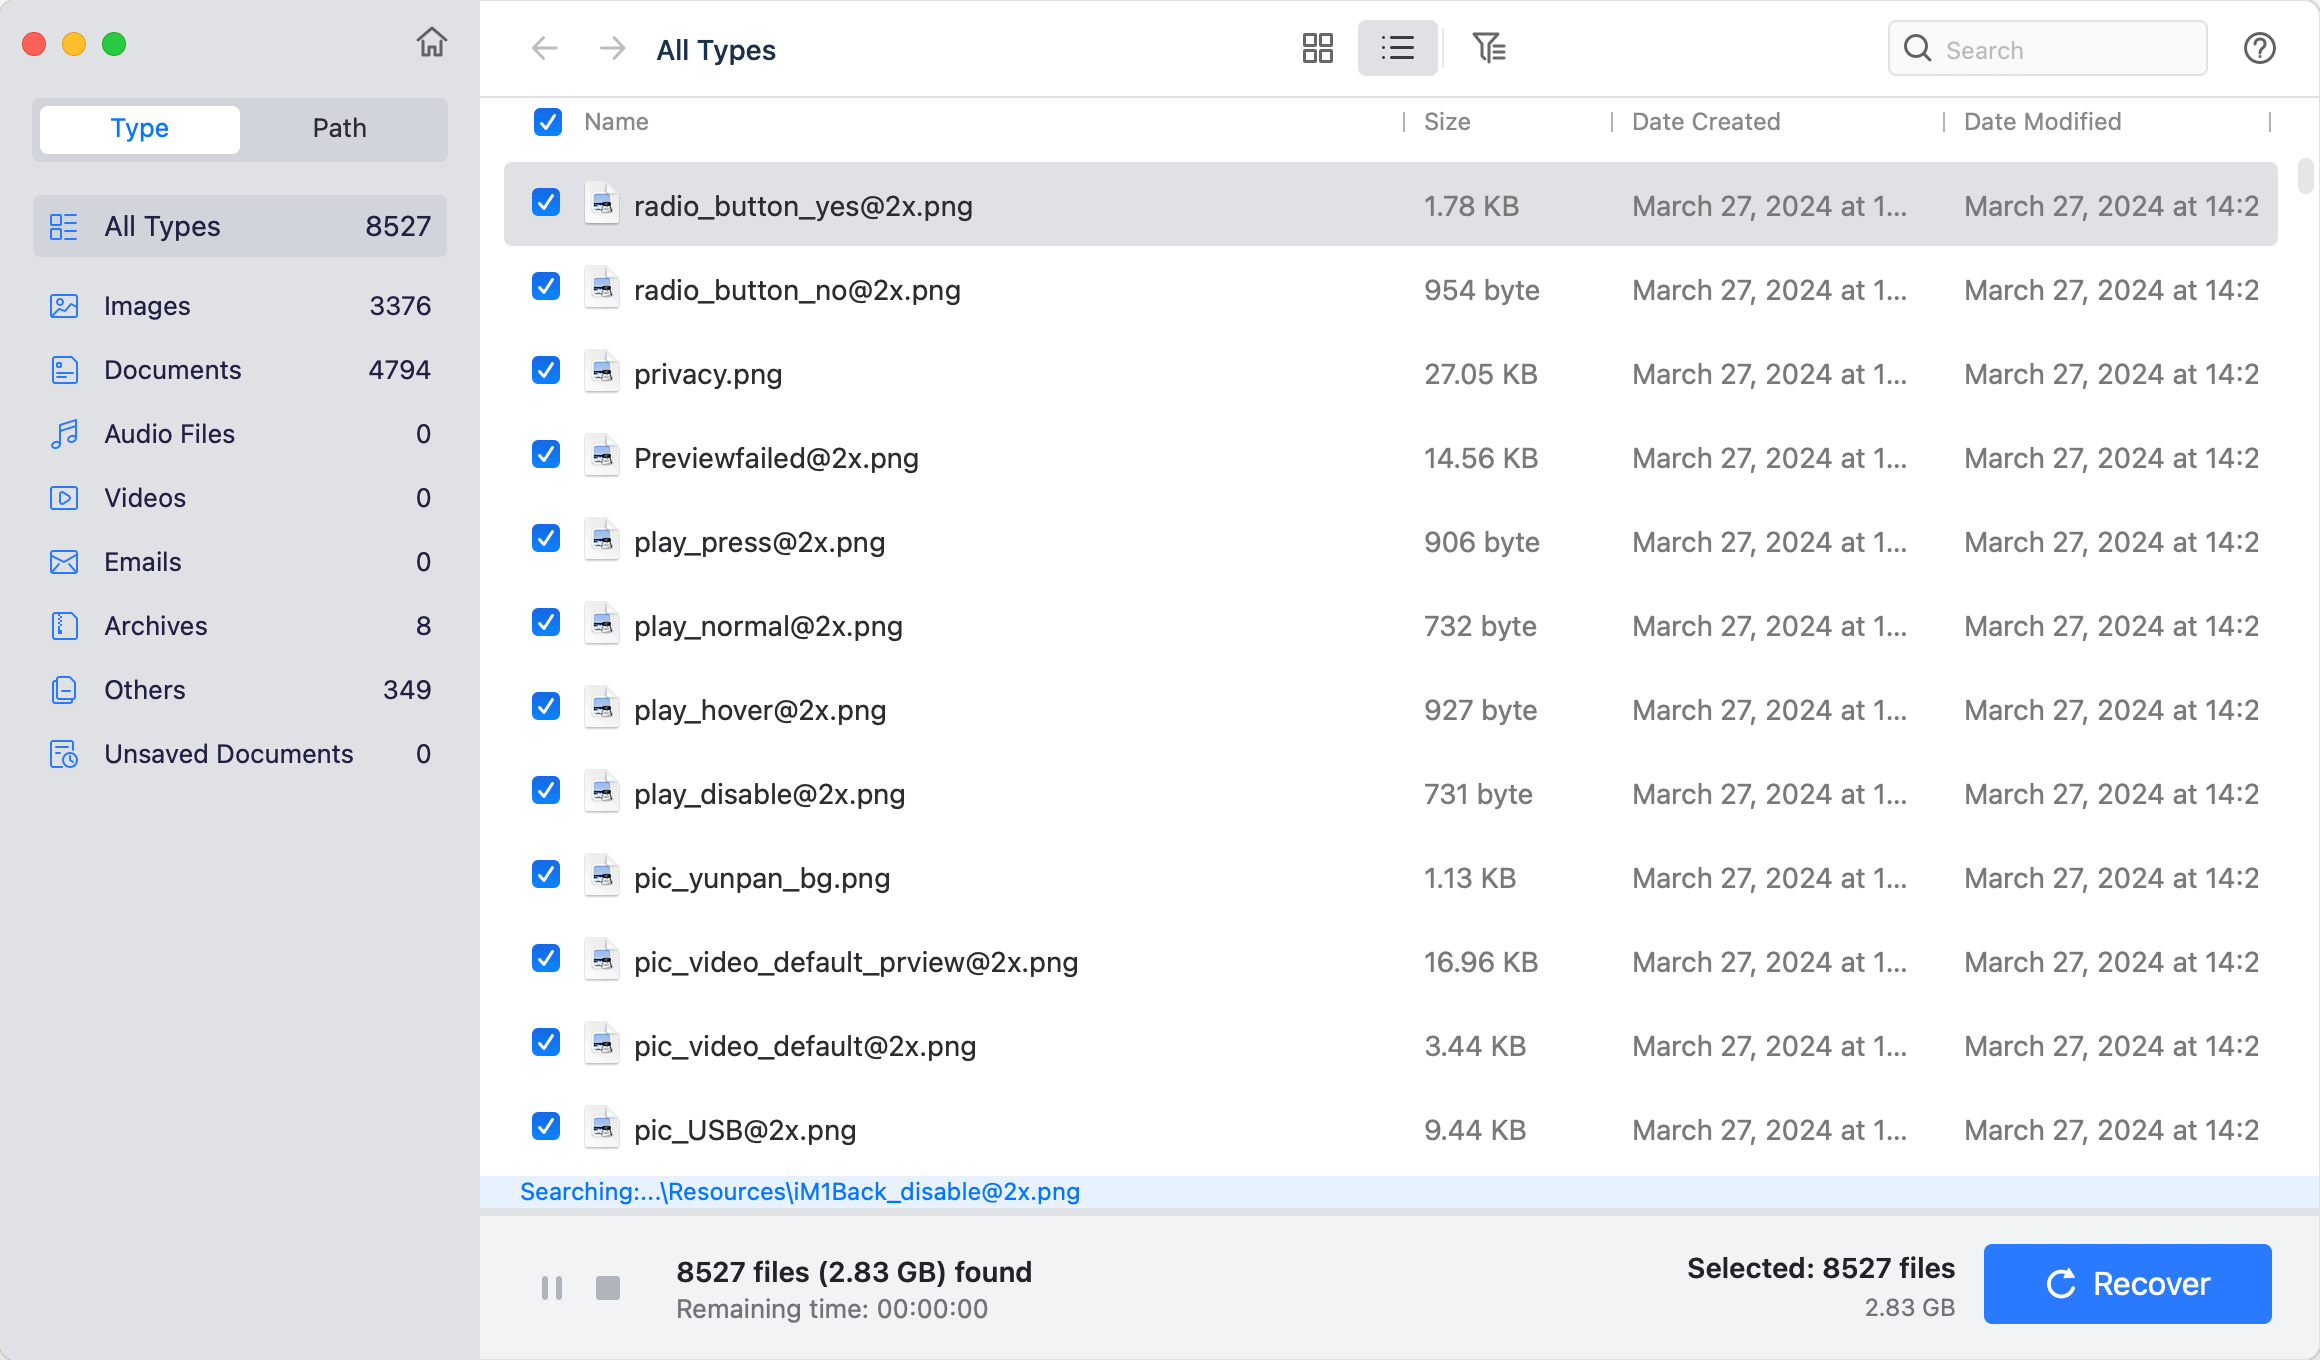
Step 4. Once the scan is completed, find the lost files and recover them.

Conclusion:
Even though NTFS drives won't operate on your Mac without some fiddling, you can sometimes force compatibility. When reformatting isn't an option, installing third-party software is probably the easiest alternative, and enabling NTFS writing through Terminal is doable if you're familiar with command lines and are willing to take the necessary precautions.
However, formatting a drive in FAT32 or ExFAT will simplify your cross-platform work between Windows and macOS. The external disk must be set up properly before storing sensitive data. If it is not mounting on your Mac, try Disk Utility or NTFS for Mac tool to mount NTFS drive.
Written & Updated by Justin Kenny
Justin Kenny is a writer & editor of DoYourData. He joined DoYourData in 2016 and focuses on writing articles about Windows data recovery, Mac data recovery, external device data recovery, hard drive clone, data erasure, Mac cleanup, computer issue fixes, etc. He is a super fan of Apple devices and is big on testing new digital device and system utility software.