Quick Navigation:
- Why are some files and folders hidden?
- Mac Finder: showing hidden files using keyboard shortcuts
- Showing the hidden Library folder within the Finder
- Showing hidden files on a Macintosh using Terminal commands
- Recover hidden or missing files on Mac
- Unhide hidden files with free SwitchManager
Many files and folders are hidden on a Mac. There’s an honest reason for this: hiding files and folders prevents users from accidentally damaging the operation system. Nevertheless, generally, you ought to access these files and folders. We’ll show you varied choices for viewing hidden files and folders on a Mac. However, use extreme caution:
If you modify or harm system files, it will have serious consequences for your operating system.
Why are some files and folders hidden?
There are smart reasons for hiding files and folders in operation systems. PC makers and directors hide files to prevent users from accidentally deleting or damaging system-related files and folders. At different times, your leader might hide files and folders that are essential for the sleek exchange of knowledge with customers and business partners. In most cases, you won't notice these files at all, despite the fact that they perform vital tasks.
However, if you continue to need to look at and access the hidden folders and files on your Macintosh, you must be extraordinarily careful to avoid damaging you’re in the operation system.
Mac Finder: showing hidden files using keyboard shortcuts
Keyboard shortcuts are in all probability the best thanks to showing hidden files and folders within the Finder on a Macintosh. You’ll show hidden files by pressing the Command, Shift, and amount keys at a similar time.
Follow these few steps to indicate or hide files in the Finder:
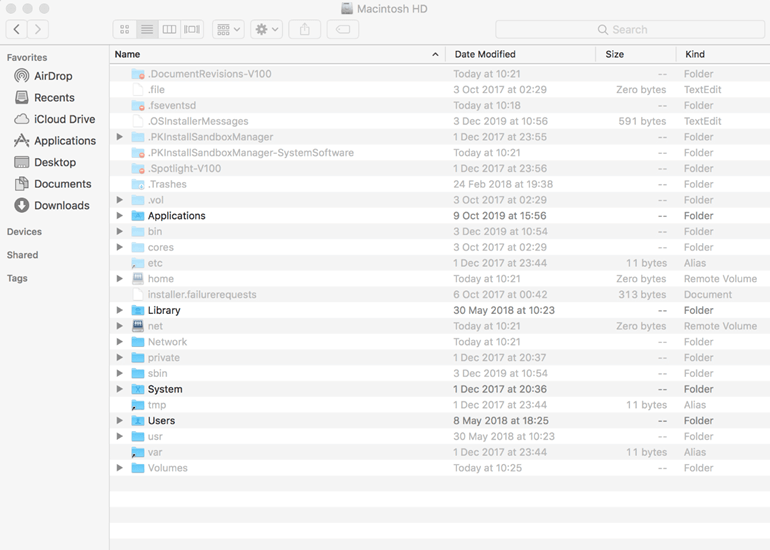
Step 1. Open Macintosh HD or the folder wherever you wish to show the hidden files in the Finder.
Step 2. Hold down the Command, Shift and amount keys: Command + Shift + .
Step 3. The hidden files and folders on your Mac can then seem partly transparent.
Step 4. You'll hide the files once more using the same keyboard cutoff.
Showing the hidden Library folder within the Finder
The on top of keyboard shortcut for showing hidden files on a Macintosh works in any folder in the Finder. One exception is the Library folder, which is sometimes hidden. It primarily contains system files and mechanically saved copies of Microsoft workplace documents. Showing the Library folder is particularly helpful once you're trying to find recent Word documents and are unable to find them. If your PC crashes before you may save your data, you must look in the Library folder. You’ll access this folder using the subsequent shortcut:
Step 1. Within the Finder, press the choice key (Alt).
Step 2. Within the menu bar, click “Go”.
Step 3. Click “Library”.

Step 3. Open the Library by pressing the choice key and choosing the folder underneath “Go”.
Step 4. Since the Library mechanically saves Microsoft workplace documents as hidden files, you'll see an oversized range of unorganized files during this folder.
Showing hidden files on a Macintosh using Terminal commands
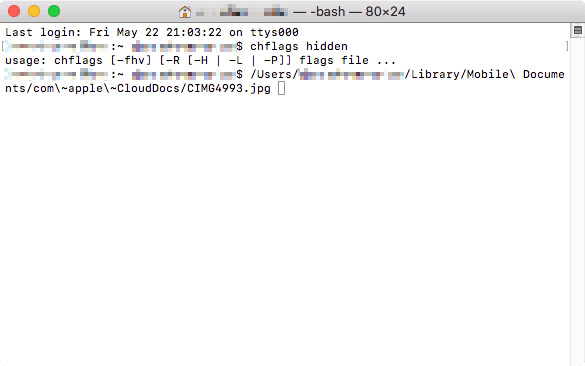
Rather than using keyboard shortcuts and therefore the} Finder, you'll also use Terminal in conjunction with commands on your mac to indicate hidden files and folders. The terminal could be a constitutional command-line interface enclosed within the mac in the operation system. You’ll use commands in Terminal to switch sequences of multiple steps in the Finder and perform an action. To look at hidden files and folders using Terminal, proceed as follows:
Step 1: Open Terminal
To launch Terminal on your Mac, use the subsequent keyboard shortcut: Cmd + Space. When pressing the control key and therefore the area bar, kind “Terminal” in the Spotlight search field. Then double-click the search result.
Alternatively, you'll be able to launch Terminal by double-clicking “Terminal” within the Utilities Window. You’ll notice this option either underneath “Go” within the menu bar or under “Applications”, which you'll choose in the Dock at the lowest of the screen.
Step 2: coming into a command to examine hidden files on a mac
Reading hidden files and folders on a mac using Terminal involves entering 2 commands and pressing the Enter key. Kind the subsequent into Terminal:
Defaults write com. apple. Finder AppleShowAllFiles true
[Enter]
killall Finder
Step 3: read the hidden files on your Mac.
Currently, the hidden files and folders on your mac are displayed in the Finder. As mentioned above, the files seem transparent. The folders look slightly paler than folders that aren't hidden.
Step 4: Hide the files once more
You’ll hide the files again by commutation “true” with “false” within the command above. The command then sounds like this:

Defaults write com. apple. Finder AppleShowAllFiles false
[Enter]
Killall Finder
Recover hidden or missing files on Mac
Data recovery software can help you find all recoverable files on Mac including deleted/lost or hidden files. Now, download Do Your Data Recovery for Mac to help you find hidden or missing files on Mac.
Do Your Data Recovery for Mac
- Find every recoverable files on Mac including hidden files and lost files.
- Unformat hard drive on Mac.
- Recover deleted, formatted or inaccessible files on Mac.
Do Your Data Recovery for Mac is a 100% safe and easy-to-use Mac data recovery application. Now, run it from Launchpad and find the hidden/missing files.
Step 1. Choose the hard drive where you delete or hide the files. Now, just select the Mac HD or Apple SSD.

Step 2. Click on Scan button. Do Your Data Recovery for Mac will scan the hard drive and find all recoverable files.
Step 3. Preview and recover lost files once the scanning is completed.

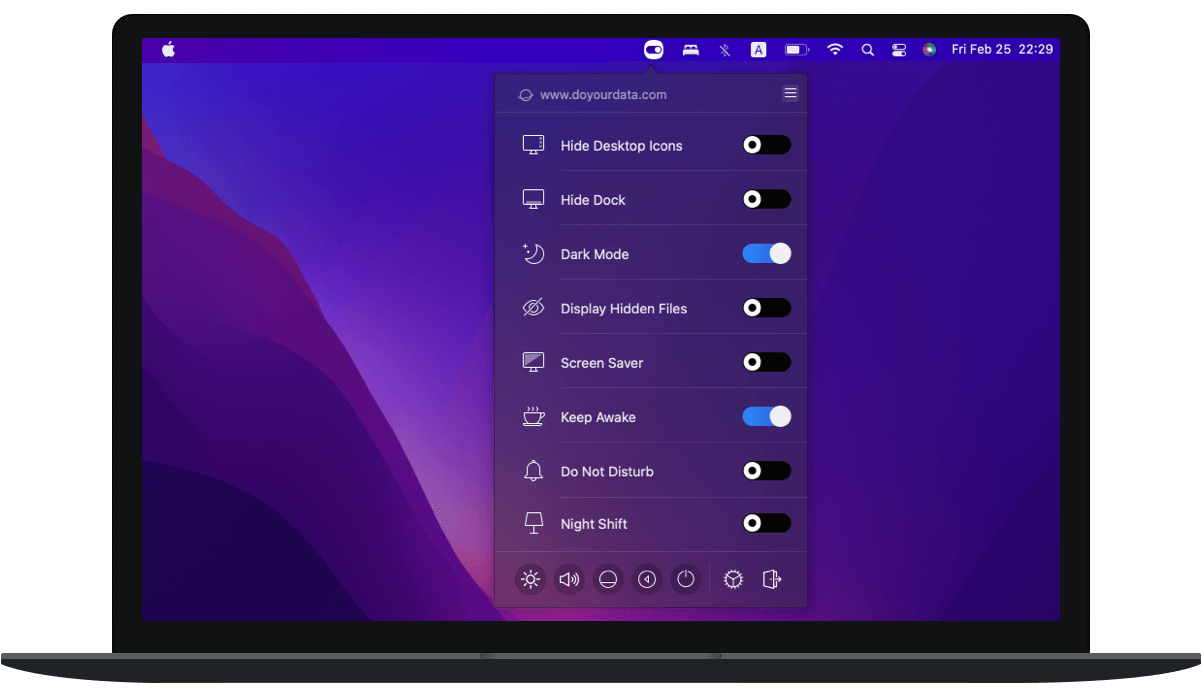
Unhide hidden files with free SwitchManager
SwitchManager is a free application which can help you hide or unhide files on Mac. Now, download and install it on your Mac. If you turn on “Display Hidden Files”, you can see all hidden files on your Mac.
Written & Updated by Justin Kenny
Justin Kenny is a writer & editor of DoYourData. He joined DoYourData in 2016 and focuses on writing articles about Windows data recovery, Mac data recovery, external device data recovery, hard drive clone, data erasure, Mac cleanup, computer issue fixes, etc. He is a super fan of Apple devices and is big on testing new digital device and system utility software.