How to Recover Formatted Data on MacBook/MacBook Air/MacBook Pro?
If you want to recover formatted hard drive on MacBook, you can check if you have backups in Time Machine. Or you can use a data recovery app - such as Do Your Data Recovery for Mac, to deeply scan the formatted hard drive and find all erased files. Then select the wanted files, click on Recover or Restore button to save the files.
![]() Updated by Justin Kenny on April 10, 2024
Updated by Justin Kenny on April 10, 2024
Quick Navigation:
- Method 1: Using Time Machine to Restore Formatted Data on MacBook
- Method 2: Recover Formatted MacBook Using Recovery Software
- FAQs About Recovering Formatted Data on MacBook
- Conclusion
“Hi, My Dad formatted my MacBook Air (erase the startup disk using disk utility in macOS Recovery mode) yesterday and I never back up it with Time Machine. Is there any solution to get my lost files back?”
People who use MacBook laptops often worry about losing their data, especially when they format their computers by mistake. Losing important files can be very upsetting, whether because of a human mistake or a problem with the technology.
There are ways to get back data formatted on your MacBook, which is good news in a hopeless scenario. This guide will examine many methods and tools to help you recover your lost files.
We'll walk you through the process, from learning the ins and outs of data processing to taking safety precautions and using special software. After reading this guide, you'll have the knowledge and tools to confidently recover lost data. It will keep your important data safe and make it easy to access.
Method 1: Using Time Machine to Restore Formatted Data on MacBook
Using Time Machine to recover a formatted hard drive on your Mac is a simple process that can help you recover your lost files and data quickly. These steps will make it easy for you to get back your formatted hard drive:
- Connect Time Machine Backup Drive.
First, connect your Time Machine backup drive to your Mac. It is where your Time Machine files are kept. - Access the Time Machine.
After connecting the backup drive, go to where your Time Machine copies are kept. It's usually easy to find: click the Time Machine button in the menu bar and choose "Enter Time Machine." You can also use System Preferences > Time Machine (Or System Settings > General > Time Machine) to access Time Machine. - Navigate Through Time.
When Time Machine starts up, a timeline will appear on the right side of the screen. This timeline shows the different pictures of your system that were taken at different times. You can scroll back to a time before your hard drive was reset. - Find Lost Files.
Time Machine will show your files and folders as they were on the chosen date as you move through the timeline. These tools let you look through your files and restore the ones you want. - Preview the Files.
Finding the files you want to get back is easy. Pick them and press the space bar to see a preview of them. It will show you a quick look preview box where you can make sure you've found the right files. - Restore Files.
Click "Restore" after picking out what you want to bring back. After that, Time Machine will move the files from the backup drive to where they were on your Mac in the first place. - Verify Restoration.
The time it takes may depend on how many and how many files are being recovered. Wait patiently for Time Machine to finish the process of fixing things. After the repair, check whether your files were successfully restored to your Mac.

Method 2: Recover Formatted MacBook Using Recovery Software
You can use any data recovery software to get back your important files. Follow these steps:
Step 1. Get Do Your Data Recovery for Mac and Install It
First, go to Do Your Data Recovery for Mac's main website and look for the link to download the Mac version. Wait for the installer file to download to your MacBook after you click the "Download" button. Find the launcher file in your Downloads folder or the download manager in your web browser once the download is done.
Double-click on the installer file to start setting up the software. To finish the installation, follow the steps shown on the screen by the software. Do Your Data Recovery for Mac will be in your Applications folder and ready to use as soon as it is loaded.
Step 2. Open Do Your Data Recovery for Mac and Select the Formatted Drive.
To open the app, go to your Applications folder and double-click the Do Your Data Recovery for Mac icon. Opening Do Your Data Recovery for Mac will show you the startup disk and a list of all the storage devices linked to your MacBook. Find the formatted hard drive and select it.

Step 3. Scan the Formatted Drive.
Once you choose the formatted drive, just click on Scan button. Then Do Your Data Recovery for Mac will deeply scan the formatted drive. The scanning process could take a while, depending on how much data was lost and how big the drive is.
Step 4. Preview the Lost Files.
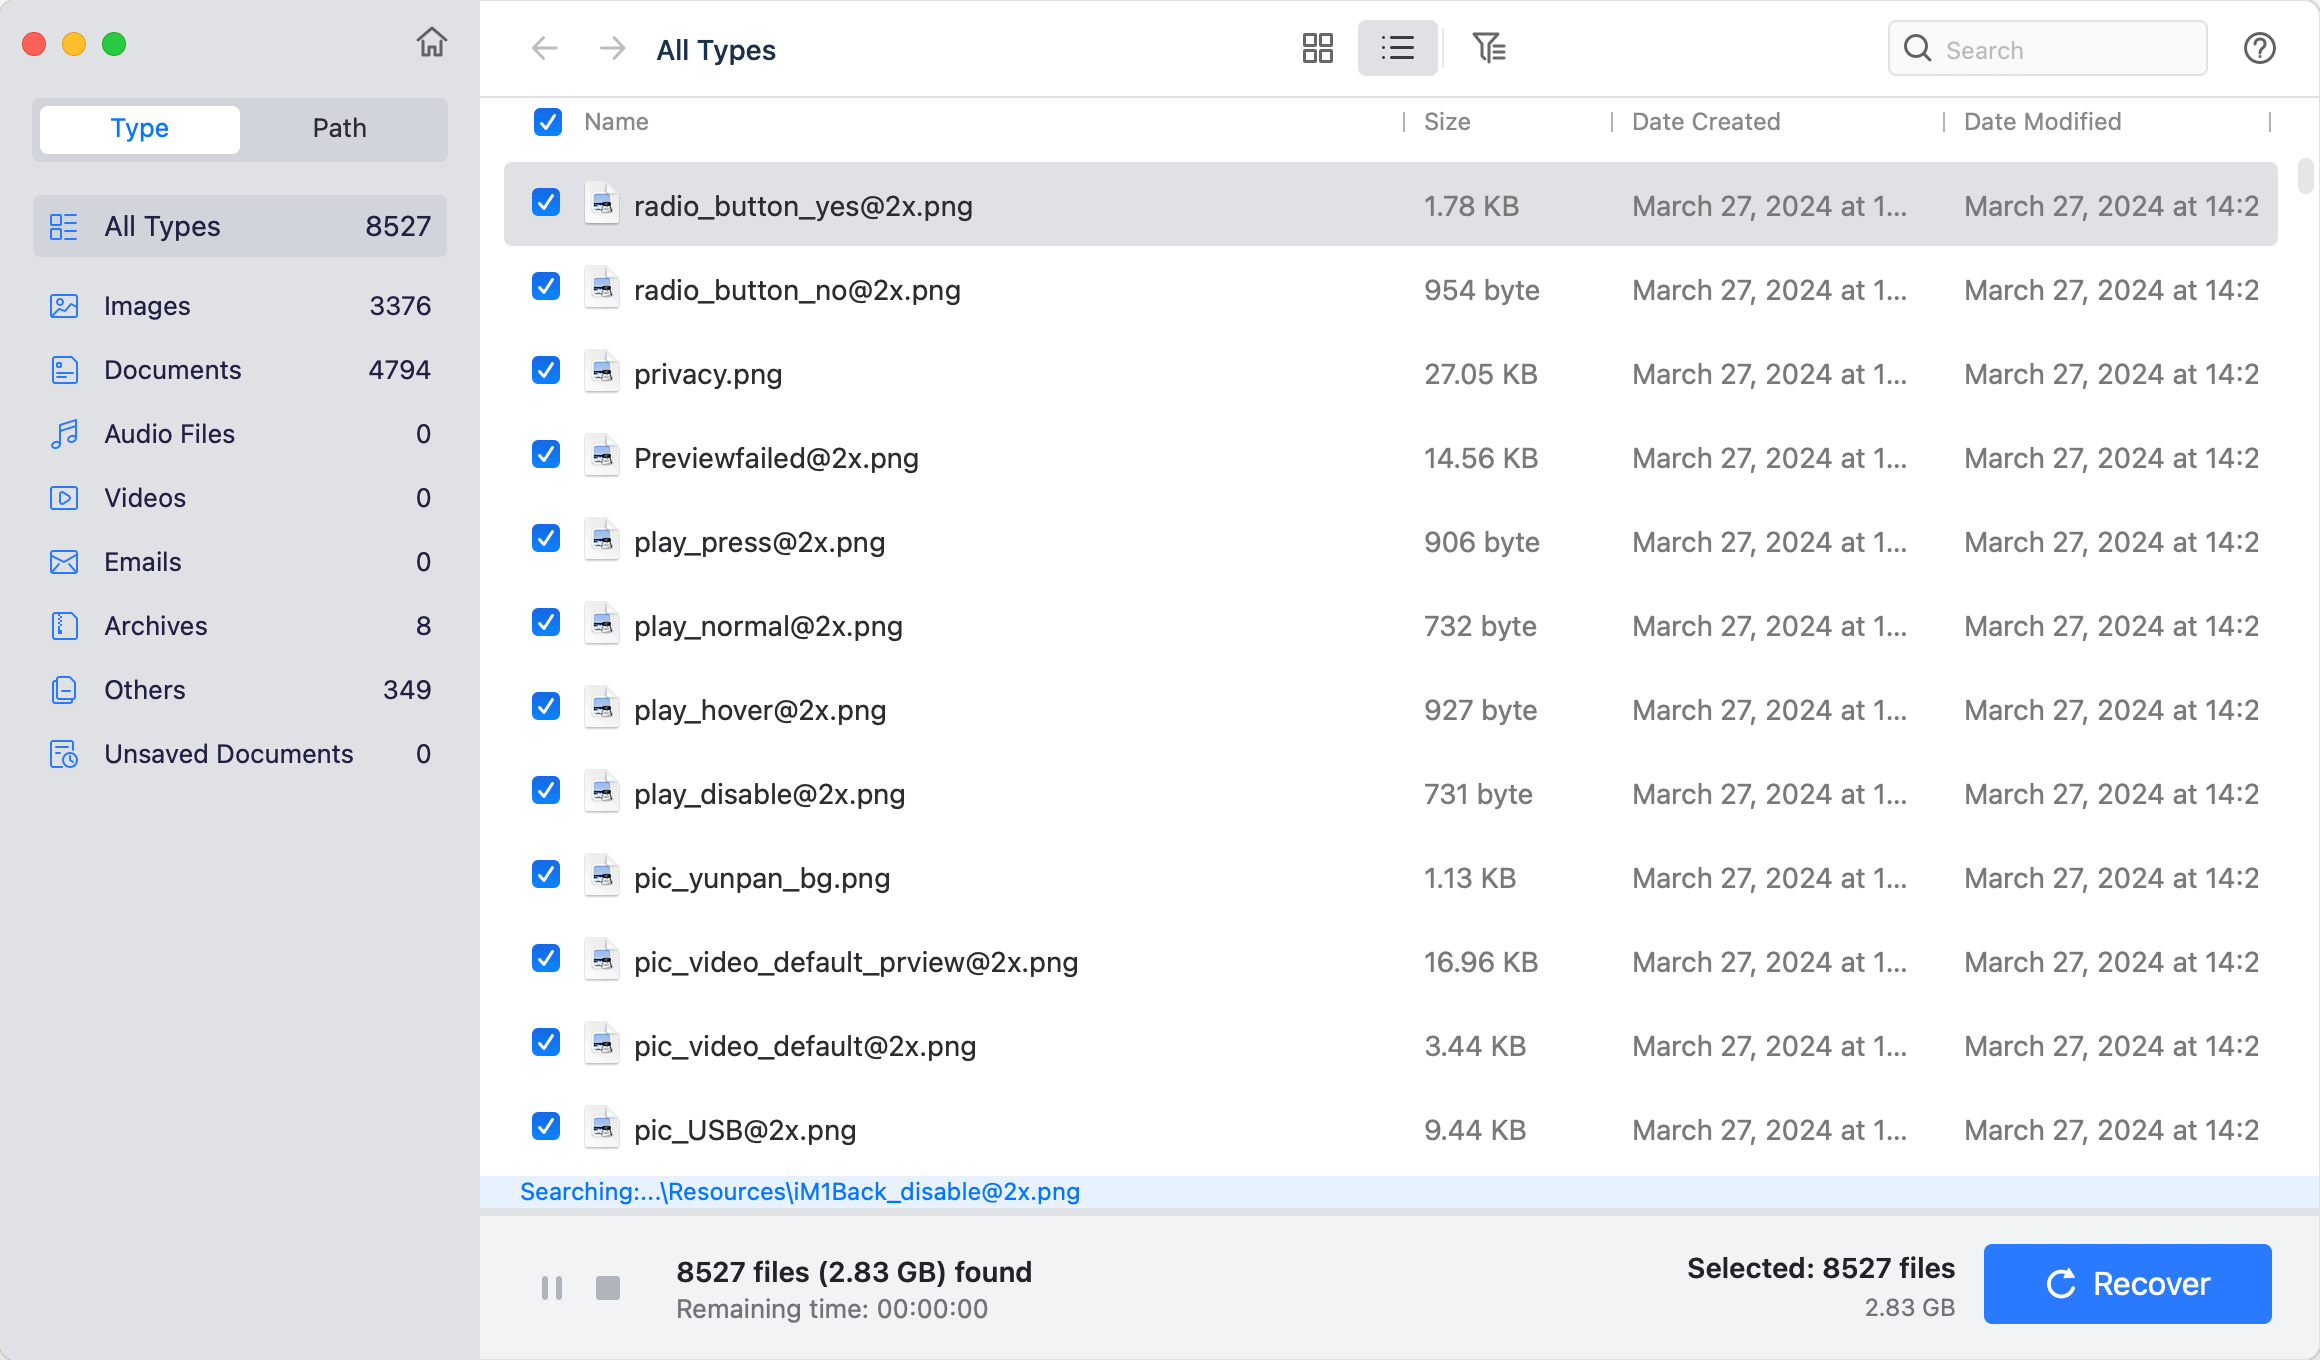
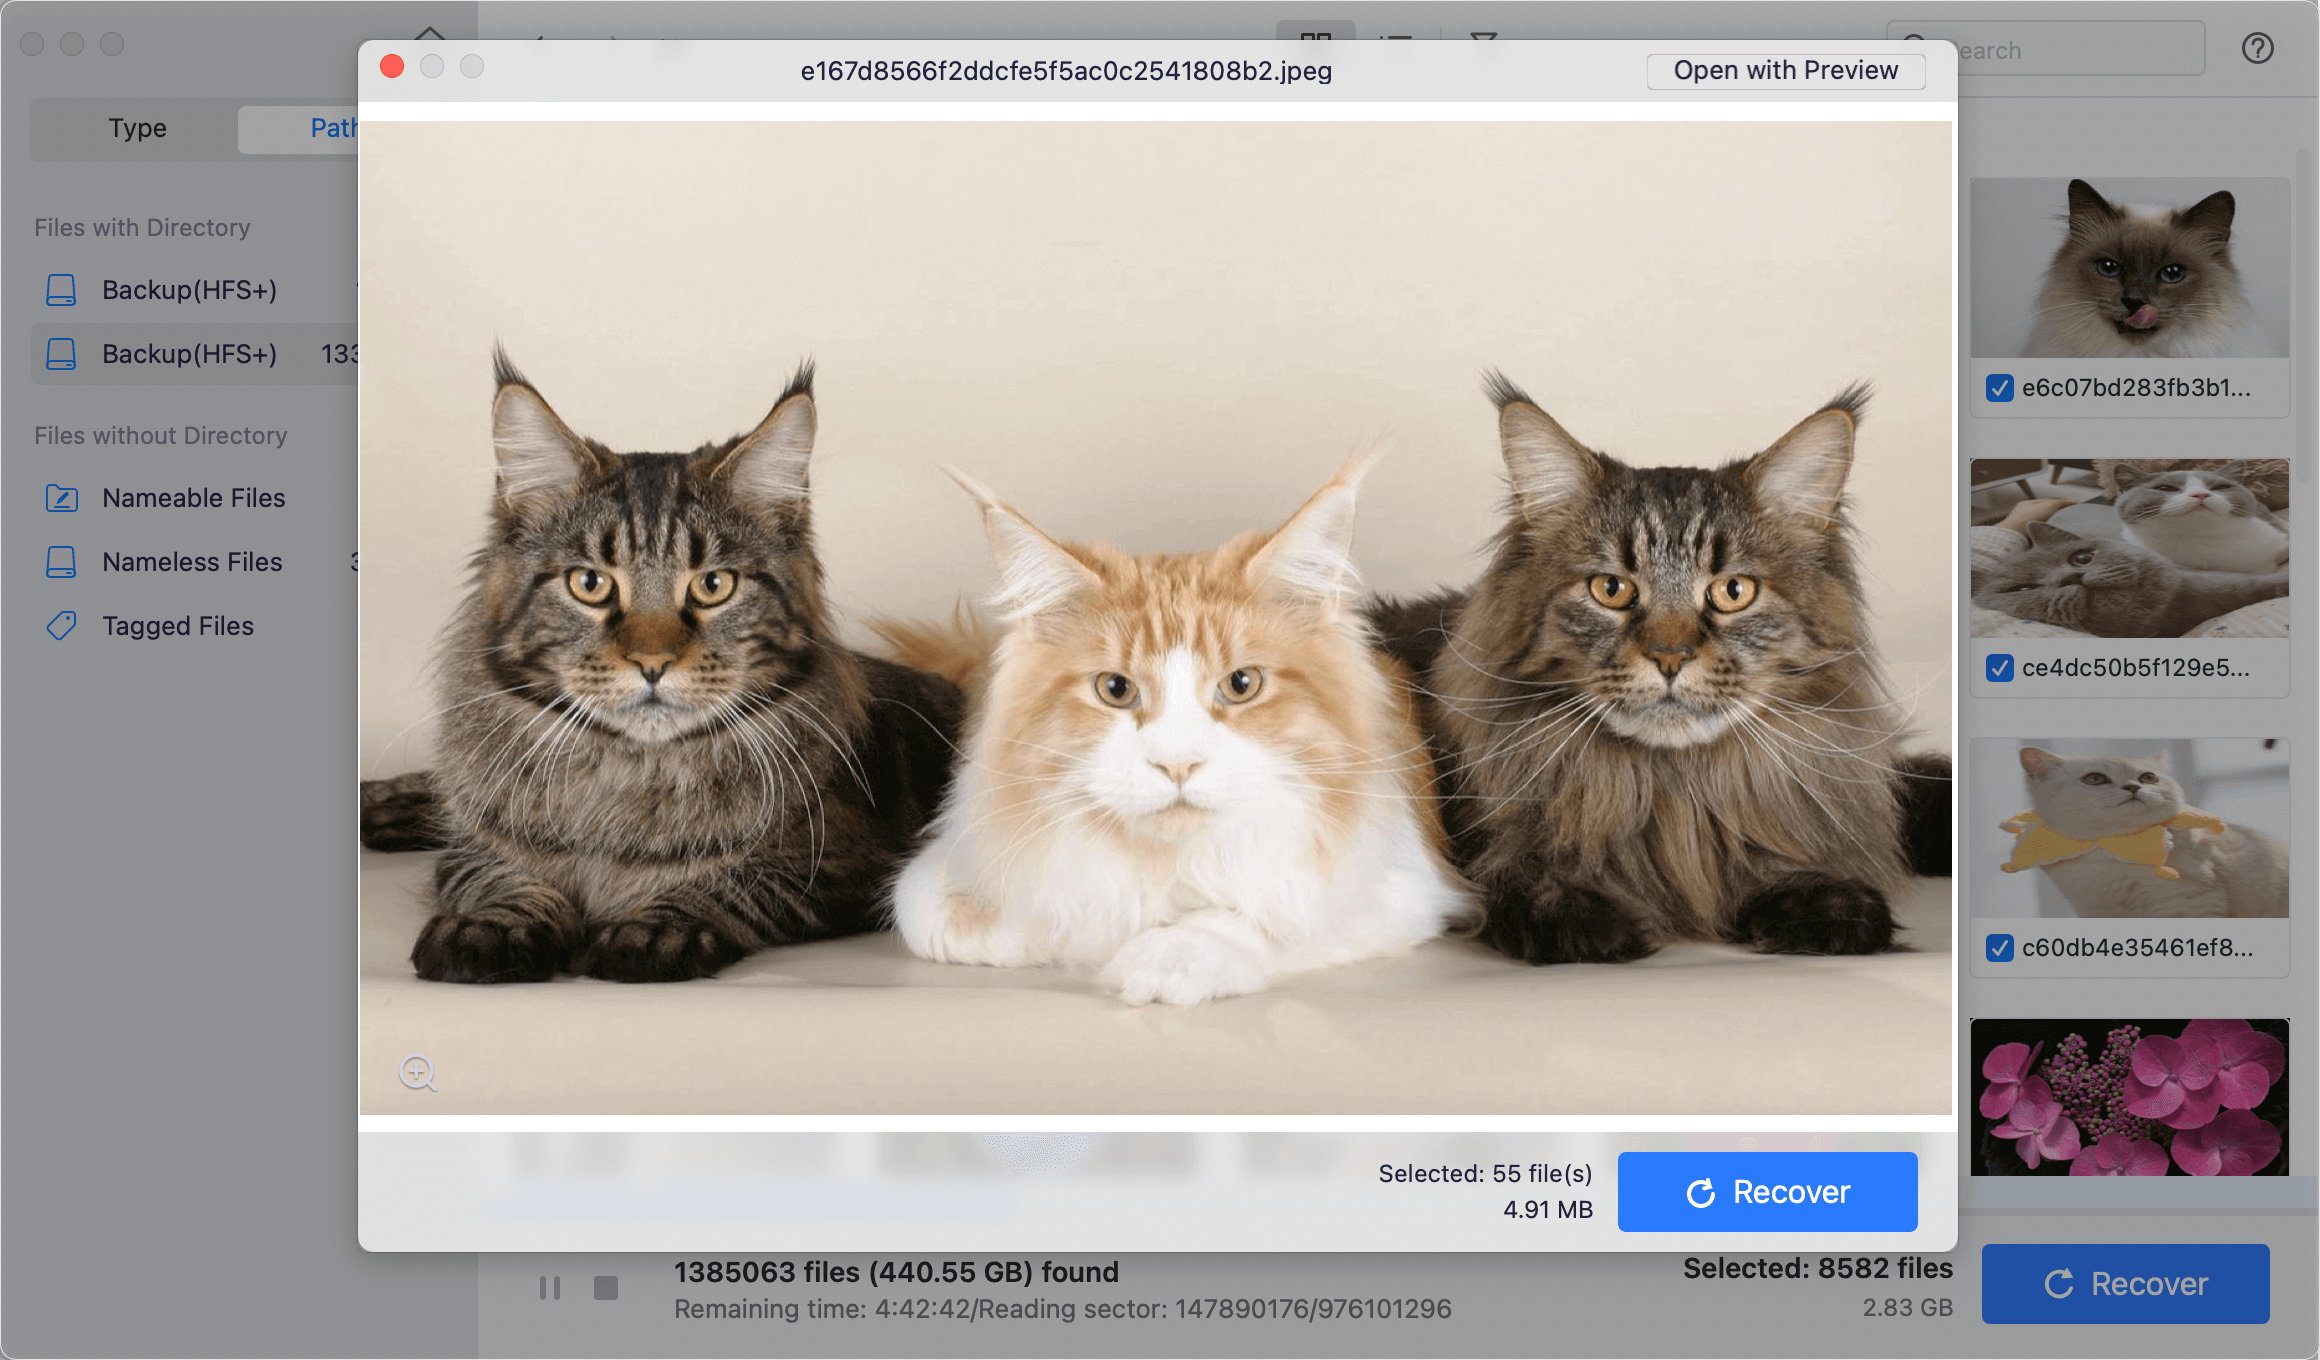
After the check, Do Your Data Recovery for Mac will show you a list of all the recoverable files on the formatted drive. You can look at these files to make sure they are good and that they are the files you want to rescue. With Do Your Data Recovery for Mac's preview choices, you can also look at pictures, documents, videos, and other files before you start the recovery process.
Step 5. Choose the Lost Files and Recover Them.
After previewing the restored files, you can choose which ones to restore. You can either check the boxes next to the files you want to return or use the "Select All" button to restore all of them. Pick out what you want, then click the "Recover" button.
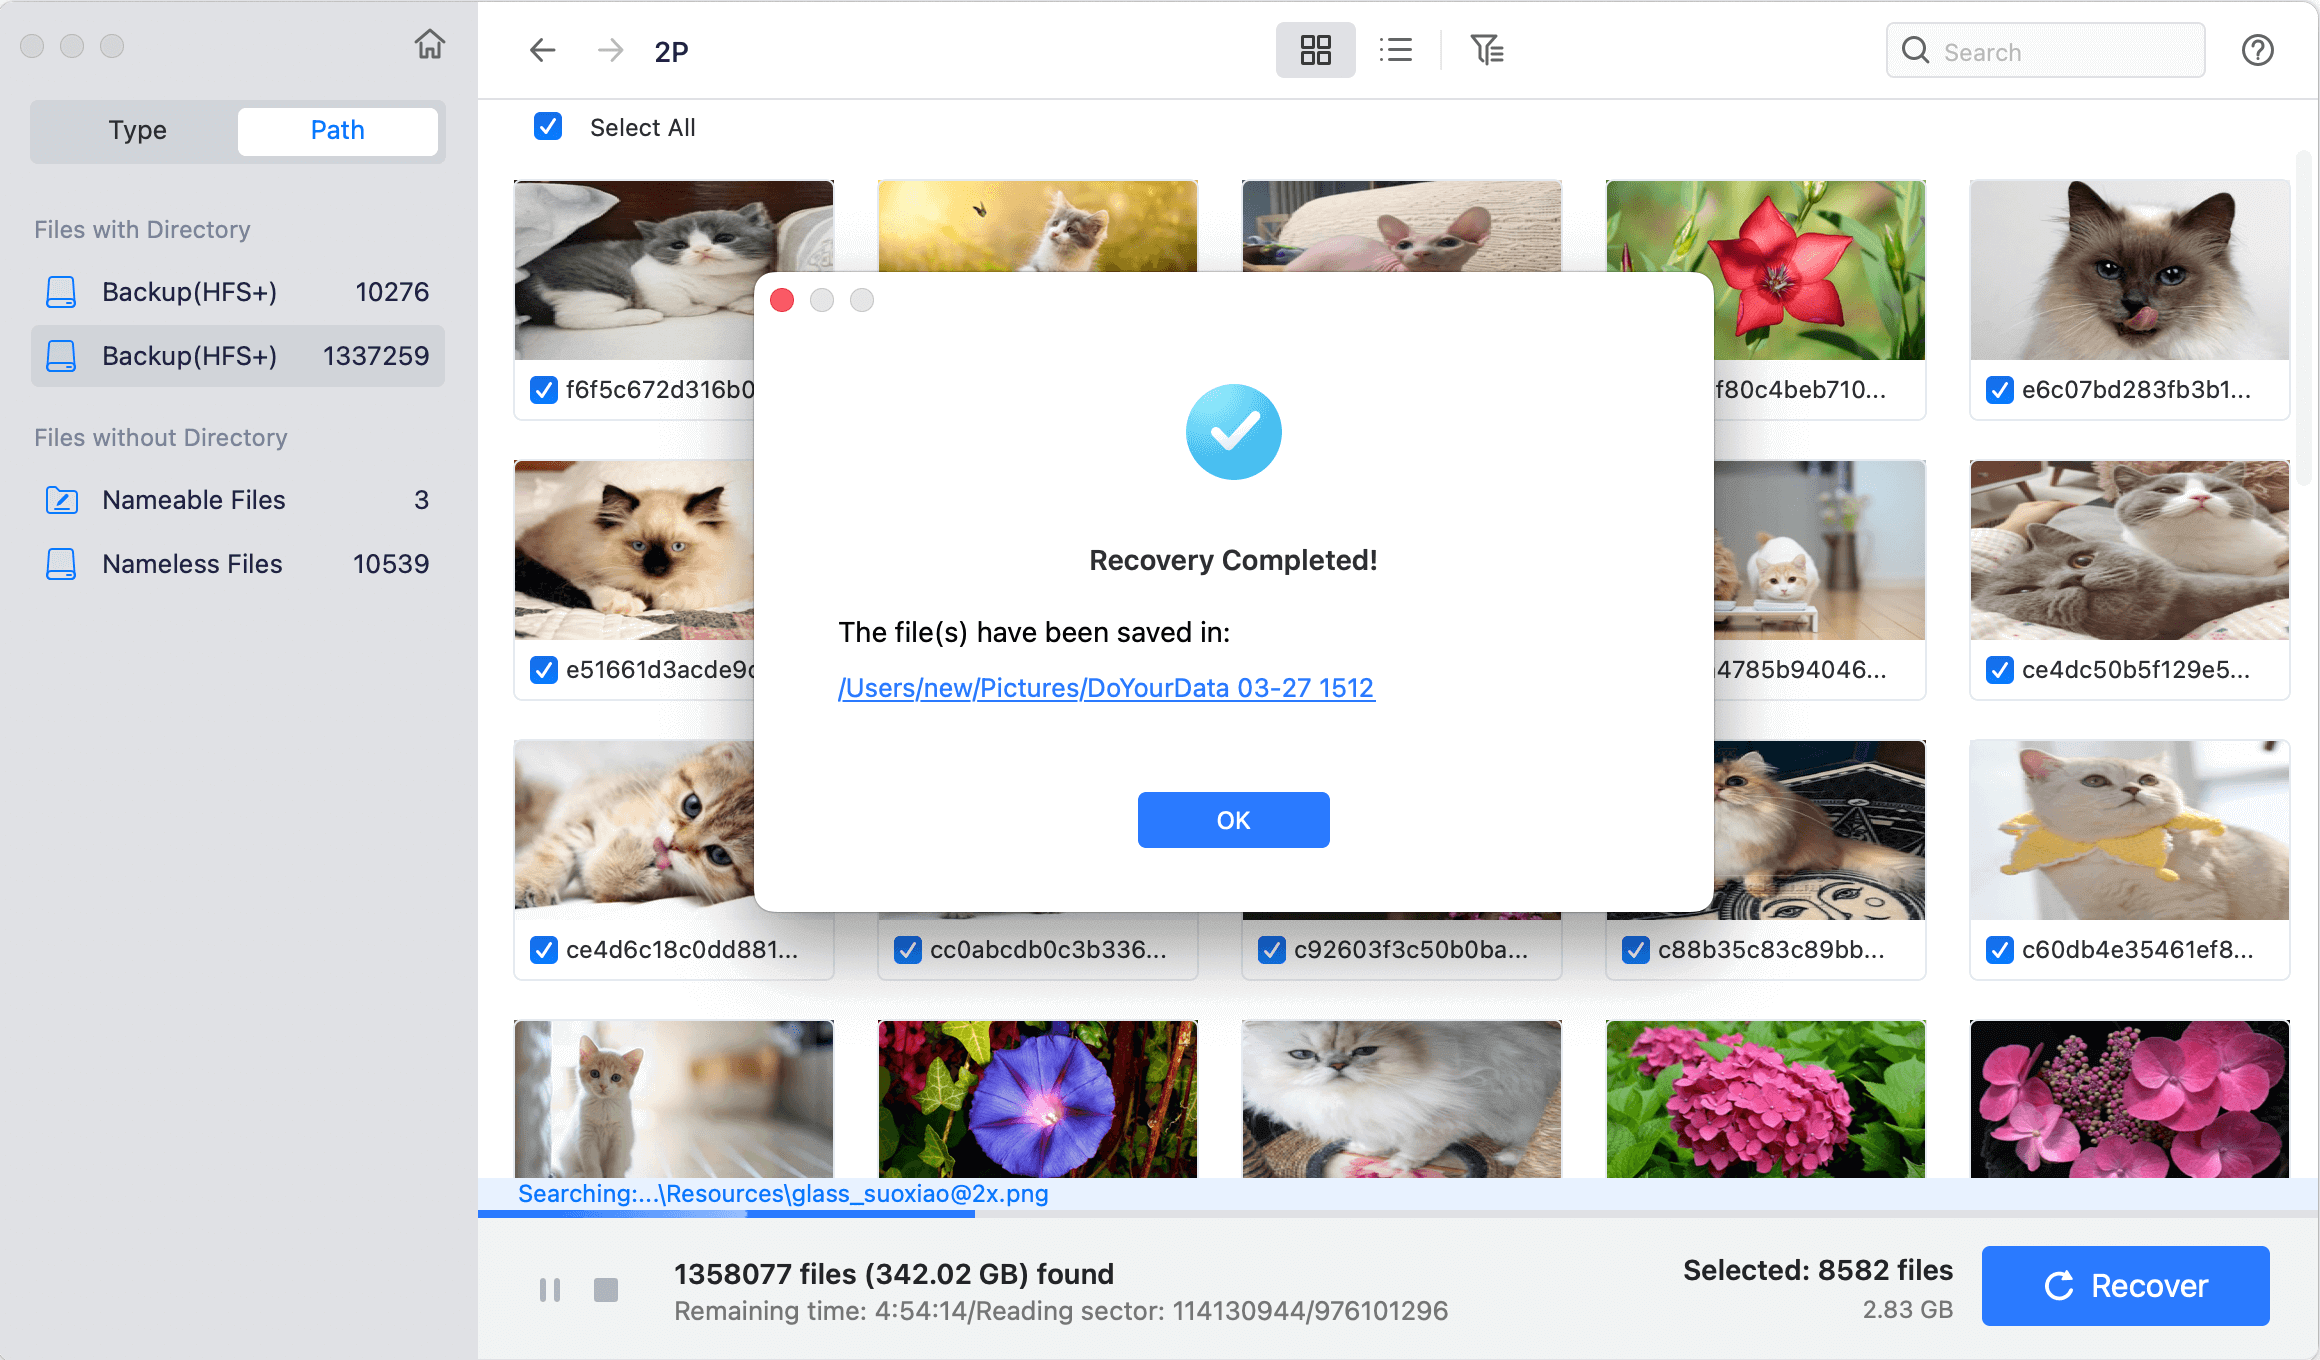
When you run Do Your Data Recovery for Mac, it will ask you to pick a folder where to save the restored files. Choose a safe spot on your MacBook to save the files you want to recover, then hit "Save" to begin the process. After that, Do Your Data Recovery for Mac will recover the chosen files and save them to the place you choose on your MacBook.
FAQs About Recovering Formatted Data on MacBook
1. Is the data lost forever after erasing the startup disk on MacBook?
No, the erase data is not lost forever, you can use data recovery software, such as Do Your Data Recovery for Mac, to deeply scan the erased startup disk and recover lost data.
2. What is the best hard drive unformat software for MacBook?
Here is the list of top 5 MacBook Unformat software:
- Do Your Data Recovery for Mac
- Donemax Data Recovery for Mac
- Magoshare Data Recovery for Mac
- Wondershare Recoverit for Mac
- Stellar Data Recovery for Mac
3. How to unformat a hard drive on MacBook?
- Download and install Do Your Data Recovery for Mac, open it.
- Select the formatted hard drive, click on Scan button.
- Preview and recover all lost files after scanning.
Conclusion:
There are safe ways to recover your important files, even if you accidentally formatted your MacBook's hard drive or lost them for other reasons. Users can easily recover files from previous backups with Time Machine, which makes it easy to get back formatted data.
Data recovery software like Do Your Data Recovery for Mac also has advanced scanning methods, making getting lost data easy. Following the guide's steps, you can recover your formatted data and ensure it is safe for future use. With the right tools and knowledge, getting back data accidentally deleted from your MacBook is easy.
This Mac data recovery software also can help you repair damaged disk on Mac, mount external hard drive, format SD card, etc.
Do Your Data Recovery for Mac
Do Your Data Recovery for Mac, one of the best Mac data recovery software, can help you easily and completely recover deleted, formatted or lost files from Mac HDD/SSD, external HDD/SDD, USB drive, memory card, digital camera, or other storage devices.
Written & Updated by Justin Kenny
Justin Kenny is a writer & editor of DoYourData. He joined DoYourData in 2016 and focuses on writing articles about Windows data recovery, Mac data recovery, external device data recovery, hard drive clone, data erasure, Mac cleanup, computer issue fixes, etc. He is a super fan of Apple devices and is big on testing new digital device and system utility software.