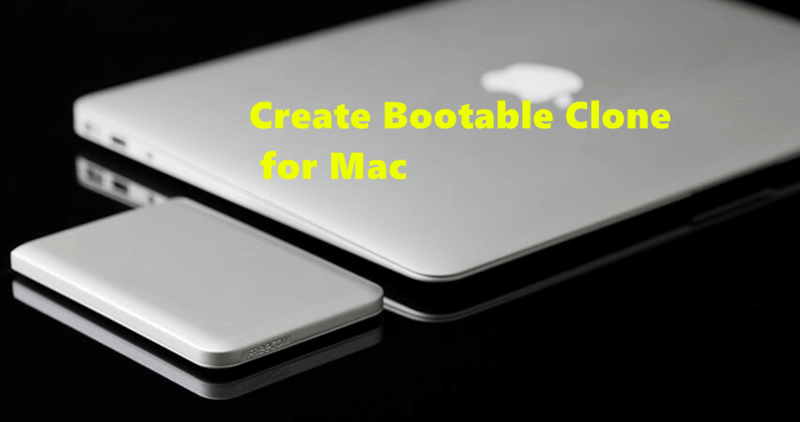
Clone your Mac before formatting the start up drive.
Back up the system, applications, and personal files before you format the Mac. Read more >>
It's impossible to format the start up disk while it's in use. To format and wipe start up disk of Mac, you need to get into Recovery mode first. This guide will show you the things you need to know about formatting Mac startup disk, detailed steps formatting start up disk, and wiping private data permanently from the startup disk.
![]() Updated by Shirly Chen on September 29, 2024
Updated by Shirly Chen on September 29, 2024

Quick Navigation:
Formatting the starting disk on a Mac is an important step that can help fix problems that won't go away, get your Mac ready to sell, or install macOS from scratch. This complete guide will show you how to do everything step by step, ensuring you understand each step and are ready to do the job.
It's important to back up your data before cleaning the disk because that will erase everything. Also, you'll need to make a bootable macOS installer to restart the OS. Following this guide, you can format your starting disk and set up your Mac from scratch, ensuring it works perfectly and is safe.
Formatting the Mac startup disk is a big deal that should only be done in certain cases. If these happen, you may need to format your Mac's startup drive.
Before you start editing, please keep the following in mind:
After getting everything ready, then you can go to format the startup disk on Mac. To format the startup disk smoothly and keep your data safe, you can do as following steps:
Before you start editing, you should ensure your information is safe. It is important to make a full backup before you do anything else because formatting deletes all the data on the disk. Do these things to keep your information safe:
Clone your Mac before formatting the start up drive.
Back up the system, applications, and personal files before you format the Mac. Read more >>
First, you must start your Mac in macOS Recovery mode to reset the root drive. A drive that is already being used can't be formatted. Keep in mind that Apple silicon Macs can get into macOS Recovery mode in a different way than Intel-based Macs.
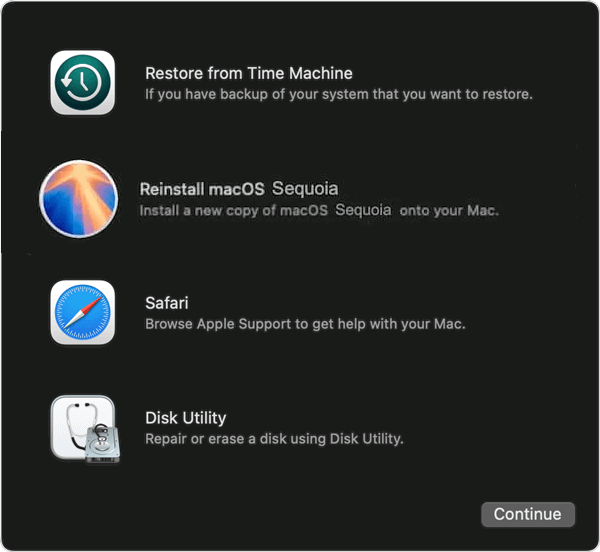
Select Disk Utility option and click Continue. It will go to Disk Utility in Recovery mode. Here you can erase the startup disk for your Mac.
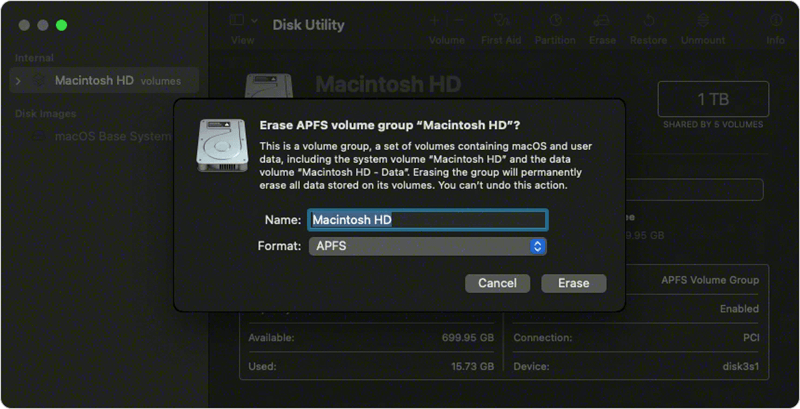
Select the startup disk from the left side panel in the Disk Utility. Click the Erase button at the top of the Disk Utility window. There it will be a popup appears. Then configure the name of the drive and select the format of the drive. If you will reinstall the system later, you can just keep the default settings. Then click the Erase button to formatting the drive.
After the formatting is done, all the files on the drive is removed and you can either reinstall the same operating system or downgrade/upgrade to another version operating system.
There is another essential step if you will donate or resell the formatted Mac. Do you think all the data on the startup disk was gone forever after formatting it and reinstalling the OS? Not exactly. If you formatted the drive on Mac, the data on the drive is not permanently gone. With professional Mac data recovery software, it's still able to recover the formatted data.
Recover formatted data on Mac.
Easy solution to recover the formatted data from startup disk with data recovery software. Read more >>
To avoid data leakages, it's necessary to wipe the personal data permanently from the startup disk before you delivery the Mac to another hand. How to wipe the formatted data from the startup disk? Here you can try the software DoYourData Super Eraser. It can ensure the formatted data on the startup disk be wiped permanently and no possible to recover with any software.
After formatting the startup disk and reinstalling the system on the Mac, you can use the Wipe Free Space of the software to wipe the formatted personal data. Here's how:
Step 1. Download and install the software on your Mac. Run the software from launchpad and change to Wipe Free Space mode. Select the startup disk from the drive list and click Wipe Now.

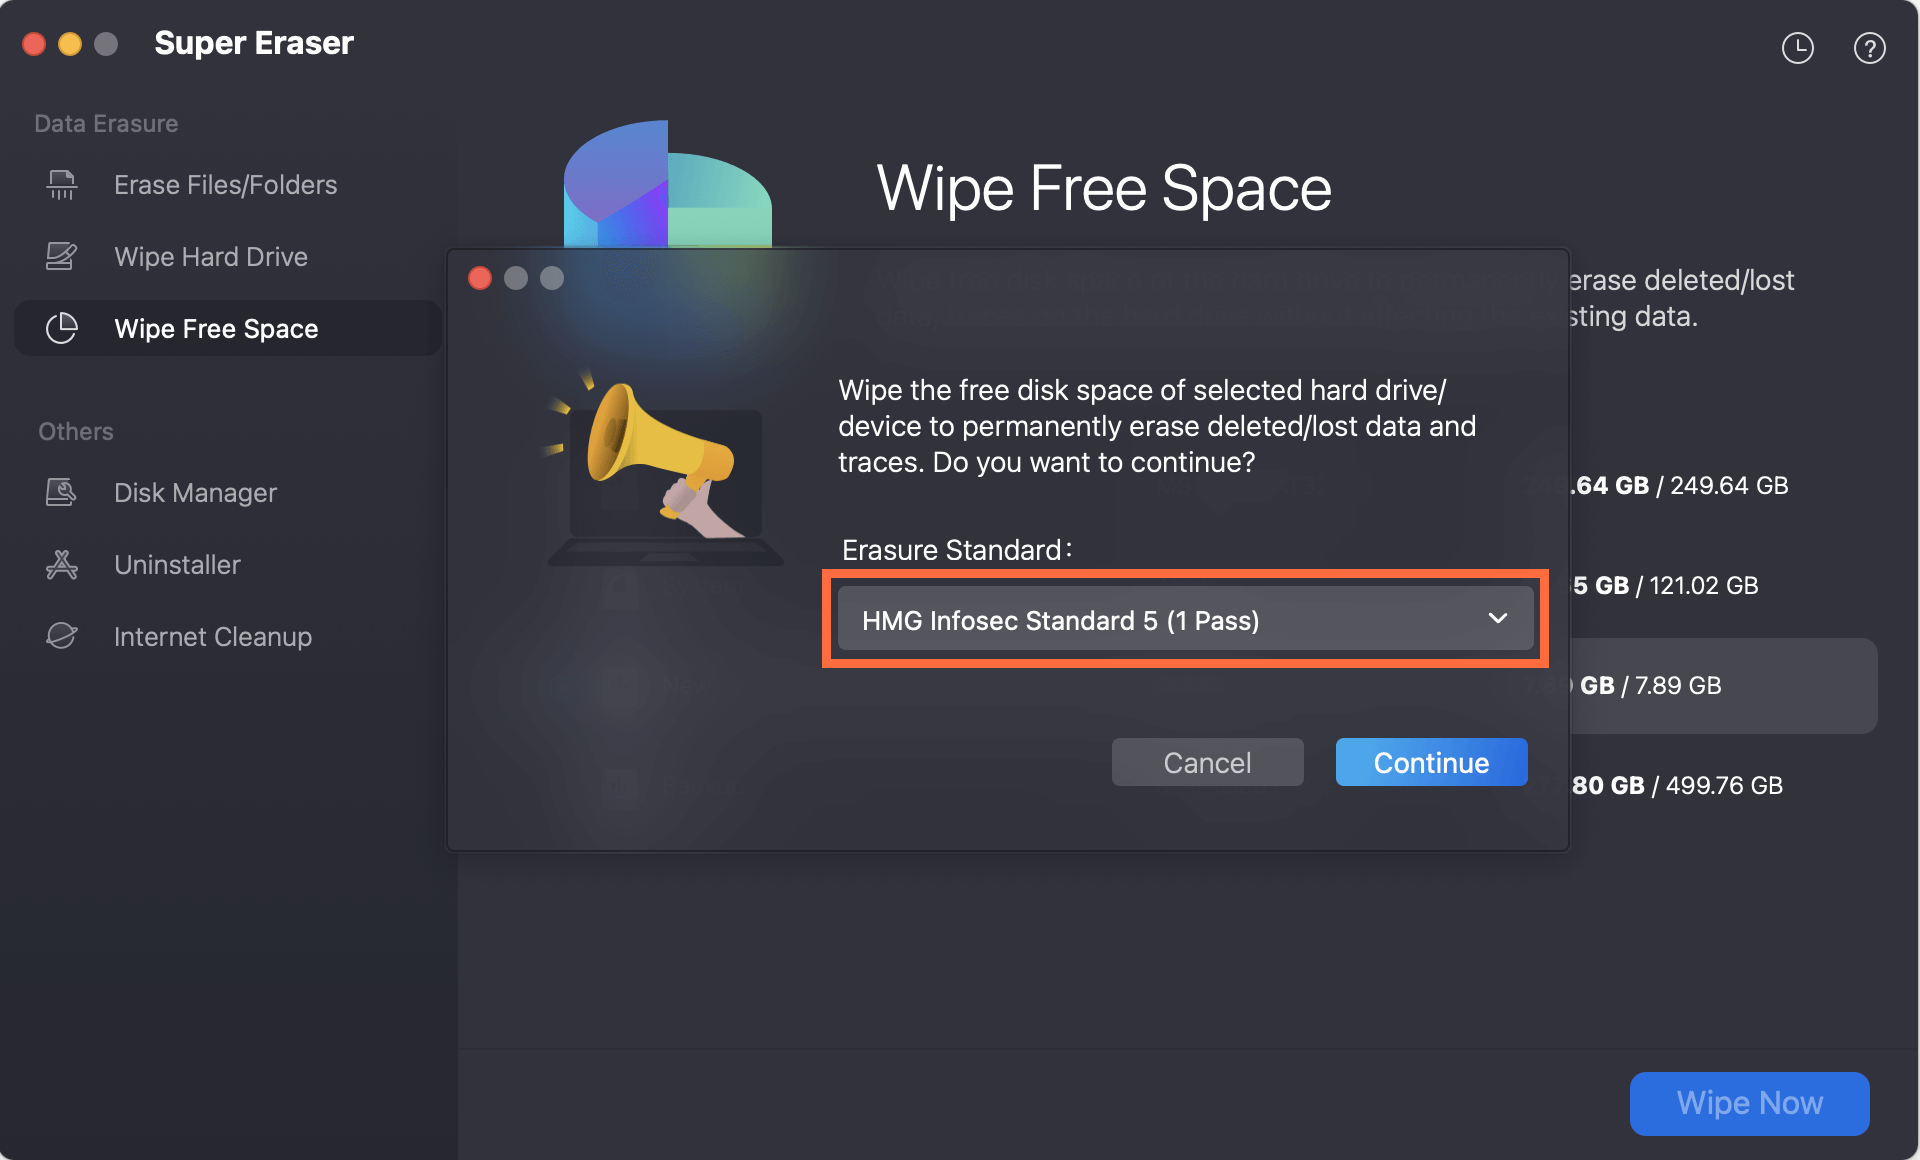
Step 2. You need to select a data erasure standard at this step and click Continue.
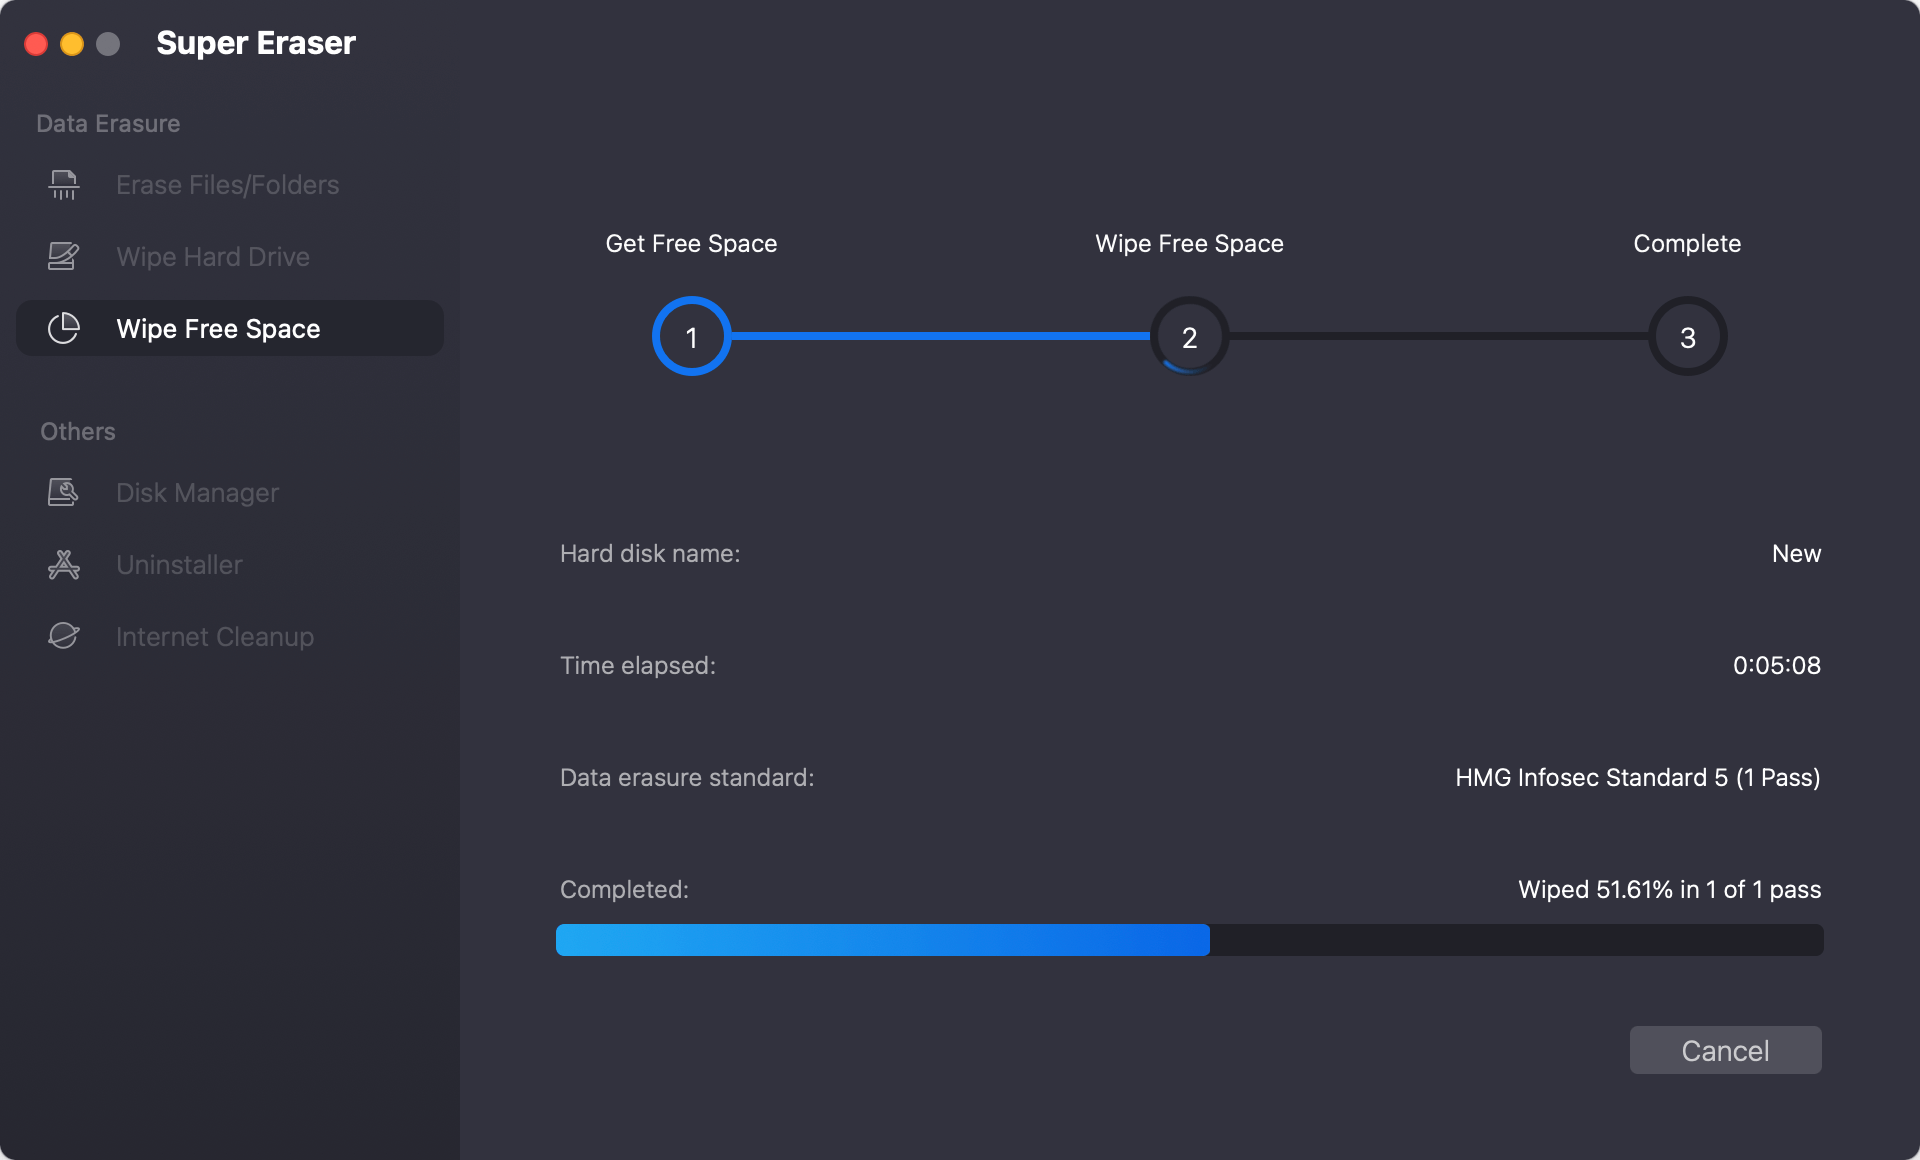
Step 3. The data erasure software will then wipe the free space of the startup disk. It will take some time depends on the disk size and the erasure standard you chose.
After the wiping process is done, all the formatted data on the startup disk is gone for good. You can then feel free to resell or give the Mac away without worrying data breach.
Before formatting the starting disk on a Mac, you should ensure you have everything you need. You can format your starting disk and restore macOS by making a bootable installer, backing up your data, and following the steps. That fixes problems with speed and system errors and gets your Mac ready to be sold or given a new start. You'll feel confident and ready to take on new jobs once your Mac is back up and running after the format.
If you decide to format the startup disk and will resell, donate, or abandon the Mac, it's better to wipe the data permanently. The formatting process will not wipe the data permanently from the drive. To protect your privacy information from being recovered in any way, you can use DoYourData Super Eraser to wipe the free space of the formatted startup disk. Then the data is gone for good and nobody can recover your personal data from the drive.
1. Is it possible to format startup disk on Mac?
Yes, it's able to format startup disk on Mac. However, you need to enter Recovery mode and then format the startup disk with Disk Utility.
2. How to format startup disk on Mac?
Here are the steps to format startup disk in Recovery mode on Mac.
3. How to ensure the formatted drive will not be recovered in any way?
After formatting the startup disk, the data is still recoverable. To ensure the data will not be recoverable, use the software DoYourData Super Eraser to wipe the free space.
DoYourData Super Eraser for Mac
DoYourData Super Eraser for Mac is a 100% safe, powerful and easy-to-use data erasure program. It offers certified data erasure standards including Peter Gutmann, U.S. Army AR380-19, DoD 5220.22-M ECE to permanently erase data from Macs and external devices, making data recovery be impossible.
Written & Updated by Shirly Chen
Shirly Chen has been writing data recovery, data erasure articles for DoYourData over 4 years. She has been working as a professional website content writer & editor for quite a long time. She also writes articles about disk clone, Mac optimization, disk backup, etc.