Quick Navigation:
- Disk Erasure
- Disk Erasure Commands in the Terminal
- Steps to Erase A Disk Via Terminal on Mac
- How to Wipe Disk on Mac?
- Conclusion
Have you ever considered quickly and safely erasing a disk by using your Mac's Terminal app? This guide will help you easily and confidently master disk erasure, no matter how much you know about technology or how new you are to it. Imagine having all the tools you need to get disks ready to be used again, keep private data safe, or fix storage problems.
As we learn, we'll help you understand terminal commands and disk erasure, giving you more power than ever to manage your Mac's storage. The command line is a magical place where every word will bring you one step closer to mastering disk control. Let's get started and let your Mac's storage reach its full potential!
Disk Erasure
Erasing a disk is not just a normal job; it is a very important operation with huge effects. It means that when you erase a disk, you completely remove all the saved data. Because this process can't be undone, it's very important to be careful and precise.
Every file, folder, and information was gone instantly, leaving a clean slate ready for new starts. But this blank state isn't meaningless; it's a new chance to use the disk for something else, like new data, or to keep private data safe.
It is important to ensure you select the right disk, as one mistake could cause you to lose data forever. As a result, before starting the disk-erasing process, you should think about its importance and act with care and awareness.
Types of Disk Erasure
There are different ways to erase a disk on a Mac, each one designed for a different purpose:
🧹 Quick Format
Quick Format is a quick fix that deletes the information for the file system, making the disk look empty at first glance. It's important to remember that this method doesn't change the data already on the disk. So, bits and pieces of the old data may still be around, and data recovery tools can access them. Quick Format is handy for cleaning up a disk or getting it ready to be used again, but it's not safe for wiping private data.
🛡️ Secure Erase
On the other hand, Secure Erase is a strong option for people who care about data security. SafeErase erases all the data on a disk by putting random data or zeros over it. It makes it impossible to find any old data.
This method makes it much harder to regain lost data, making it safer, especially when working with private or sensitive data. Secure Erase is a reliable way to completely clean out your Mac's hard drive, whether protecting personal information or ensuring you follow security rules.
Disk Erasure Commands in the Terminal
When you want to erase a disk on a Mac, knowing how to use terminal commands gives you more power and speed than anything else. Let's look at the most important tools used to erase a disk on macOS:
1. Disk Identification
Finding the target disk is the first thing that needs to be done to erase it. You can trust the diskutil list command to give you a full list of all the disks linked to your Mac. This program lists the disks and details their names, sizes, and mount points. With this information, you can easily find the disk you want to delete, ensuring that your disk management tasks are done precisely and correctly.
2. Unmounting the Disk
To ensure no files are being used, the target disk must be unmounted before the deletion process can begin. You can use the diskutil unmountDisk tool to remove the disk from your computer easily.
By giving macOS the disk identifier, you tell it to unmount the disk smoothly, getting it ready for the erasure operation that is about to happen. This safety measure lowers the chance that data will get damaged or that someone will mess with the process while it's happening, ensuring everything goes smoothly and reliably.
3. Erasing the Disk
Now that the disk has been safely unmounted use the diskutil eraseDisk command to start the erasure process. With this command, you can format the disk with any file system type you want, such as APFS, HFS+, exFAT, etc.
Plus, you can give the newly formatted disk a name, which makes your storage option more unique. You can tell macOS to erase the disk with surgical accuracy by replacing /dev/diskX with the correct disk identifier. It leaves the disk as a clean slate, ready for new data.
4. Secure Erase
The diskutil secureErase command shines like a beacon of hope for people who care about data protection. This command erases everything on the disk, leaving no evidence of the old data. It does this by overwriting the whole disk with random or zero data. You can use macOS's safe erasure features by giving it the disk identifier and the erasure method you want to use (0 for zeros, 1 for random data).
A secure eraser gives you peace by making old data unrecoverable and protecting your privacy and confidentiality. It can keep sensitive information safe or ensure strict security guidelines are followed.
5. Considerations Before Disk Erasure
Before you start the disk deletion process on your Mac using Terminal, it's important to keep the following things in mind:
💡 Verify The Disk Identifier
It is important to check the disk number twice to avoid accidentally erasing the wrong disk. One small mistake could cause data loss that can't be recovered, which shows how important it is to pay close attention to every detail.
⏳ Backup Important Data
It's a good idea to back up any important data on the target disk before starting the deletion process. Erasing a disk is a permanent process that can't be undone once it starts. By backing up your data, you lower the chance of losing it and ensure that things don't stop if something goes wrong.
🗑️ Choose the Right Formatting and Erasing Method
When choosing the formatting and erasure method, consider your unique needs and security concerns. Choose the method that fits your needs and goals, balancing speed with data safety. It could be a quick format, a secure erase, or a mix of the two.
Steps to Erase A Disk Via Terminal on Mac
For example, if you want to erase a disk to APFS, follow the steps below:
Step 1. Go to Applications > Other > Terminal, open this app.
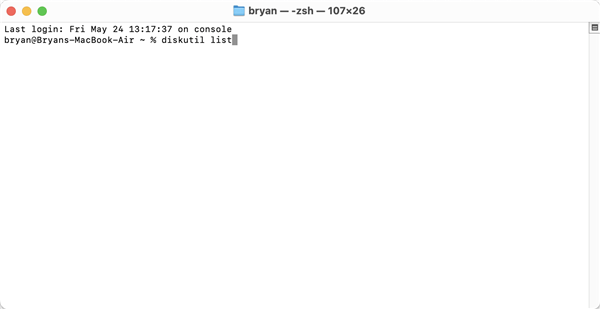
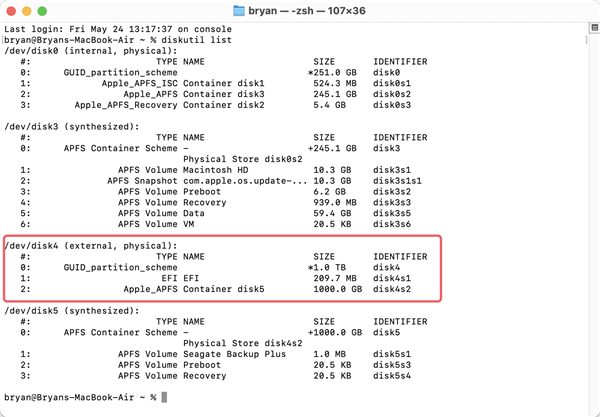
Step 2. Type in diskutil list, then press Enter.
Step 3. Find the disk you want to erase.
Step 4. Type in diskutil eraseDisk APFS Seagate /dev/disk4 and press Enter.
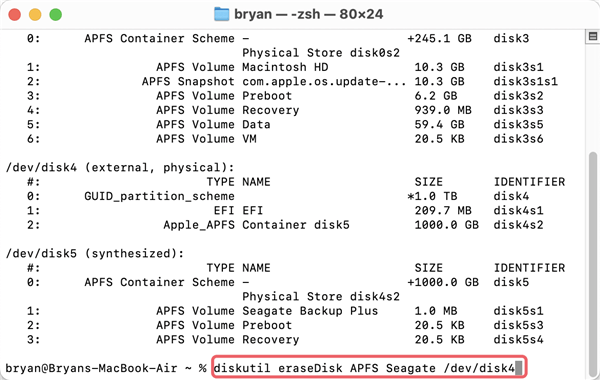
Then it will securely and quickly erase the disk.

Note: The data which is erased by Terminal or Disk Utility is not lost for good, you can use data recovery software to get the lost data back.
Step 1. Download and install Do Your Data Recovery for Mac, one of the best Mac data recovery software.
Step 2. Open Do Your Data Recovery for Mac, then select the erased disk.

Step 3. Click on Scan button to deeply scan the erased disk and find all lost files.
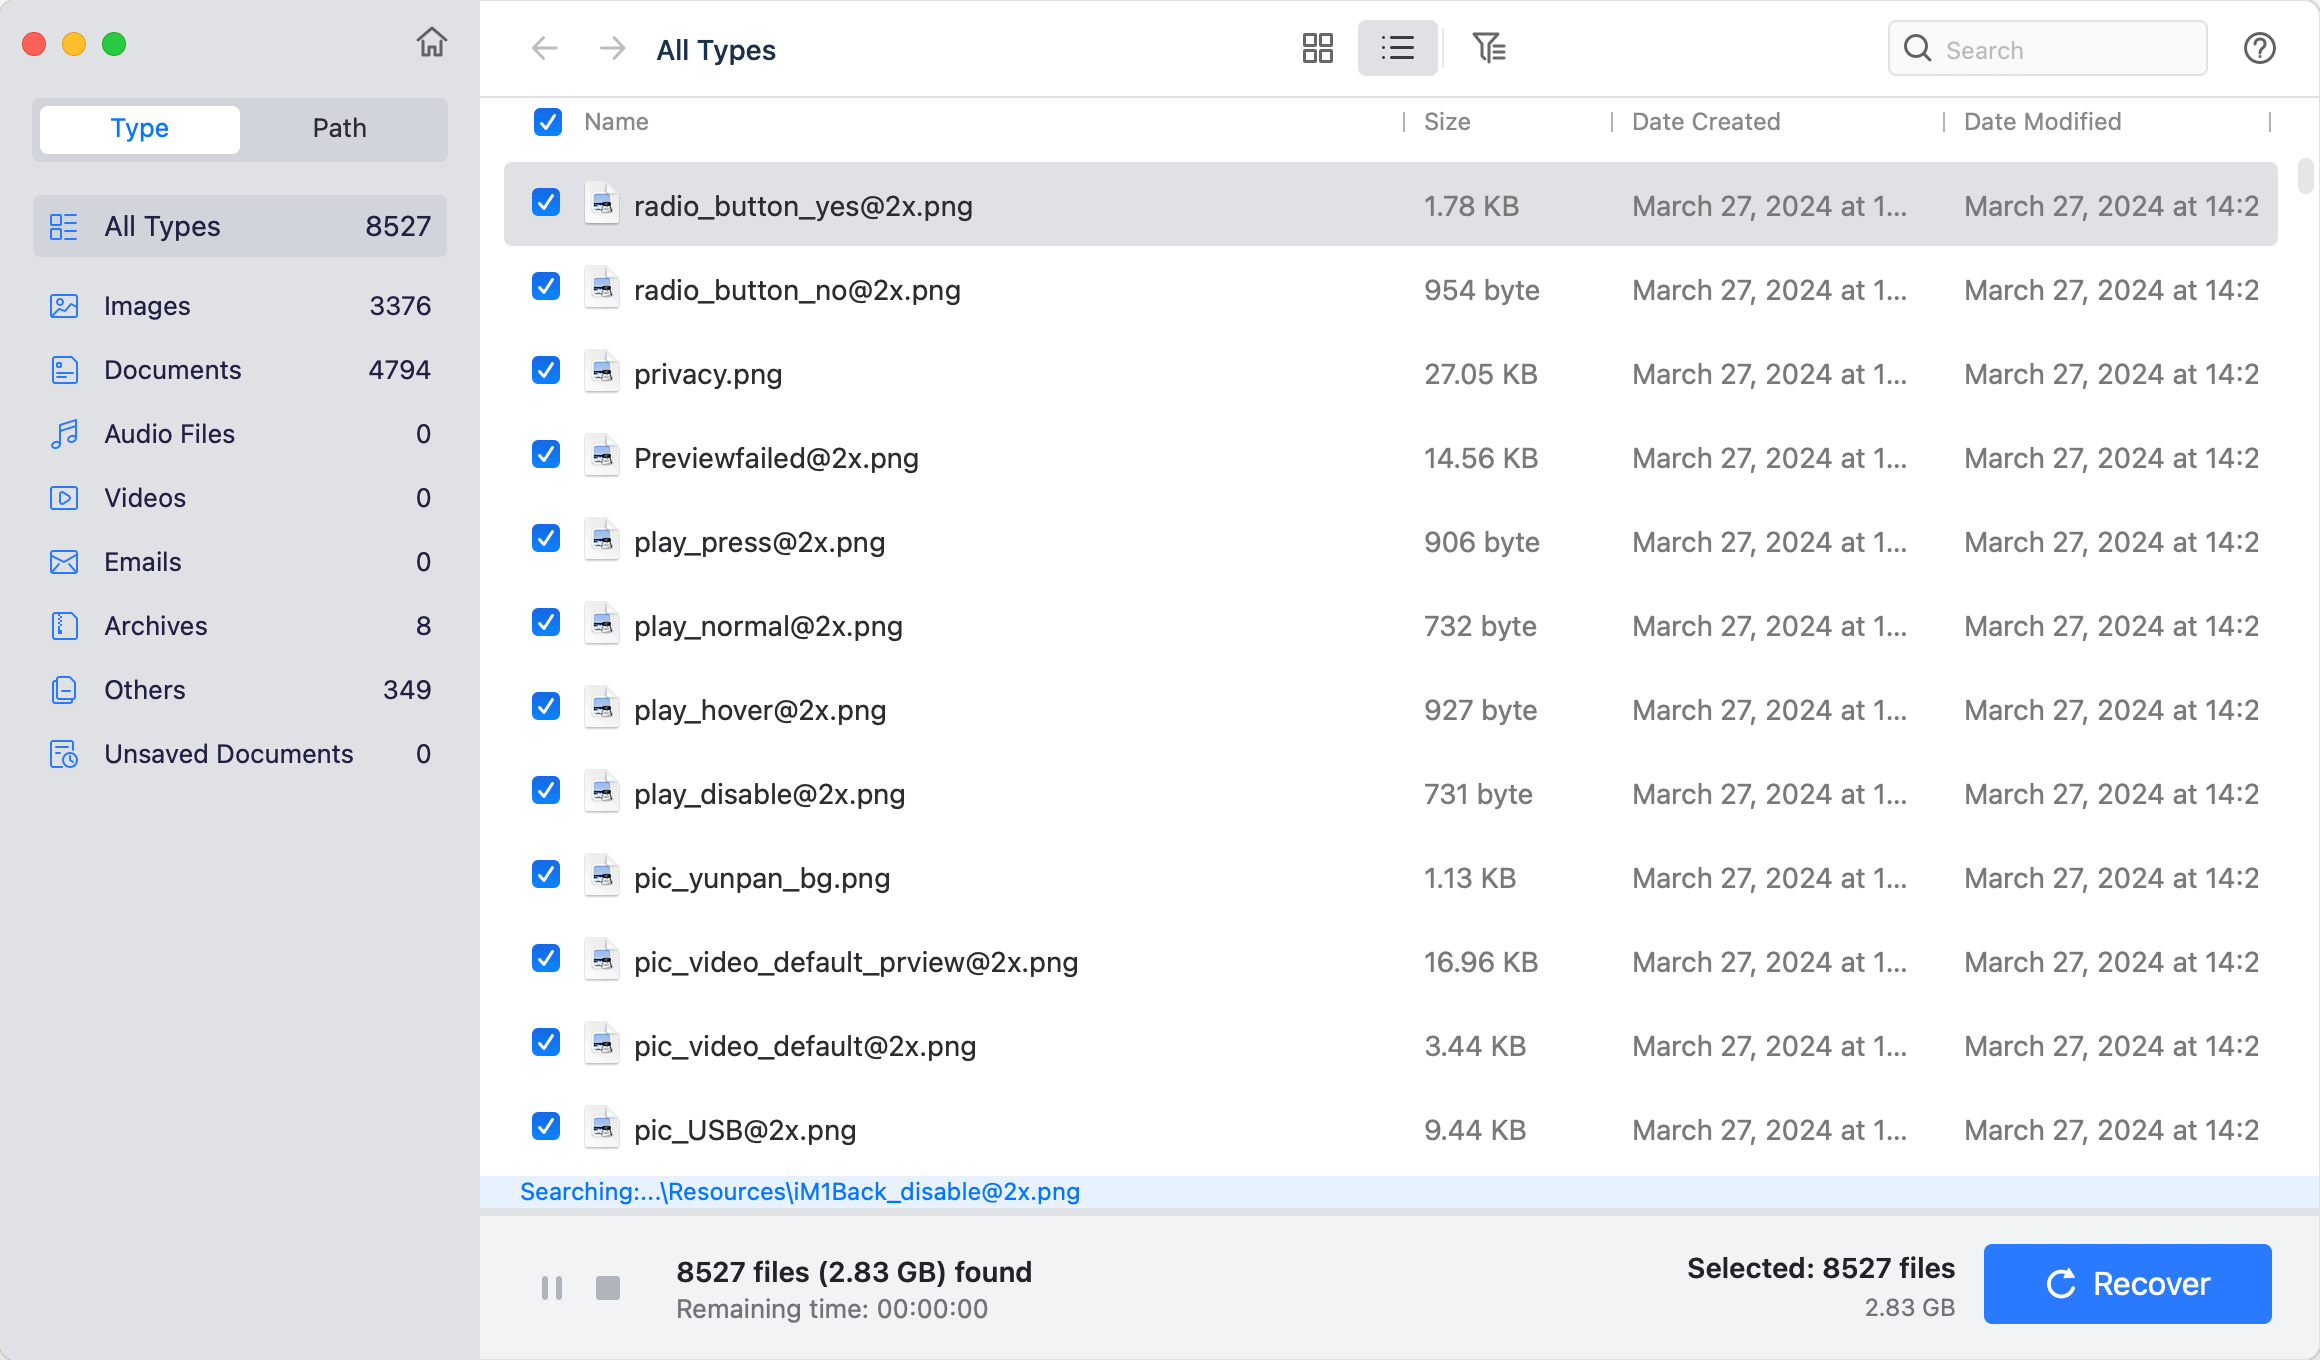
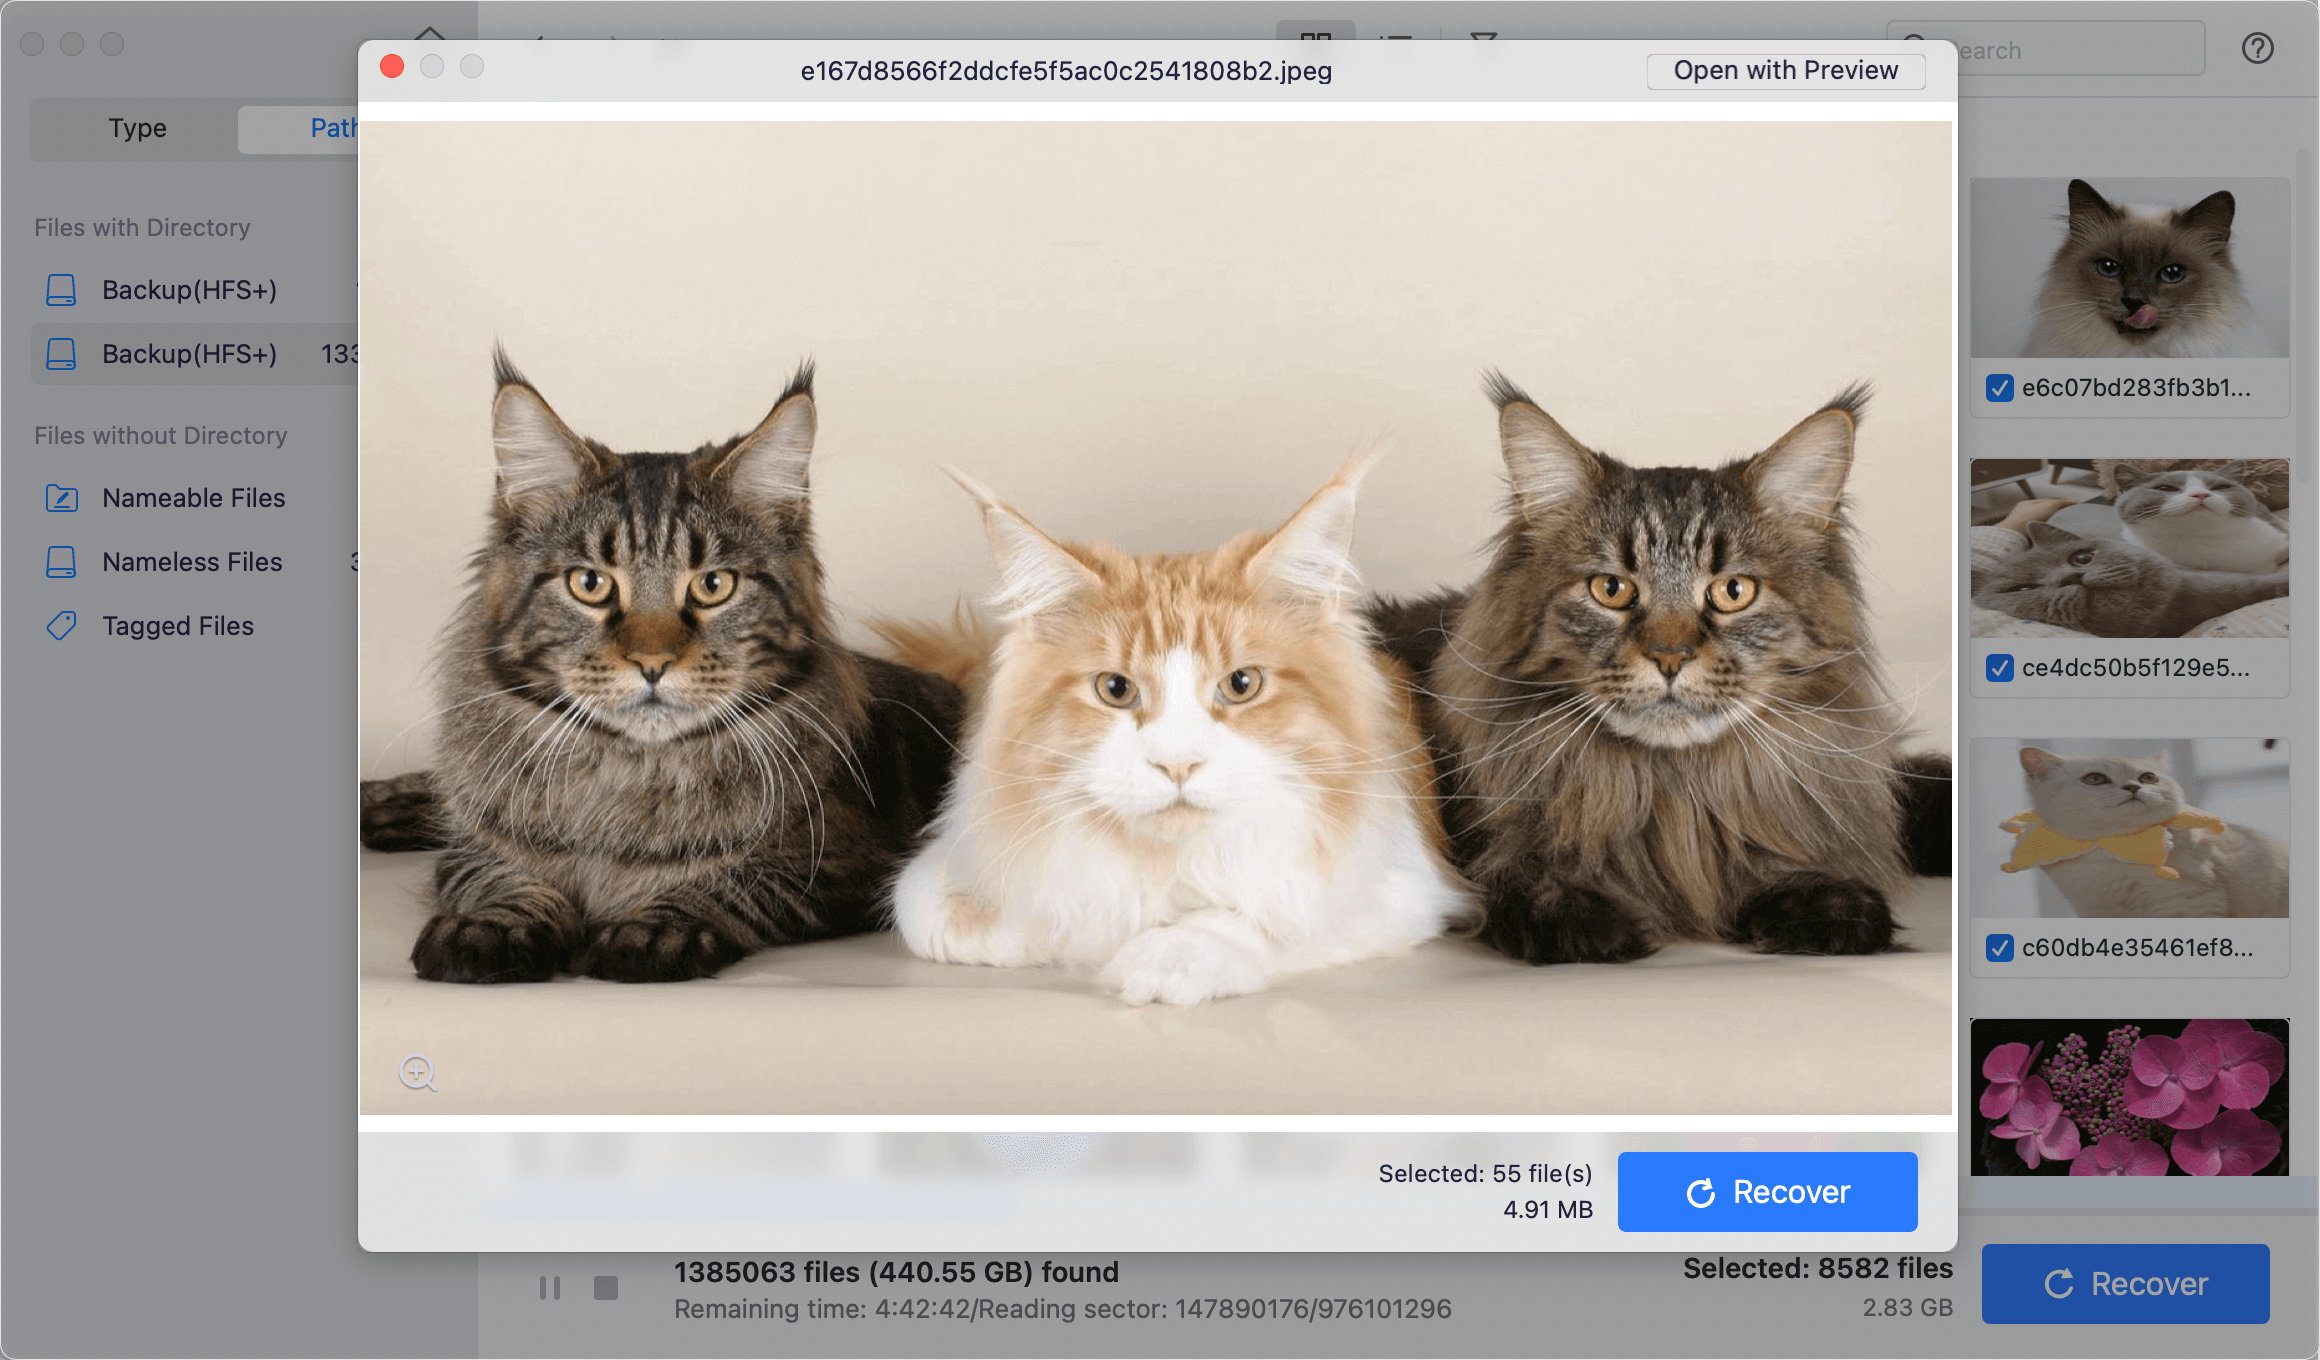
Step 4. Once the scan is completed, you can preview all recoverable files. Then select the wanted files and click on Recover button to save the files.
How to Wipe Disk on Mac?
If you will sell or donate the disk, you'd better permanently erase all data from it. Data erasure software can help you wipe the disk and permanently erase all data from it.
DoYourData Super Eraser for Mac is one of the best data erasure programs. It can help you securely wipe any disk on Mac and permanently erase data from it to avoid data recovery.
DoYourData Super Eraser for Mac
- Wipe HDD, SSD, USB drive, memory card, digital camera, on Mac.
- 100% safe disk wipe software for Mac.
- Certified data erasure standards including Peter Gutmann, U.S. Army AR380-19, DoD 5220.22-M ECE, etc.
Follow the steps below to wipe disk on Mac:
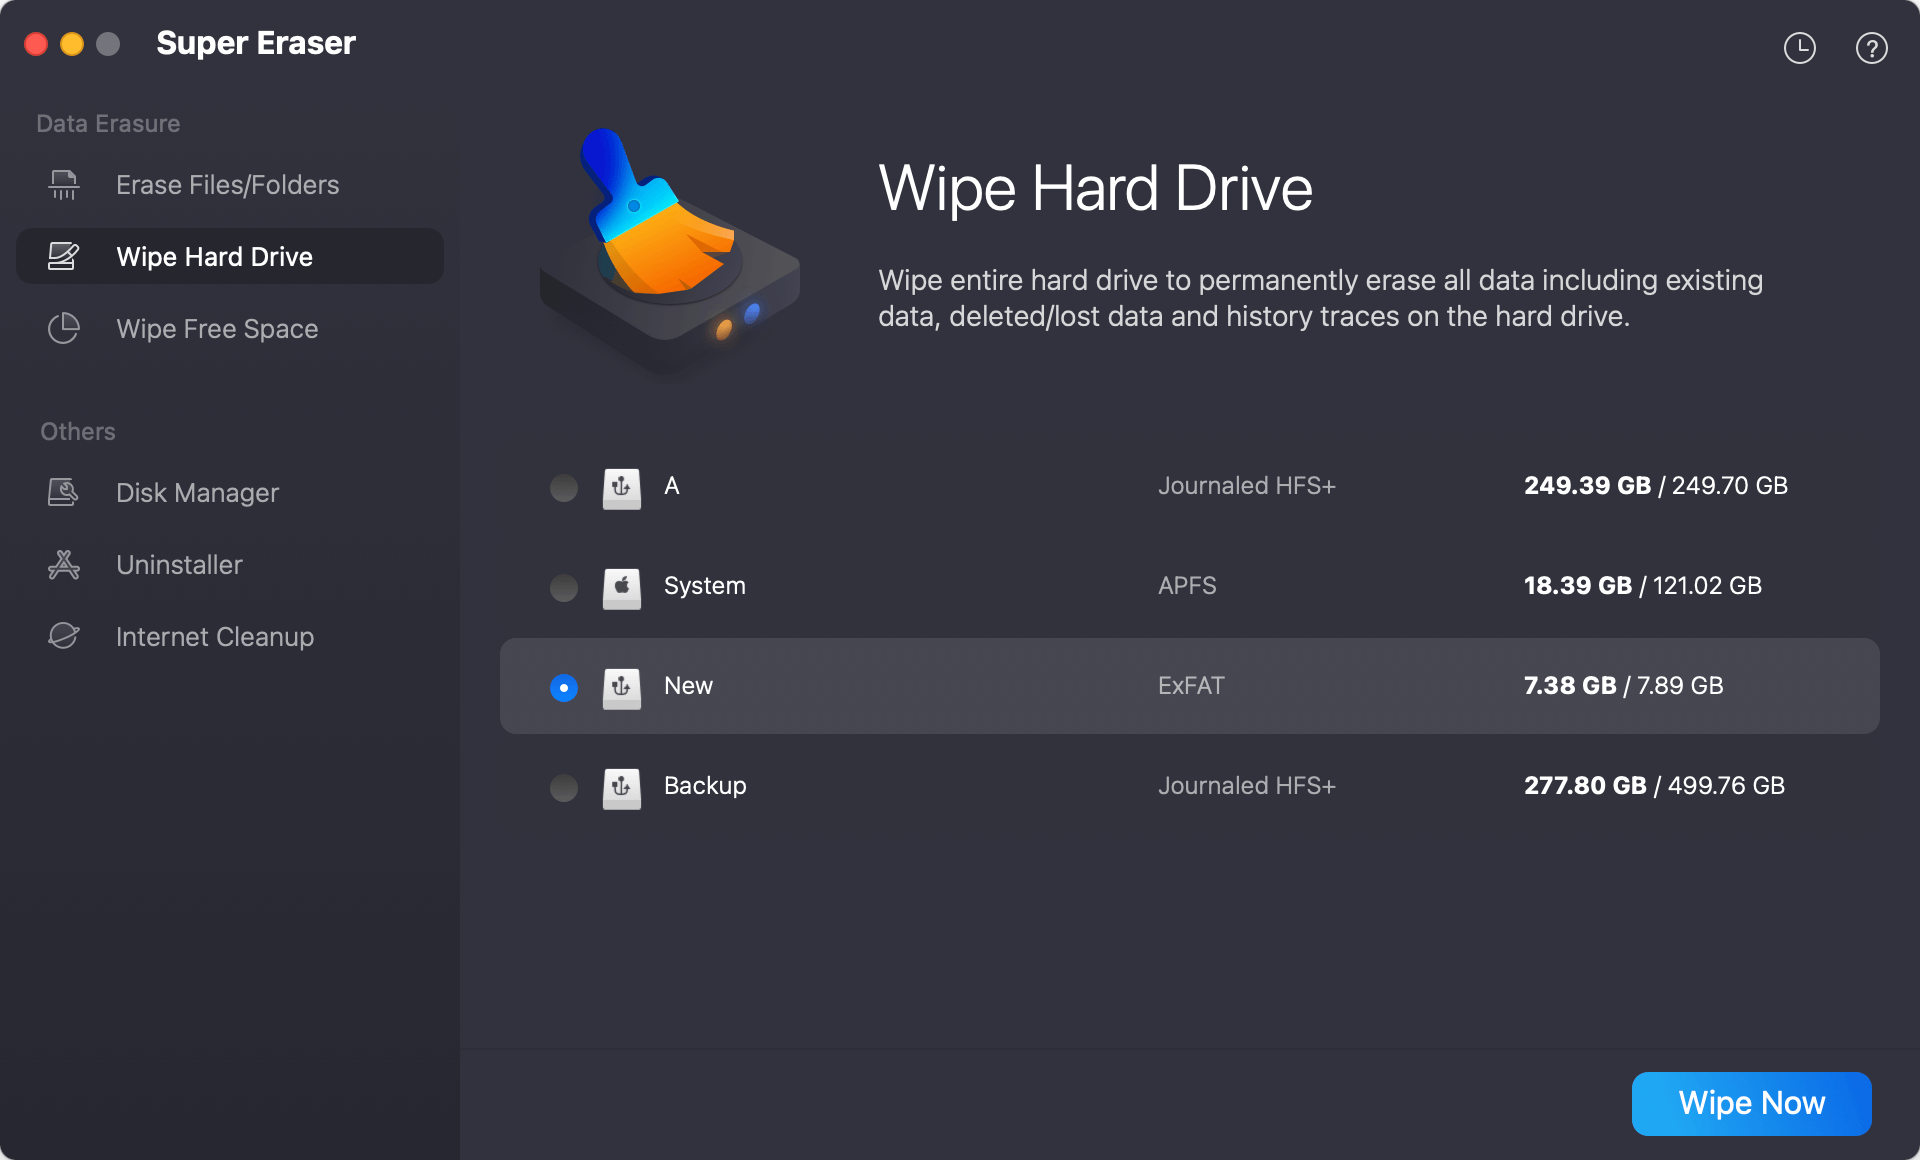
Step 1. Open DoYourData Super Eraser for Mac, choose Wipe Hard Drive mode, select the disk you want to wipe, then click on Wipe Now button.
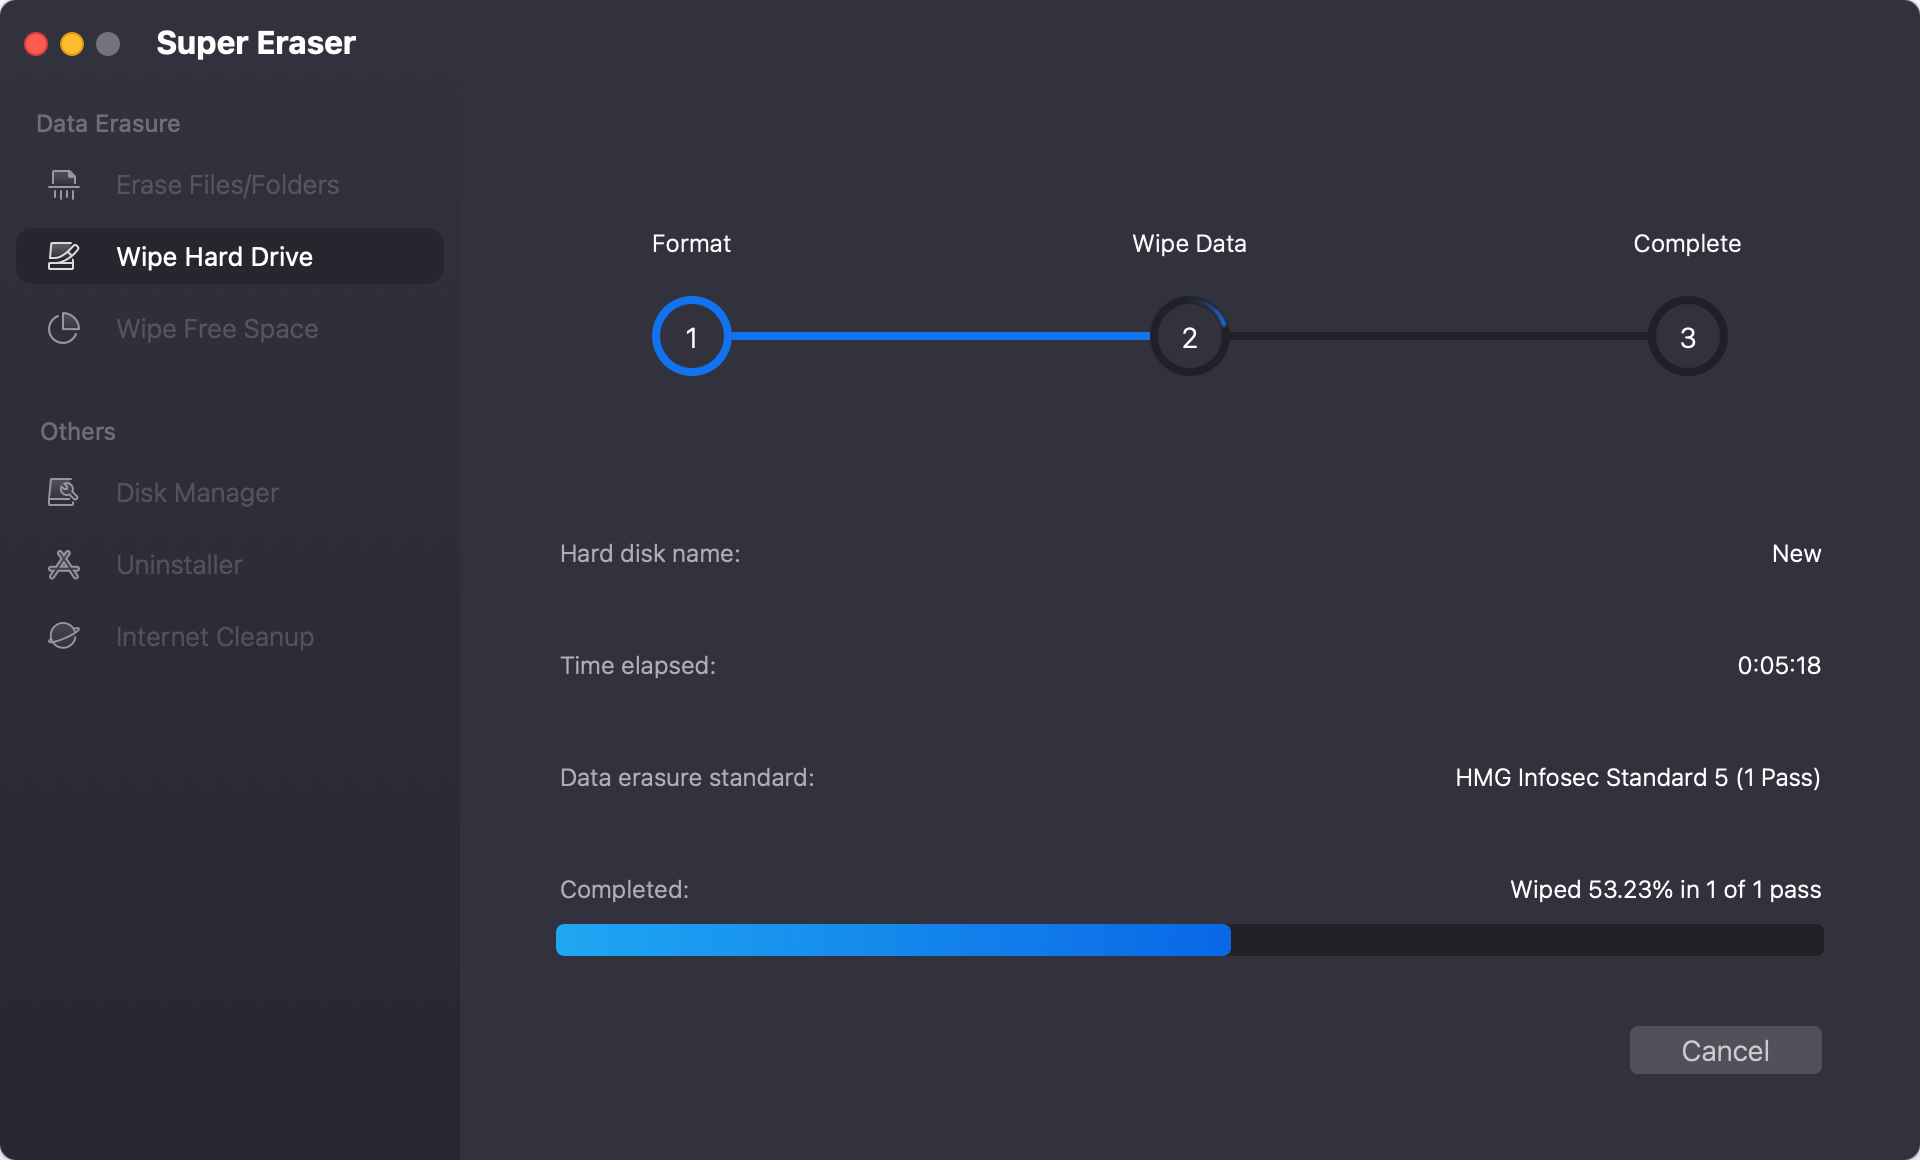
Step 2. It will securely and permanently erase all data from it.
Conclusion:
In conclusion, learning how to erase a disk using Terminal on a Mac gives you complete control over how you handle your storage. If you know the right terminal commands and how to erase disks, you can easily get disks ready to be used again, keep private data safe, and confidently fix storage problems. But being careful and aware is very important.
Check disk labels, back up important data, and choose the right formatting and erasure methods. By keeping these things in mind and using terminal commands, you can get the most out of your Mac's storage space, making your computer work faster and safer.
Written & Updated by Ricky Lin
Ricky Lin is an senior editor of DoYourData who lives in Adelaide, Australia. He is interested in writing technology articles related with data recovery, computer issue fixes, disk clone, iPhone data recovery, video edit, Mac optimization, etc. He Joined DoYourData in 2019 and have written 500+ articles to help both Windows users and Mac users to solve data or computer problems.
Hot Articles
- Fix External Hard Drive Read-Only Issue on Mac
- How to Wipe Trash Bin on Mac?
- Recover Lost Data from WD (Western Digital) External Hard Drive on Mac
- Fix External Hard Drive Not Showing Up on Mac
- How to Wipe SD Card on Mac?
- Mount and Unmount the External Hard Drive on the Mac
- Run First Aid on Mac to Repair Disks
- Fix Can't Save Files to An External Hard Drive on Mac
- (Solved) External SSD Not Detected in Disk Utility on Mac
- Why Can't Format A Hard Drive To NTFS on Mac? Can We Fix It?