How to Force Mount Disk on Mac
Check how to use Terminal commands to force mount a damaged drive on Mac without losing data.
Quick Navigation:
It can be frustrating and scary to find that the drive on your Mac is broken. Whether it's because of physical damage, a mistake in logic, or a corrupted file system, being unable to get to your data can make you stressed and stop you from working. But if you have the right tools and method, there are things you can do to try to mount the damaged drive and get back your important files. It's simple and easy to understand how to mount and repair a damaged drive on your Mac. This guide will show you how to do it.
We'll review everything you need to know to deal with this problem, from ensuring the connections are good and using built-in tools like Disk Utility to looking into third-party software and professional data recovery services. By doing these things and being careful, you can make it more likely that you can get your data back and lessen the effect that drives damage has on your digital life.
A drive can get broken in several ways, each needing a different solution. Here is a list of common situations:
It means that problems with the file system or directory layout make it impossible for the Mac to see the drive. Most of the time, this is a less serious case that can be fixed with software tools.
It includes physical damage, such as lost drives, broken internal parts, or water damage. You might need professional data recovery services to get your information back.
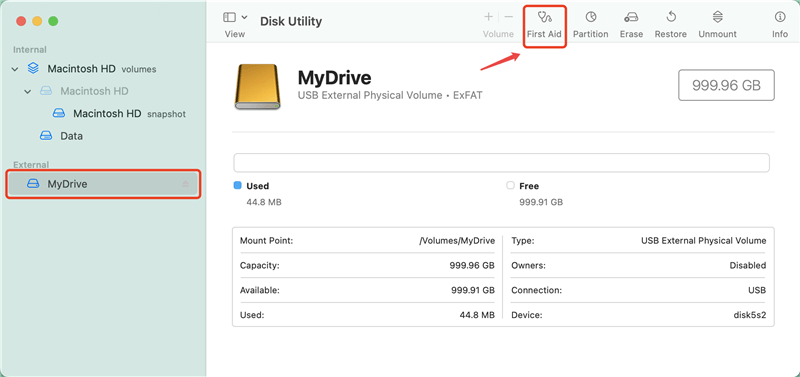
The first thing that will protect you is Disk Utility. It gives you tools to check out the drive's file system and fix it. How to use it:
If Disk Utility doesn't fix the problem, advanced users can try using Terminal instructions to fix it. Be careful; you could lose information if you use these commands incorrectly. Do not move forward until you can handle it and have made a full backup.
How to Force Mount Disk on Mac
Check how to use Terminal commands to force mount a damaged drive on Mac without losing data.
Data Recovery Software: This can be very helpful if the built-in tools don't work. These programs look through the drive for recoverable data bits to restore lost or inaccessible files.
Free vs. Paid:
Free data recovery software might limit the types or sizes of files it can restore. Options that cost money have more functions and a better chance of working.
Research Reviews:
Before you buy data recovery software, read reviews and look at other options. Do Your Data Recovery for Mac, Disk Drill, Stellar Data Recovery, and Donemax Data Recovery software are good choices.
Do Your Data Recovery for Mac is a reliable software for recovering lost data from damaged, unmounted or erased hard drive on Mac.
Step 1. Download and install Do Your Data Recovery for Mac on your Mac, then run it from Launchpad, select the damaged drive to start data recovery.

Step 2. Click on Scan button to deeply scan the damaged drive and find all recoverable files.
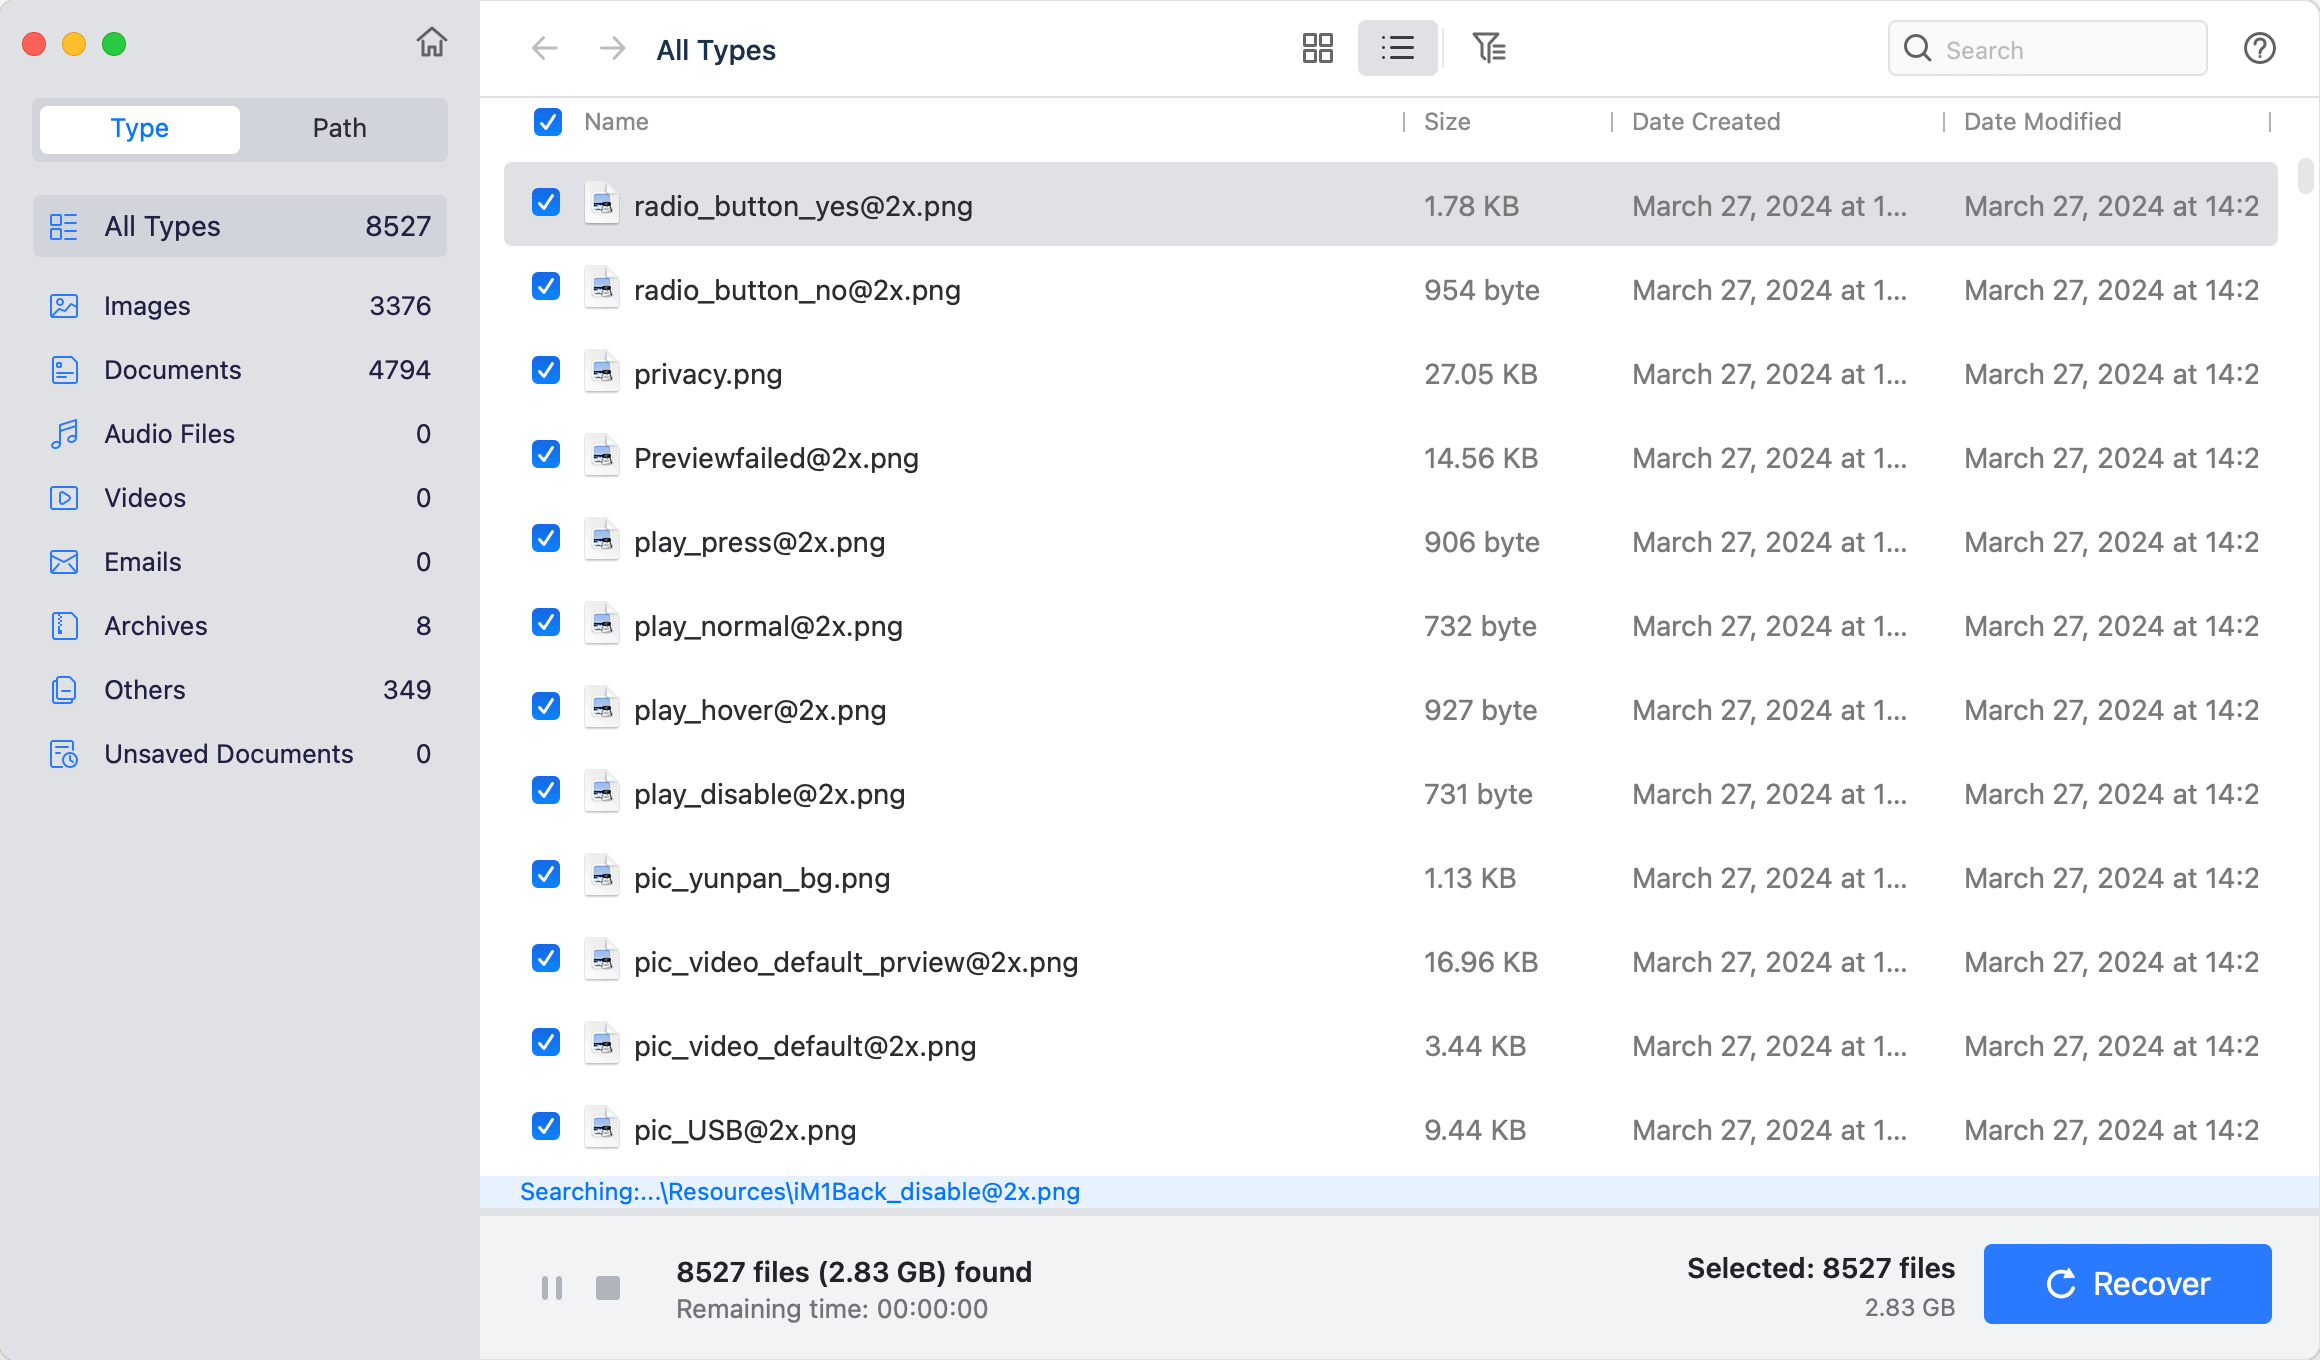
Step 3. Select the wanted files, click on Recover button. Then choose a location to save the recovered files.

Do Your Data Recovery for Mac also can help you mount damaged drive on Mac, fix damaged drive or format external hard drive, etc. Just choose Disk Manager and then select the tool you need.

If the data on the damaged drive is very important and cannot be retrieved with software, you might want to seek help from professional data recovery services.
These businesses have the tools and knowledge to handle difficult data recovery situations. Expect costs to be high, and make sure you pick a service company with a good reputation.
It can be difficult to deal with a broken drive on your Mac, but if you have the right tools and method, you can try to mount the drive and get your data back. Remember to put safety steps like backups and careful handling on your list to avoid more damage.
Even though some types of drive damage might not be able to be fixed, looking into all of your choices can help you get your data back. If nothing else works, hiring a professional data recovery service might be the only way to get back important data from a broken drive.
1. How to recover lost data from a damaged or unmounted drive on Mac?
Data recovery software, such as Do Your Data Recovery for Mac, can help you recover lost data from damaged drive or inaccessible drive on Mac:
2. How to mount damaged drive on Mac?
First of all, open Disk Utility, select the damaged drive, click on First Aid button to repair the drive. Then click on Mount button to mount the drive.
3. How to repair a drive on Mac?
Written & Updated by Ricky Lin
Ricky Lin is an senior editor of DoYourData who lives in Adelaide, Australia. He is interested in writing technology articles related with data recovery, computer issue fixes, disk clone, iPhone data recovery, video edit, Mac optimization, etc. He Joined DoYourData in 2019 and have written 500+ articles to help both Windows users and Mac users to solve data or computer problems.
Hot Articles